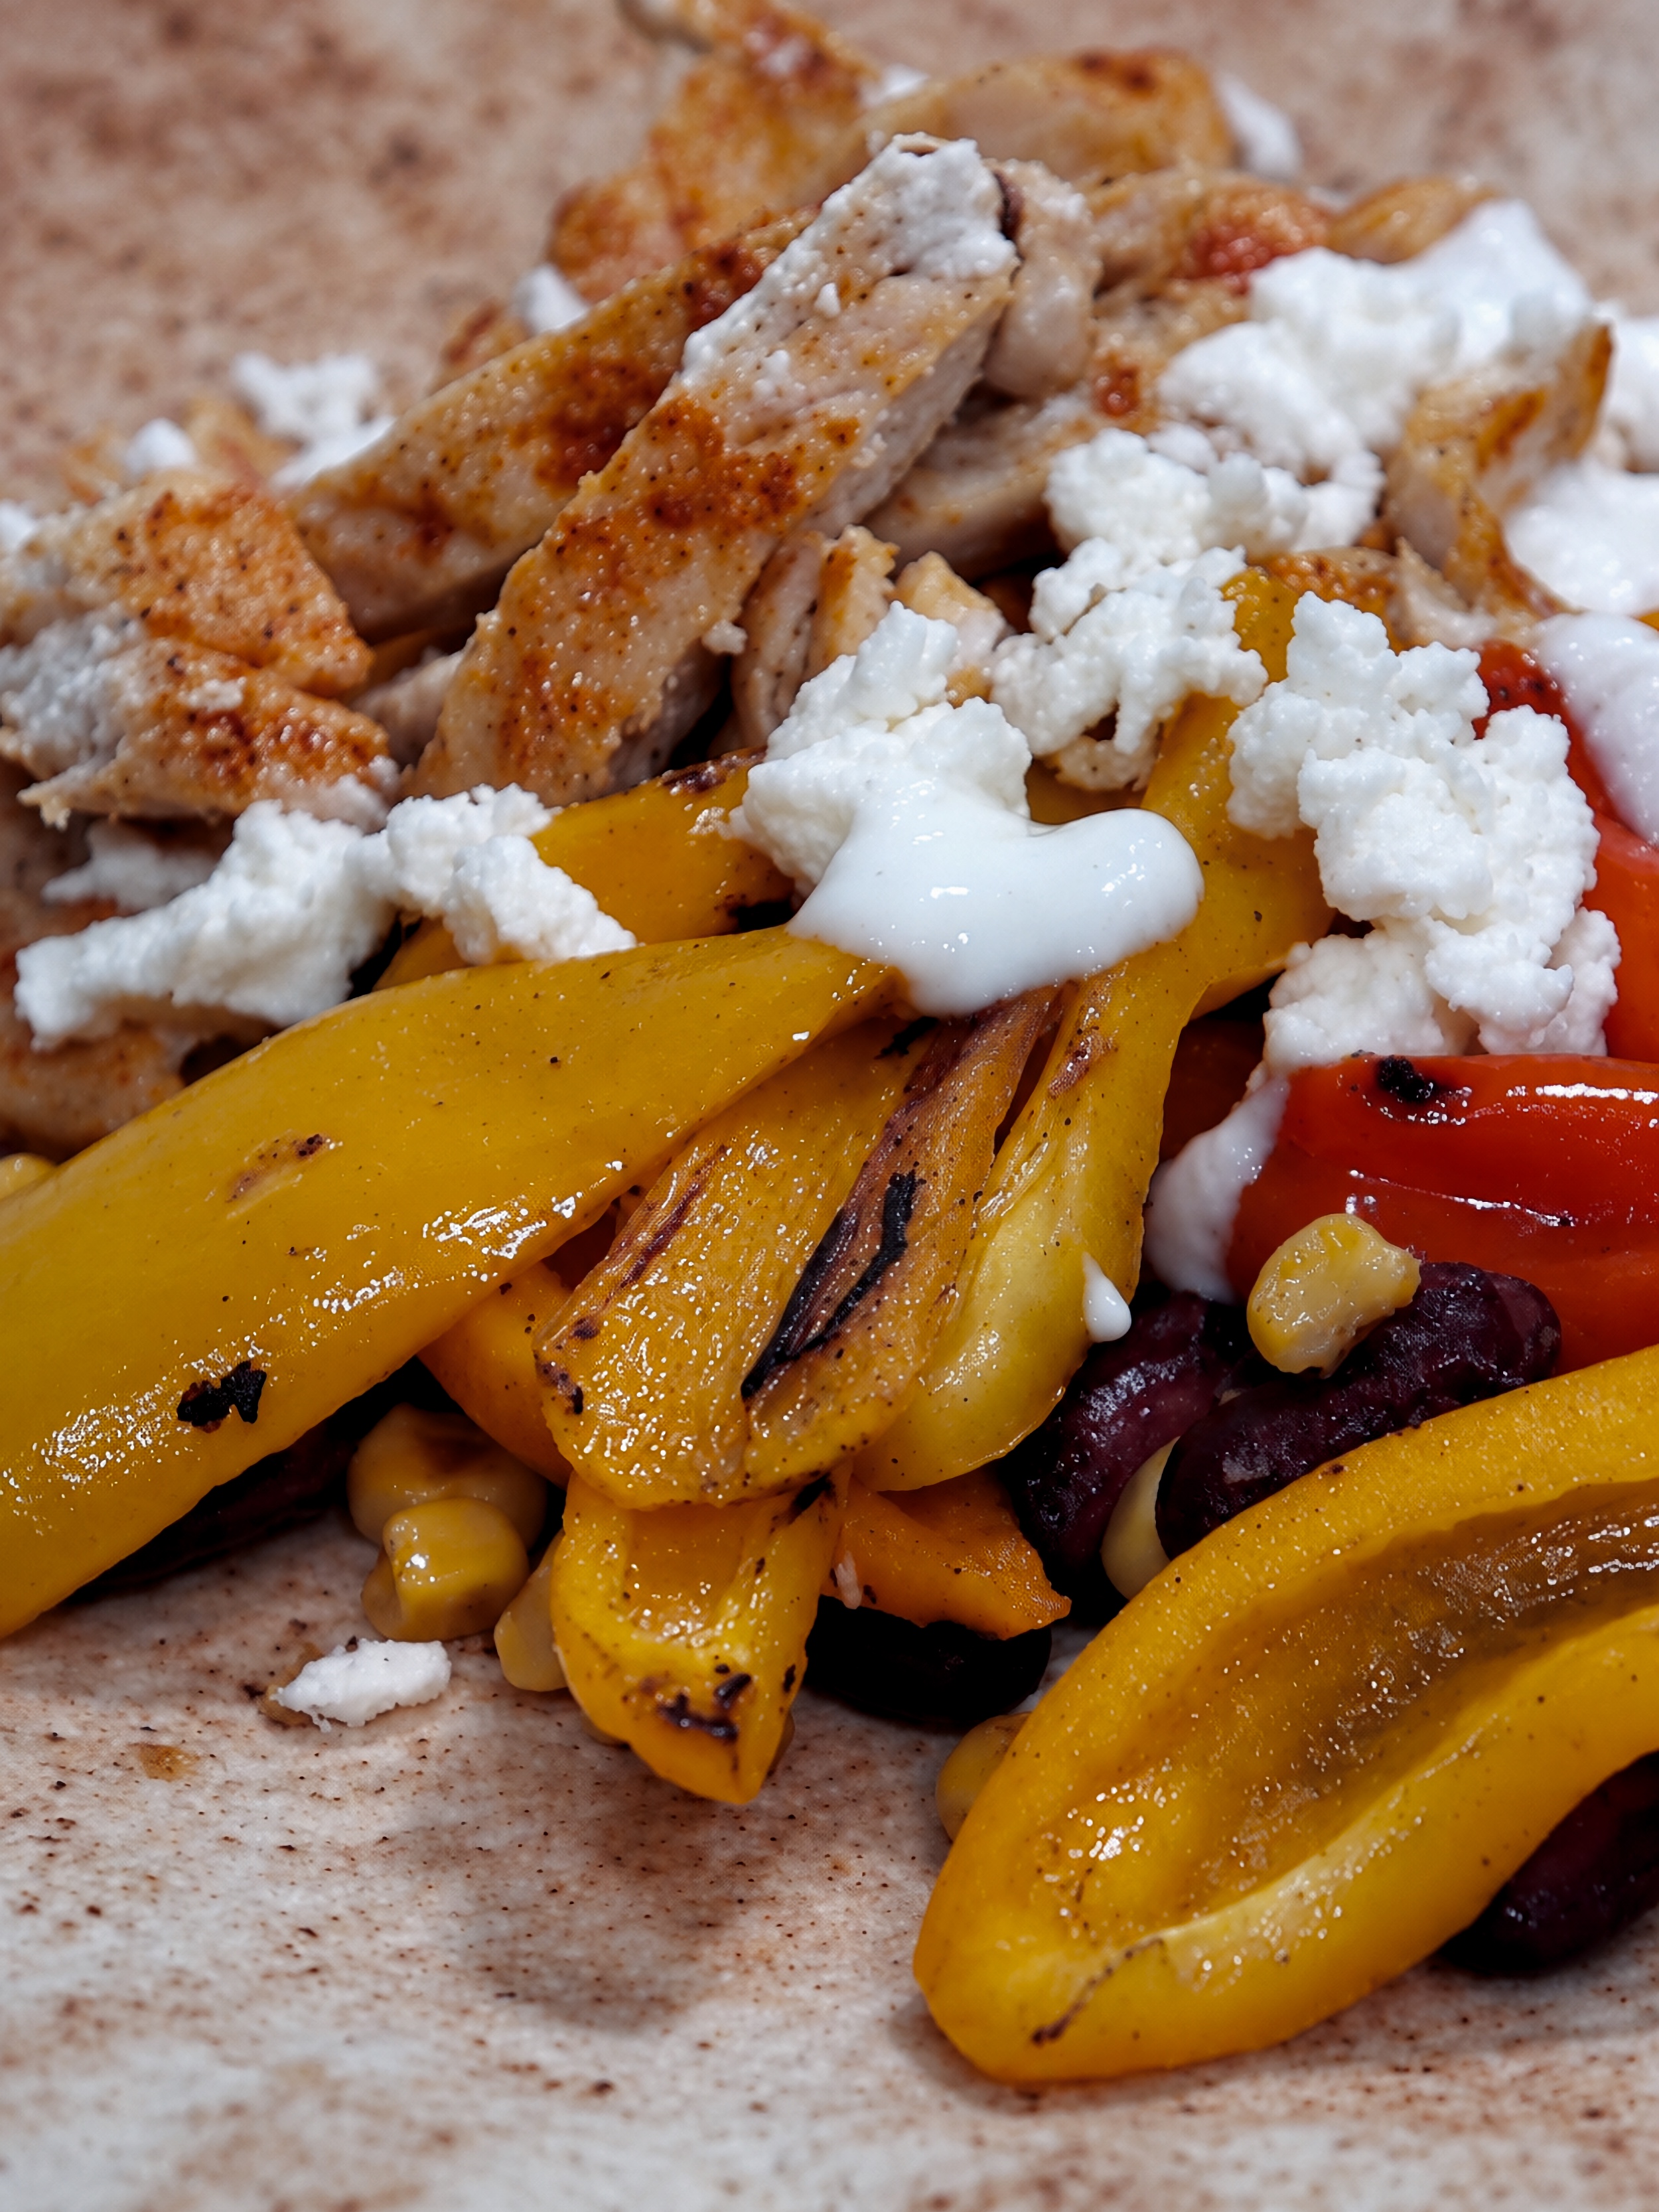
With Mexico on my mind and craving a little sunshine during those winter days that seem to go on forever, I made these chicken and vegetable tortillas. The inspiration came from a Jamie Oliver show I watched on the flight home from our vacation.
In theory, the meal was supposed to take 15 minutes. It took me about 30, possibly a little longer, because I didn’t have all the ingredients ready on the counter. Apparently, that part counts too. 😄
I didn’t have everything he used on the show either, so I improvised, as usual. The result was a colorful meal with pan-seared chicken, vegetables and a salsa that made quite an impression. Mostly because it was spiiiicy. 😅
Why This Recipe Is Worth Trying
This is a good way to bring different flavors and textures to the table, or simply give your usual chicken and vegetables a change of scenery. The peppers keep a little bite, the beans make the filling more substantial, and the corn adds a sweetness that works well with the spicy salsa.
There are a few components, but you don’t need complicated techniques or special equipment. A roomy frying pan and a blender or mini food processor for the salsa will do. The rest is more about being organized than having any particular kitchen skills.
The cheese and yogurt are optional, too. I added them for the contrast between the warm filling, salty feta and cool yogurt, but you can leave them out without changing the rest of the recipe.
I also like the contrast between the cooked vegetables and the fresh salsa. Everything doesn’t end up in the same pan with the same texture, so you can still taste the individual parts of the meal.

My Take on a Mexican-Inspired Meal
I started with what I’d seen on the show and used what I had available. This is my homemade, Mexican-inspired version rather than an exact recreation of Jamie Oliver’s recipe or a traditional dish.
If you’d like the story behind the meal, I’ve written separately about our vacation in Cancun. That trip was what left me missing the sunshine and wanting to bring a little of Mexico back into my kitchen.


Tips for Making Chicken and Vegetable Tortillas
Get Organized Before Heating the Pan
This is where the gap between the show’s 15 minutes and my actual cooking time happened. Having the vegetables washed, the cans open and your utensils within reach makes things much easier. Once you’re cooking over high heat, you don’t have much time to rummage through cupboards.
It also helps to set out the plates you’ll use for the cooked components before you start. It’s a small detail, but useful when the same pan is doing several jobs and you need to clear it for the next part.
Keep Some Bite in the Peppers
The peppers aren’t cooked until completely soft in this recipe. Their firmer texture is part of what sets them apart from the beans and the rest of the filling. Keep an eye on them and turn them as needed so they cook without burning.
I used mixed-color mini sweet peppers because that’s what I had in the fridge. If you use regular bell peppers, bear in mind that they’re larger and can have thicker walls, so their cooking time may differ.

Adjust the Heat to Your Taste
With the two chili peppers I used originally, the salsa was hot. Very hot. 😄 I even made a note at the time to use just one next time.
If you prefer a milder salsa, start with less chili and taste before adding the rest. Heat varies from one pepper to another, so counting them doesn’t always tell you how spicy the finished sauce will be.
Serving Suggestions and a Glass of Mimosa
I served everything on the tortillas with the toppings added at the end. It’s easier if you don’t try to squeeze too much filling into a tortilla that’s too small. You can leave it open on the plate rather than insisting on rolling it up.
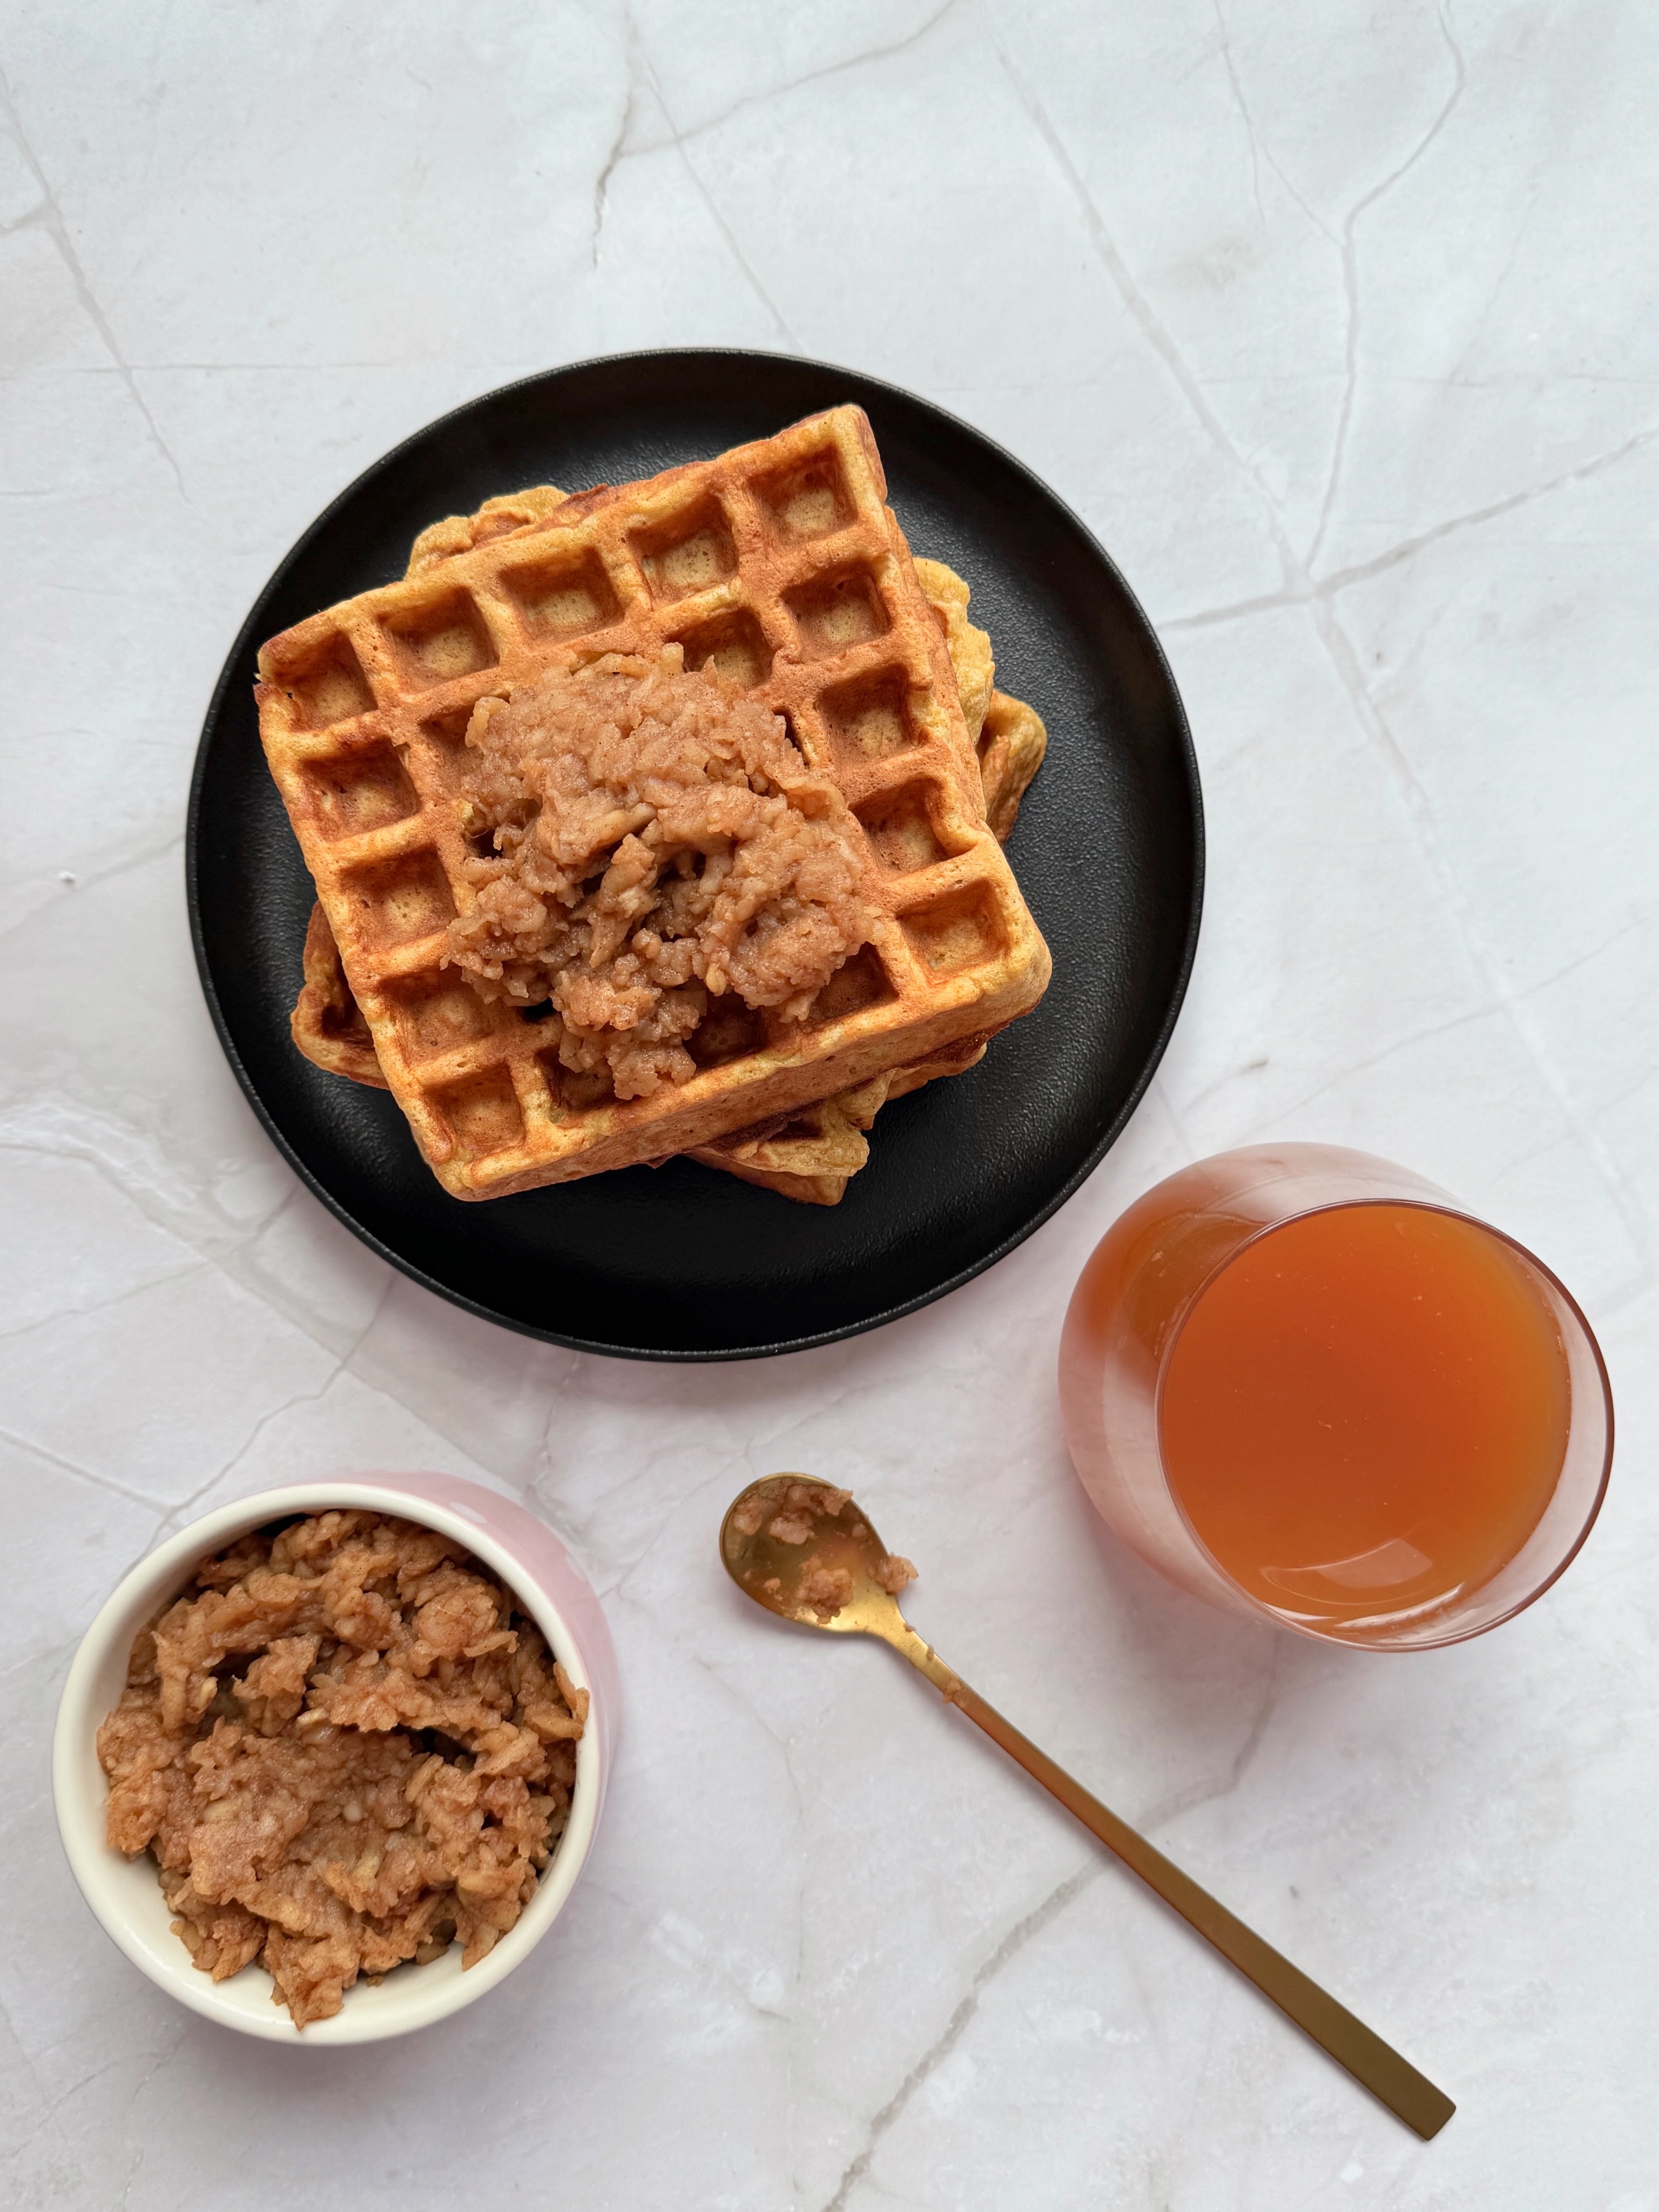
We also had a glass of mimosa, made entirely by *le husband. 😄 It went very nicely with the food and the whole wishing-we-were-still-on-vacation mood.
How We Made the Mimosas
We used around 6–7 medium oranges and dry white sparkling wine, Prosecco in our case. Each glass was half sparkling wine and half orange juice.
Squeeze the oranges, strain the juice and place it in the freezer for 5–10 minutes, just long enough to chill without freezing.
Slowly pour the chilled sparkling wine into each glass until half full, holding the glass at roughly a 45-degree angle to avoid excessive foaming. Gently top up with the cold orange juice and serve immediately.

Frequently Asked Questions
How Do I Keep the Tortillas from Getting Soggy?
Drain the beans and corn well before cooking. When assembling, add a little salsa and serve the rest on the side: this is a fairly loose sauce, and too much can soften the tortillas. Fill them just before eating.
What Consistency Should the Salsa Have?
This version is a loose, briefly blended salsa meant to be spooned sparingly over the filling. It isn’t a thick paste or a chopped tomato salad. The final consistency will vary depending on how juicy your tomatoes are.
Can I Keep the Components Separate and Assemble the Tortillas at the Table?
Yes. Keep the chicken, vegetables and salsa in separate dishes until you’re ready to eat. This lets everyone assemble their tortilla at the last moment and add as much salsa as they like. Add the feta and yogurt at the end, if using.
More Recipes You Might Enjoy
If you enjoyed this combination of chicken and vegetables, here are a few more ideas from the blog for your next meals:
Easy Chicken Chili with Kidney Beans and Corn uses the same combination of chicken and beans, but in a tomato-based sauce with warming spices. Try it when you want familiar ingredients in a meal with a different texture.
Spicy Chicken with Bell Peppers is another way to combine chicken and peppers, this time with white wine and eggs. The main ingredients are similar, but the finished dish tastes quite different from these tortillas with salsa.
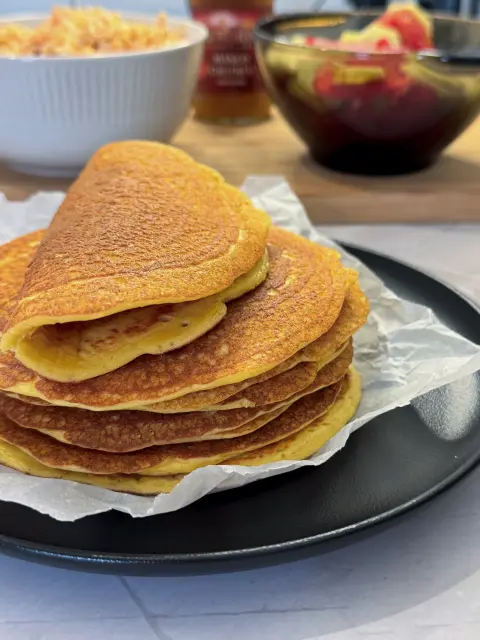
High-Protein Cottage Cheese Flatbread has a soft, pancake-like texture and requires no kneading. It’s worth exploring for other meals with fillings, although it has its own recipe and differs from the tortillas used here.
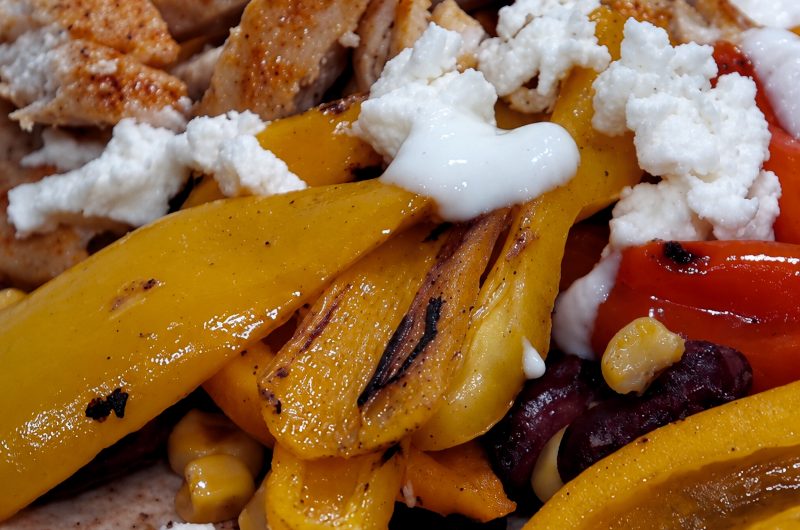
Chicken and Vegetable Tortillas with Spicy Salsa
2
servings15
minutes20
minutes565
kcalPan-seared chicken tortillas with peppers, kidney beans and corn, served with homemade spicy salsa and optional feta and yogurt.
Ingredients
- For the Chicken and Vegetable Tortillas
300 g chicken breast
2 tortillas
Approximately 6 mini sweet peppers, in mixed colors
3–4 tablespoons canned kidney beans
3–4 tablespoons canned corn
Salt and sweet paprika, to taste
A few tablespoons olive oil
1 slice feta cheese, optional
1 tablespoon fat-free plain yogurt, optional
- For the Salsa
4 cherry tomatoes
1 sprig fresh basil
3–4 sprigs fresh cilantro
1 very small onion
2 chili peppers
1 garlic clove
1 teaspoon balsamic vinegar
A pinch of salt
30 ml water
Directions
- Wash the sweet peppers, remove the stems and seeds, and cut them into quarters. Rinse the kidney beans under running water and drain well. Drain the corn.
- Cut the chicken breast into slices and season with salt and sweet paprika.
- Heat 1 tablespoon of olive oil in a frying pan. Cook the chicken over high heat for approximately 5 minutes on each side. Check that it is fully cooked, allowing for the thickness of the slices, then transfer to a plate.
- Add the peppers to the pan with a pinch of salt. Cook, turning occasionally to prevent burning, until partially softened but still slightly firm. Set aside.
- Add 1 tablespoon of olive oil to the pan. Add the kidney beans and corn and cook together for a few minutes.
- For the salsa, peel the onion and garlic. Place all the salsa ingredients in a blender or mini food processor and blend for a few seconds.
- Cut the cooked chicken into strips. Divide between the two tortillas with the peppers, kidney beans and corn.
- Add the optional feta and yogurt. Spoon over a little salsa and serve the remaining salsa on the side.
Note
- Nutrition information is an estimate and may vary depending on the ingredients used and serving sizes. Feta, yogurt and mimosas are not included.