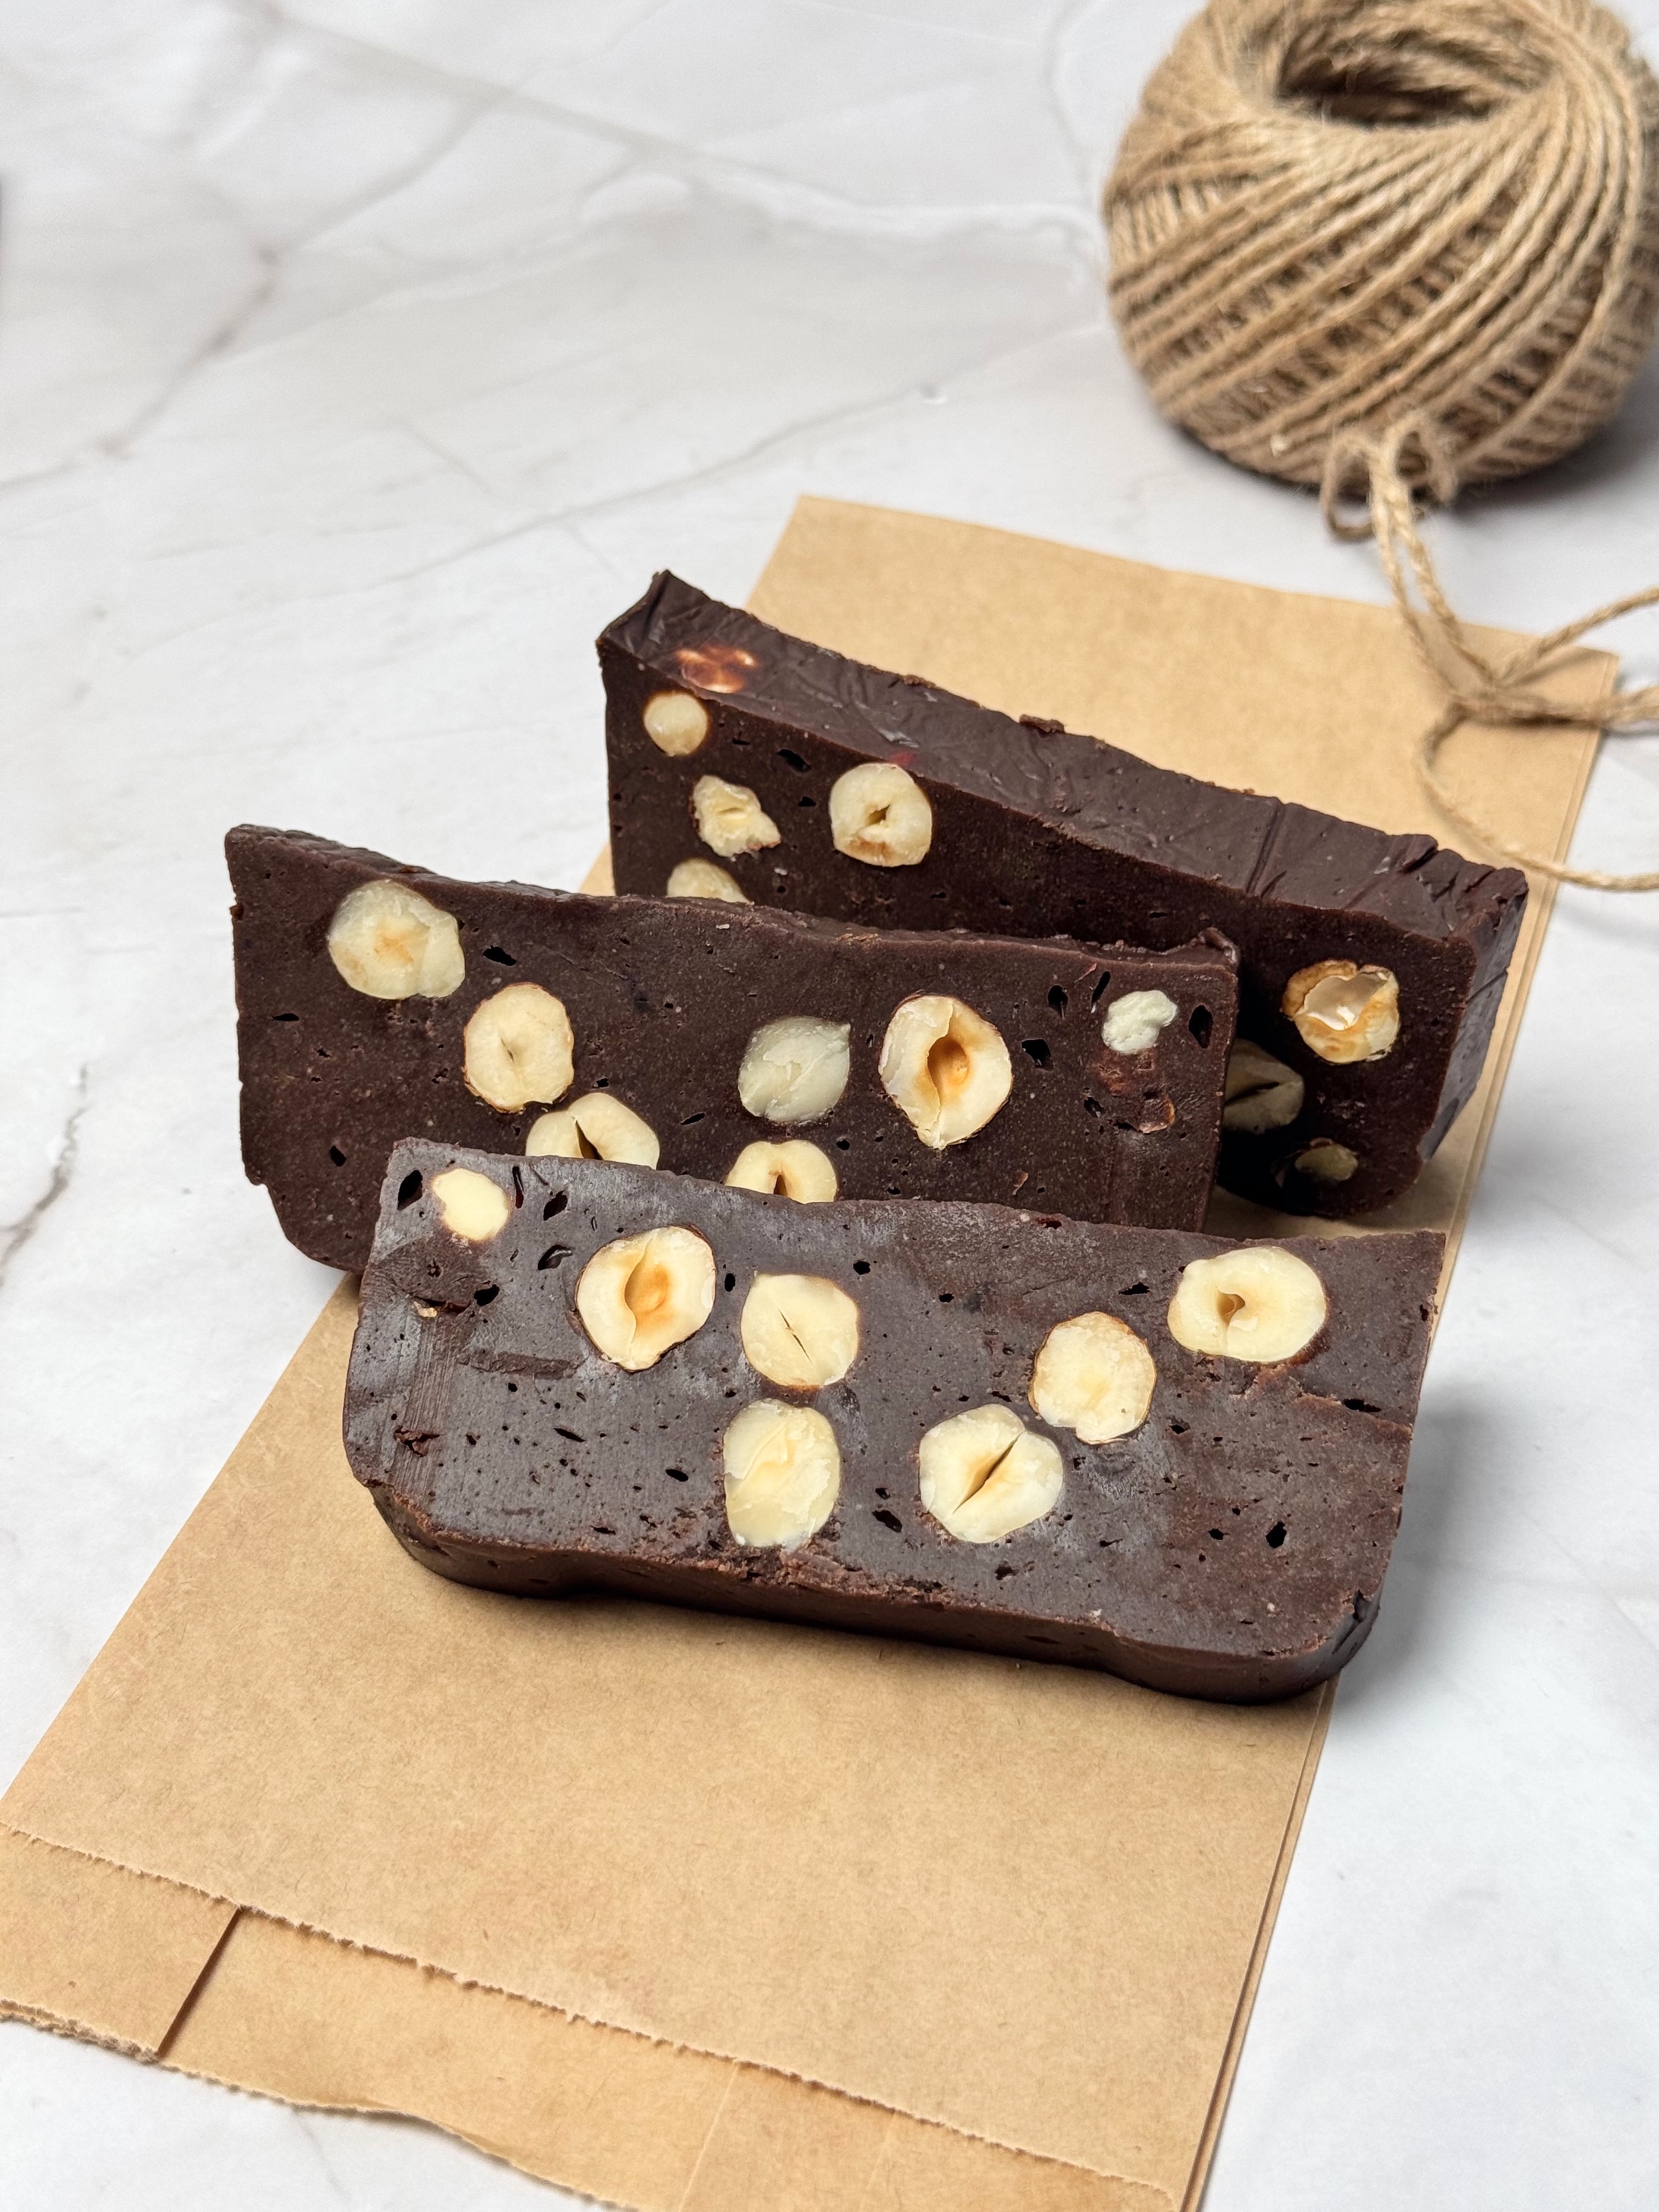
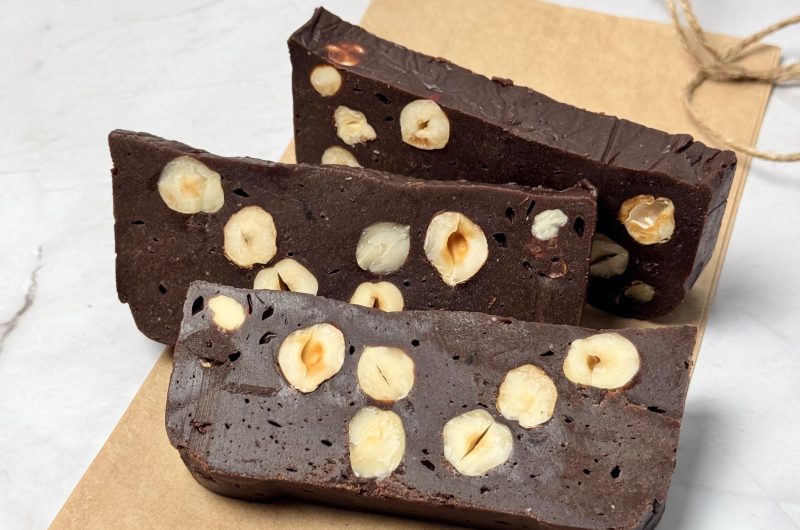
Romanian homemade chocolate, or ciocolată de casă, is one of the sweets I grew up with. It’s made with milk powder and cocoa, with a dense, fudge-like texture and, in this version, roasted hazelnuts.
My dad used to receive powdered milk from the factory where he worked. We didn’t use it in our everyday meals, so every two or three weeks, my mum would turn it into a big tray of homemade chocolate. A very good use for that milk powder, if you ask me. 🤭
It wasn’t always the same version, either. Sometimes she made white and dark chocolate together, sometimes she sprinkled coconut on top, and sometimes she added walnuts. Naturally, after spending enough time beside her while she made it, I learned the recipe too.
Later, it became my go-to dessert whenever I wanted to surprise friends, colleagues, or pretty much anyone with something sweet.
There was just one small problem. Whenever somebody asked for the recipe, I didn’t really have any measurements to give them. I never measured anything — I just eyeballed the amounts.
Well, I’ve finally weighed everything. This Romanian homemade chocolate recipe now comes with actual measurements rather than approximate explanations. Next time someone asks for it, I can send them a link. Progress. 😂
Why You’ll Love This Recipe
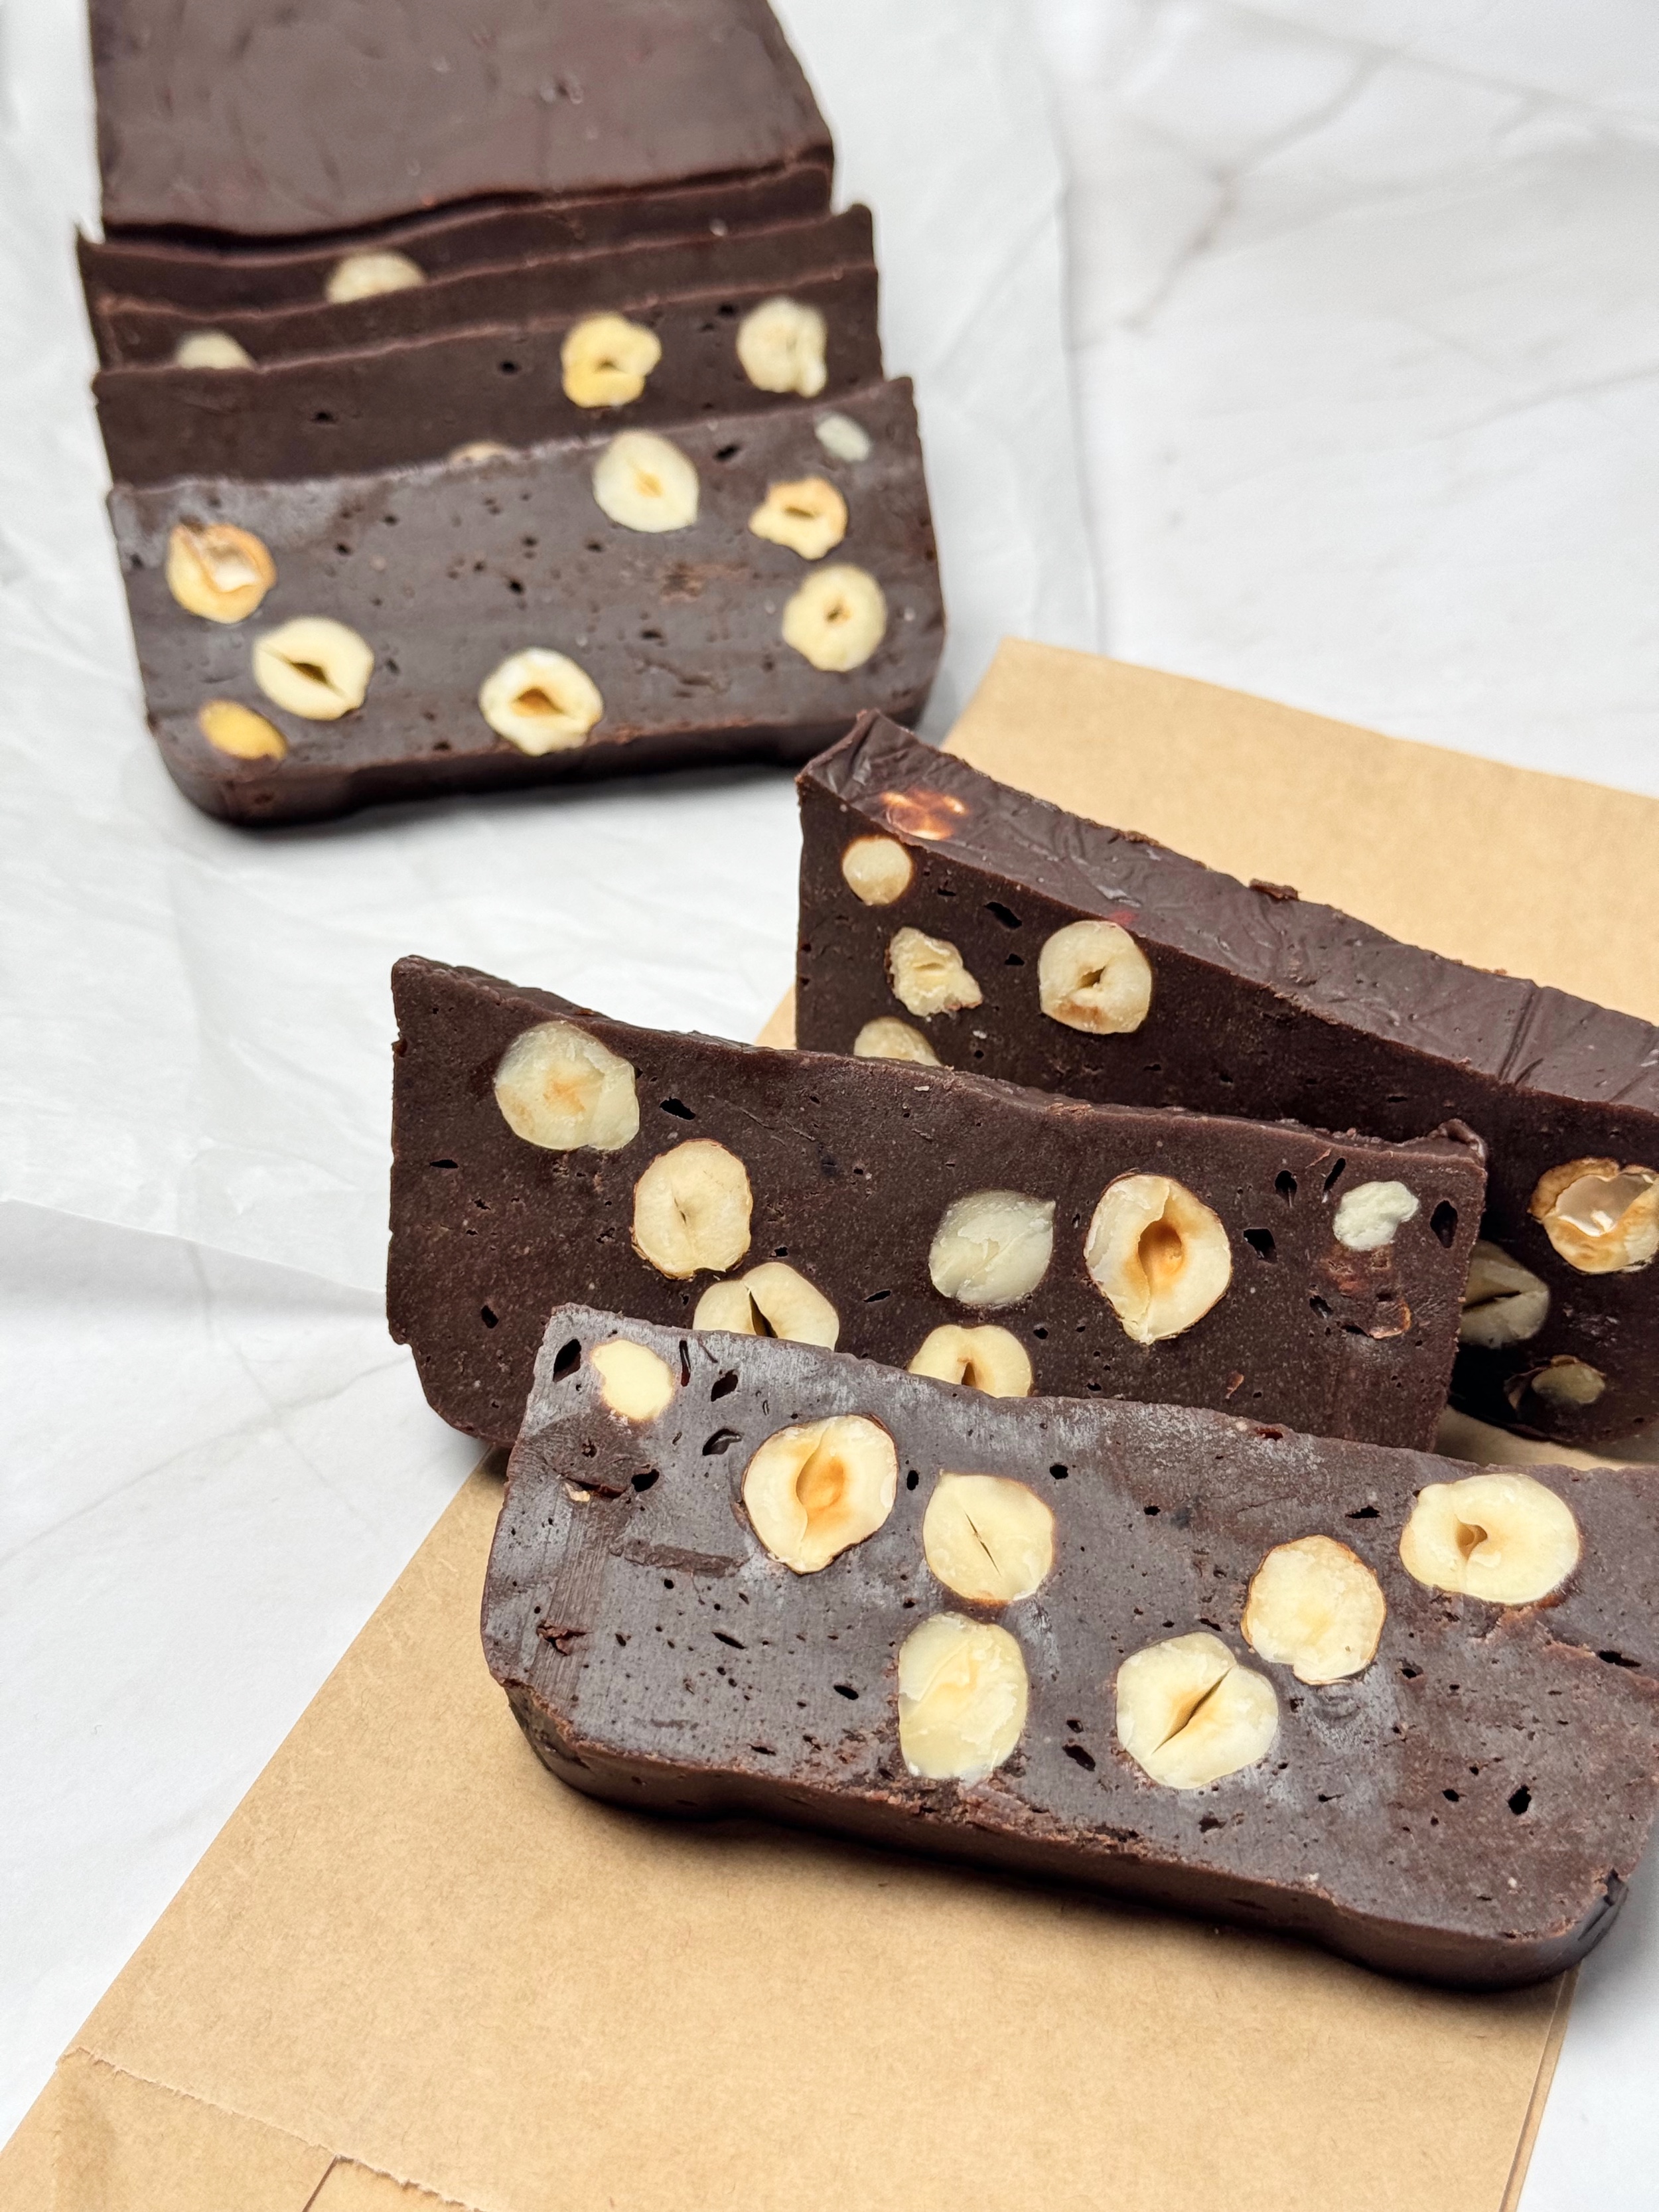
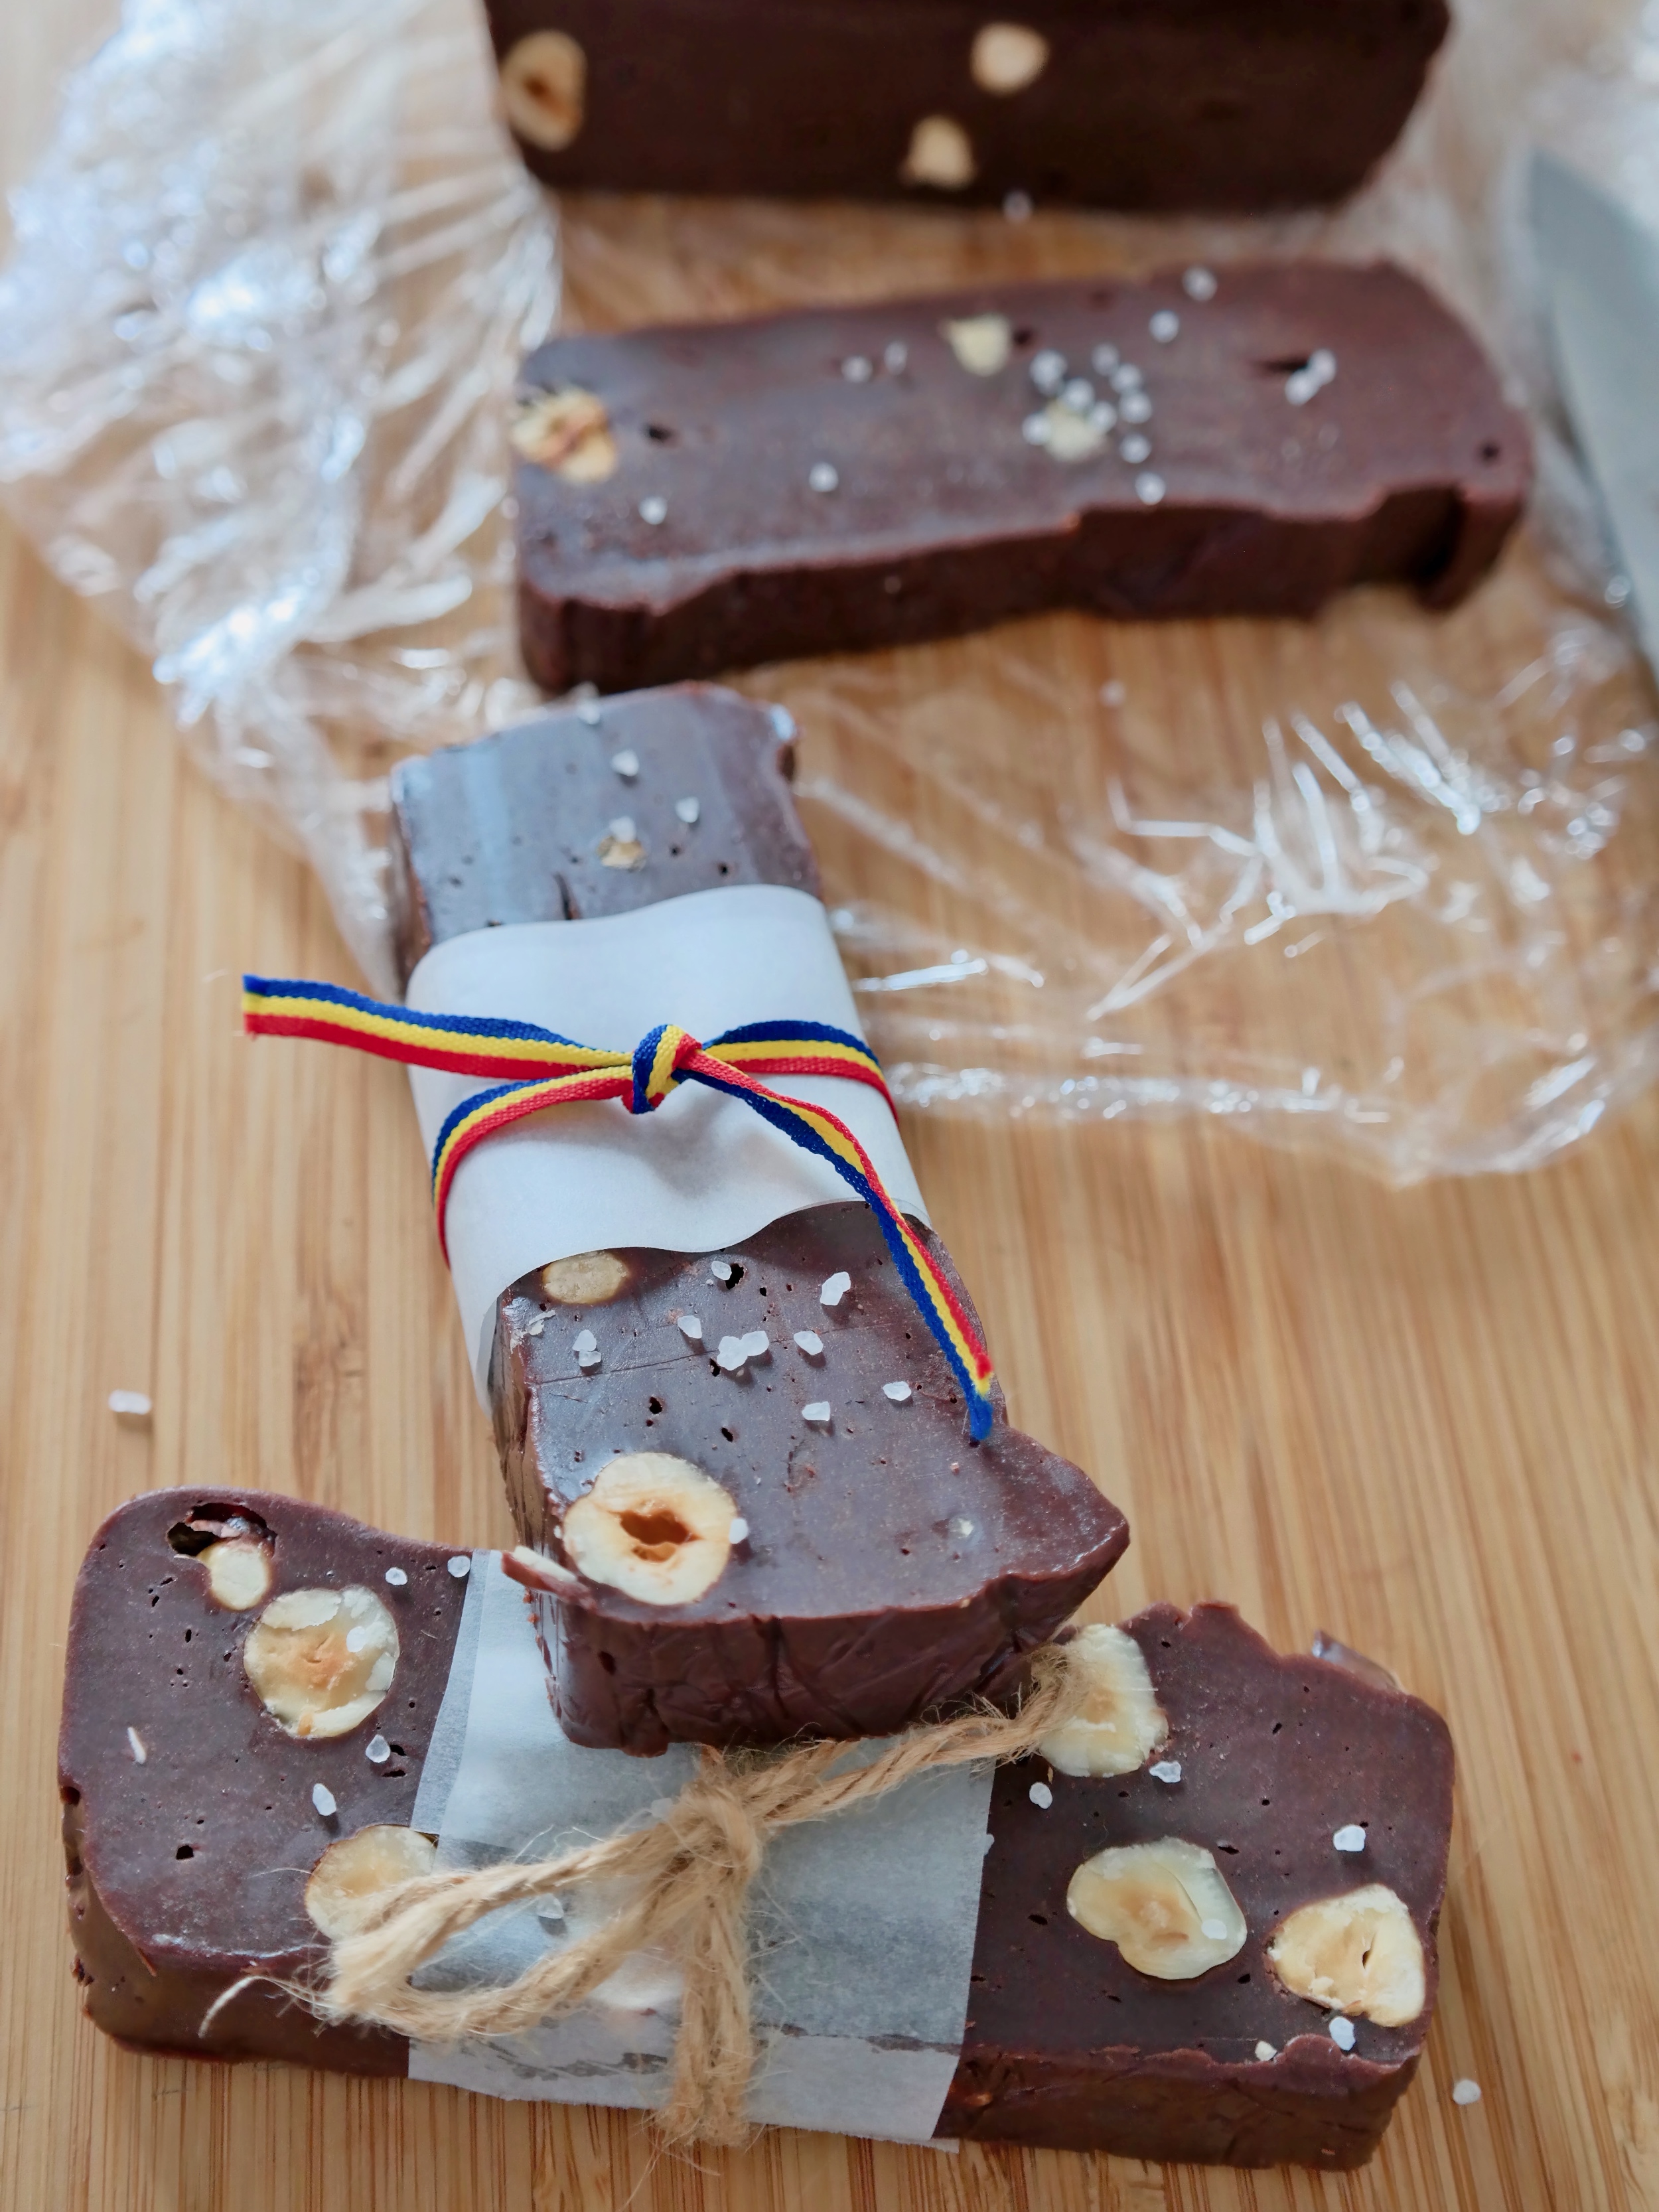
What I like about this version is that it keeps the familiar flavor of the milk powder chocolate I grew up with, while the hazelnuts make it feel a little more special.
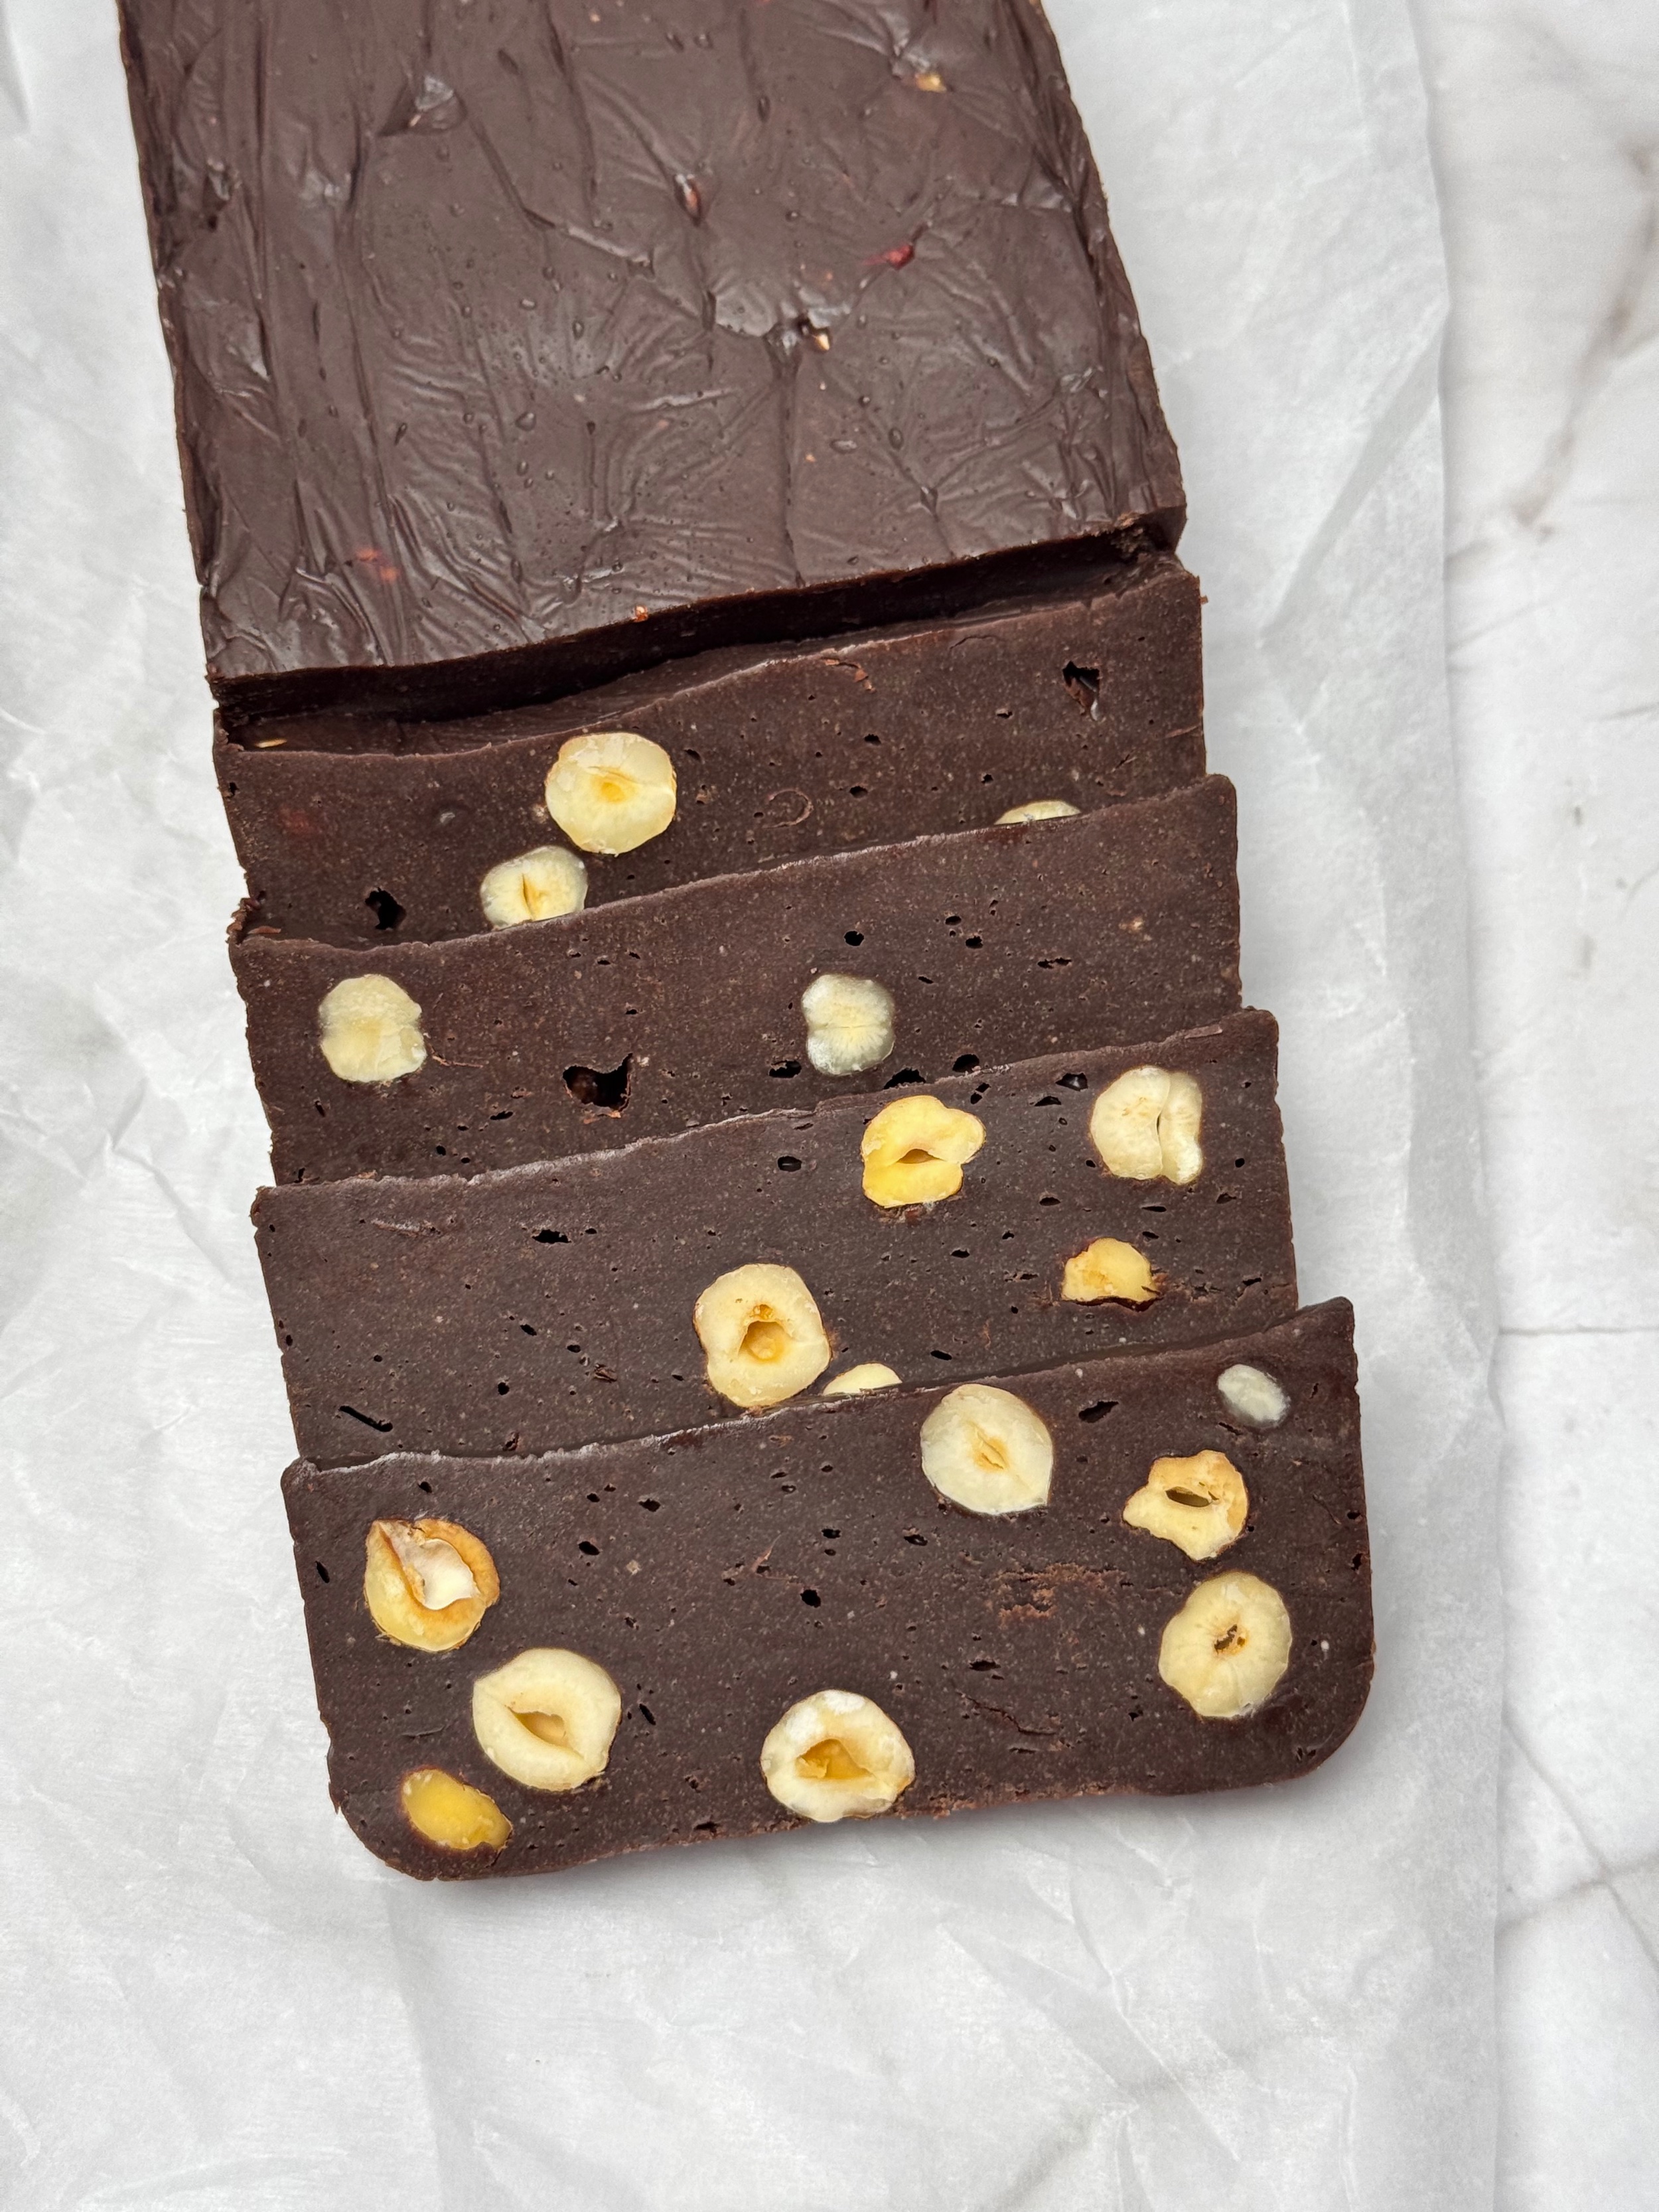
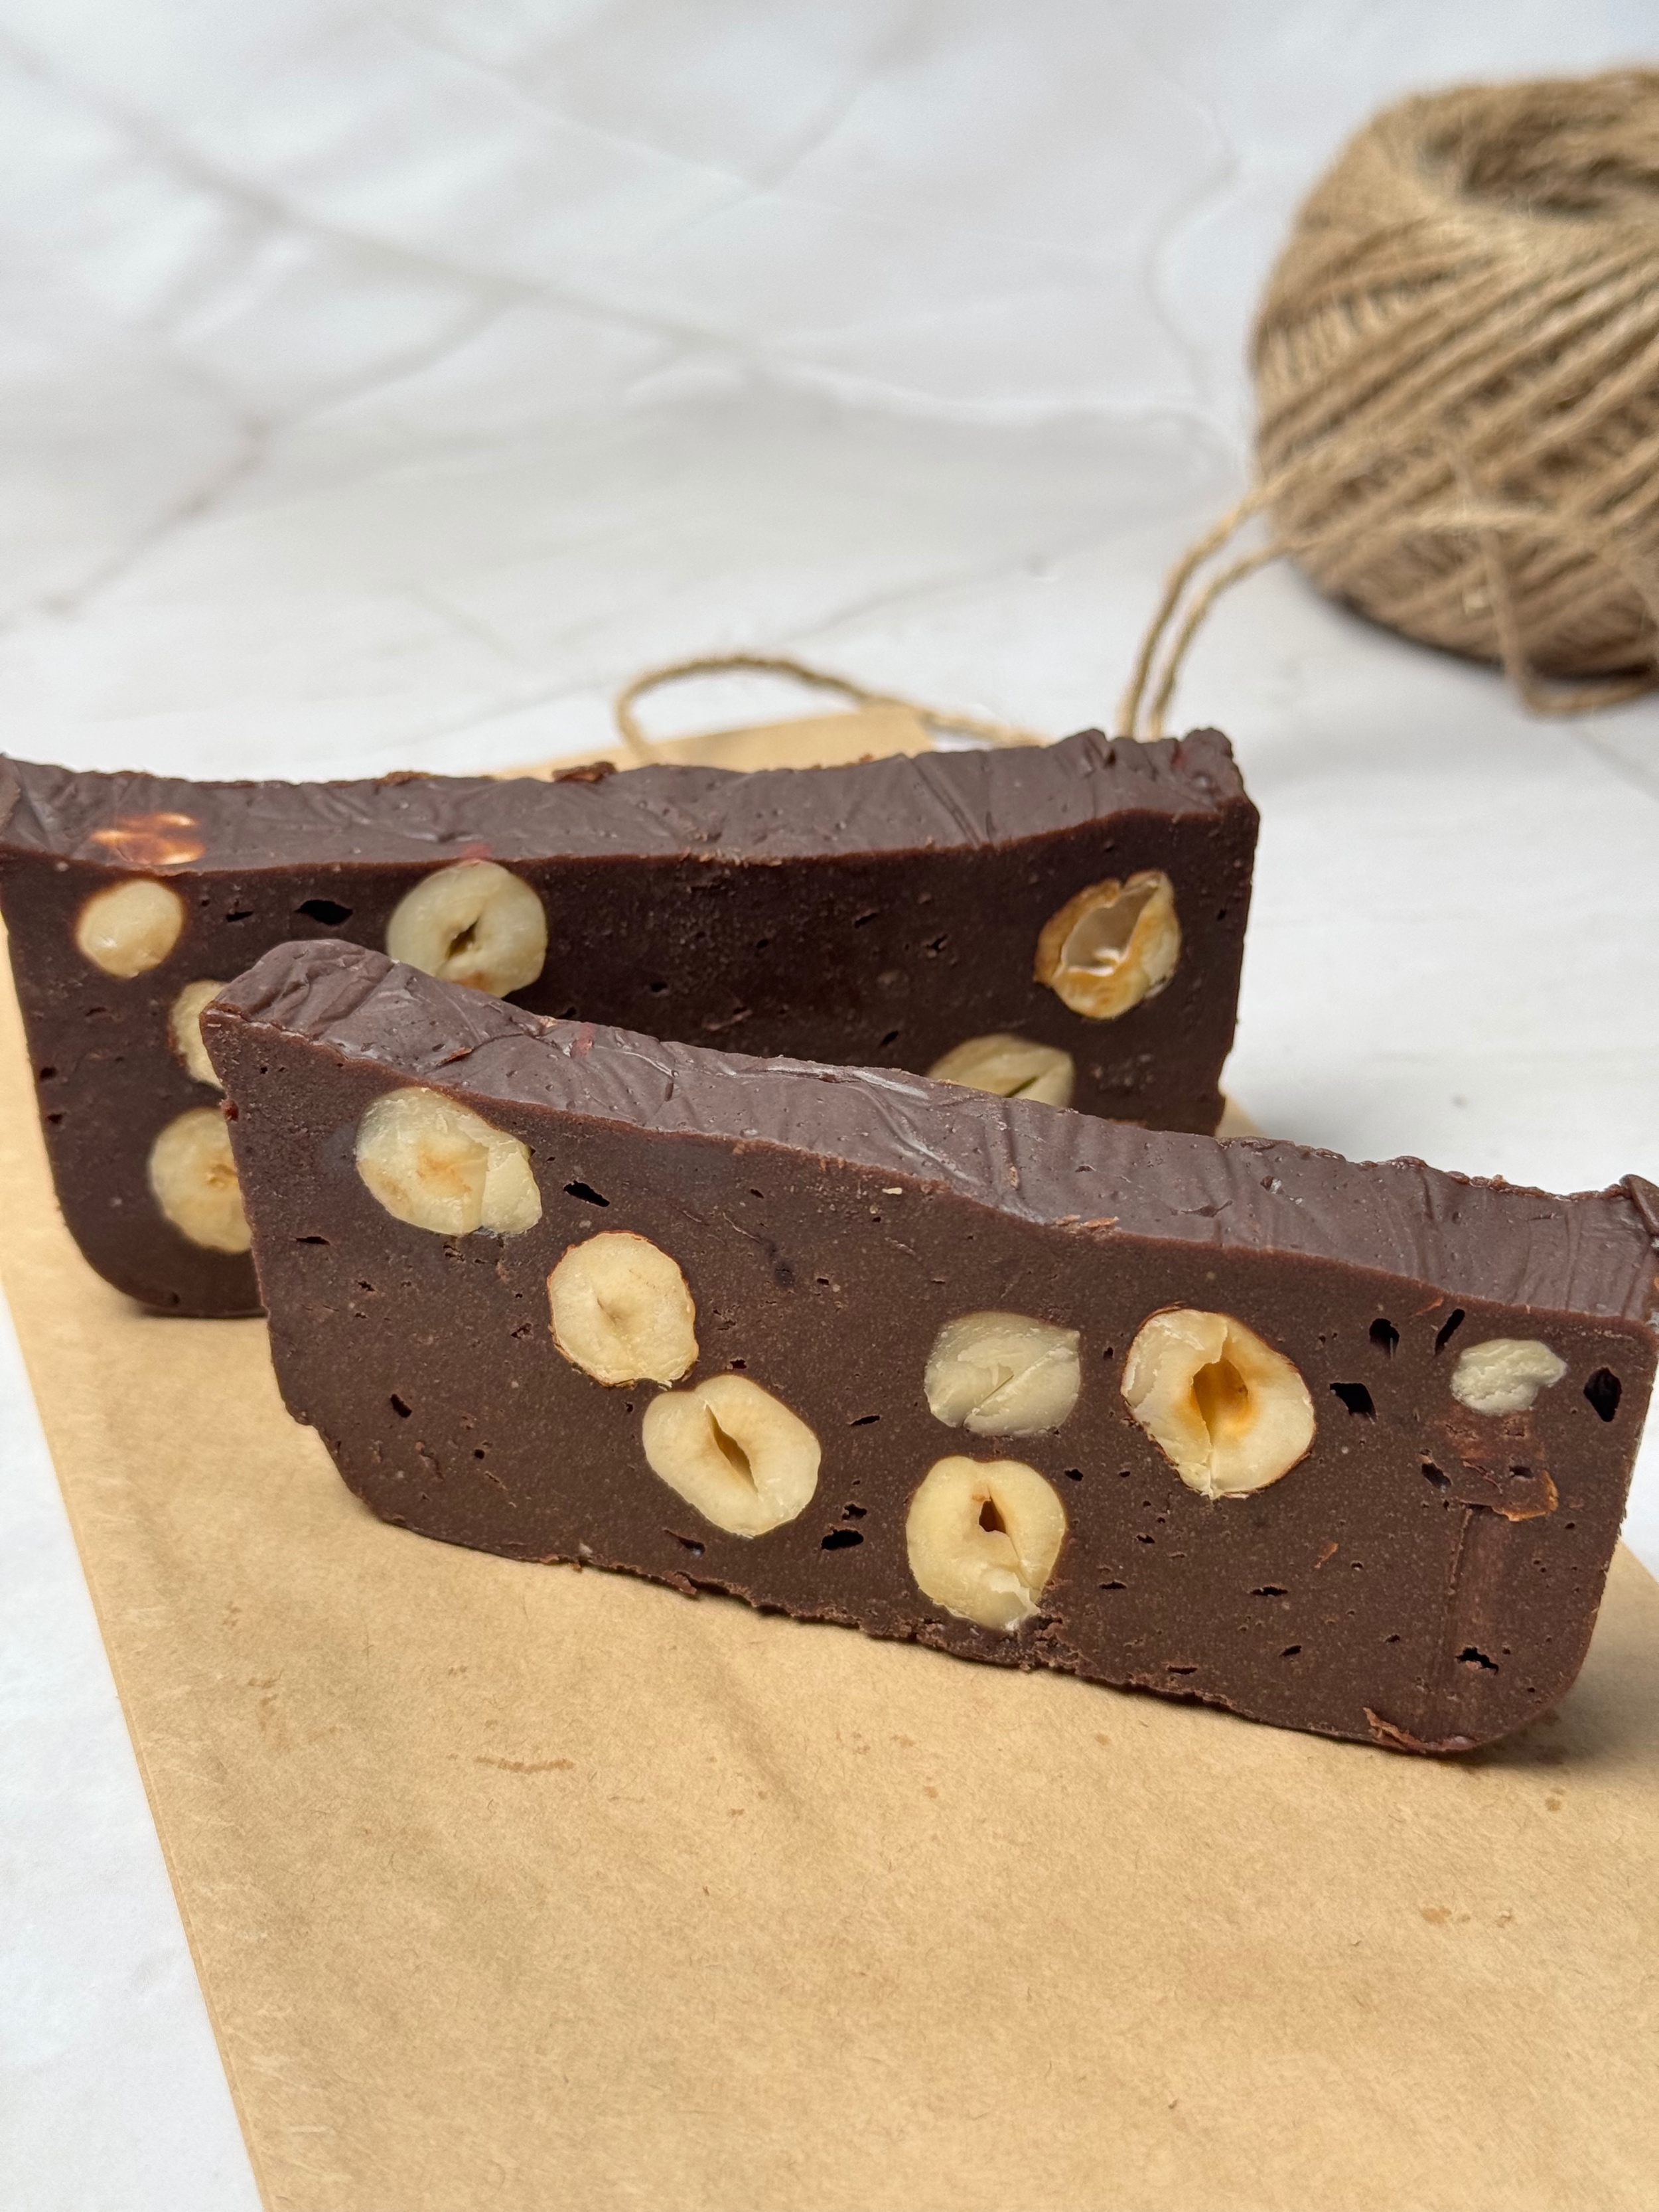
The chocolate is dense and slightly creamy when served, with crunchy hazelnuts throughout. I use vanilla because I like the way it brings out the cocoa flavor without taking over.
It’s also a dessert you can make ahead. It needs time in the refrigerator to set, so it works well as something to prepare in the evening and slice the following morning.
And you can change the presentation without changing the chocolate itself: slices from a loaf pan, rectangular bars, or pieces sandwiched between wafer sheets. Same chocolate, different outfits. 😉
Choosing Milk Powder, Cocoa, and Butter
Of the supermarket milk powders I’ve tried, Rarăul whole milk powder is the one I’ve liked best for this recipe. It’s my usual choice here.
For readers shopping outside Romania, the ingredient to look for is whole milk powder, also sold as full-fat powdered milk. That is the type used in this recipe. I haven’t tested every brand, so I wouldn’t promise identical results across different products.
For the cocoa, I prefer an unsweetened Dutch-process cocoa powder with around 20–22% fat. “Dutch-process” is the term you’ll usually see in English for alkalized cocoa.
I’ve used and liked Van Houten, Callebaut, and MetroChef. Check the specific product rather than relying on the brand name alone, though, because brands offer different cocoa powders with different fat percentages. The cocoa has a noticeable effect on the finished flavor, so I don’t choose it just by how dark it looks.
For butter, I use one with 80–82% fat.
And then there’s the flavoring. Rum is a familiar choice for Romanian homemade chocolate, but I prefer vanilla, either essence or extract. To me, rum can overshadow the chocolate a little, while vanilla brings it forward. That part is entirely down to personal taste.
Why I Buy Raw Hazelnuts
I prefer buying raw hazelnuts and roasting them myself because I like the flavor they bring to the chocolate.
It also gives me a chance to check them before roasting and discard any that look damaged or smell or taste rancid.
Yes, I prefer checking them individually. It might sound a little excessive, but one bad hazelnut can spoil the flavor of the chocolate, and that is really not worth it. 😆
Choosing a Pan
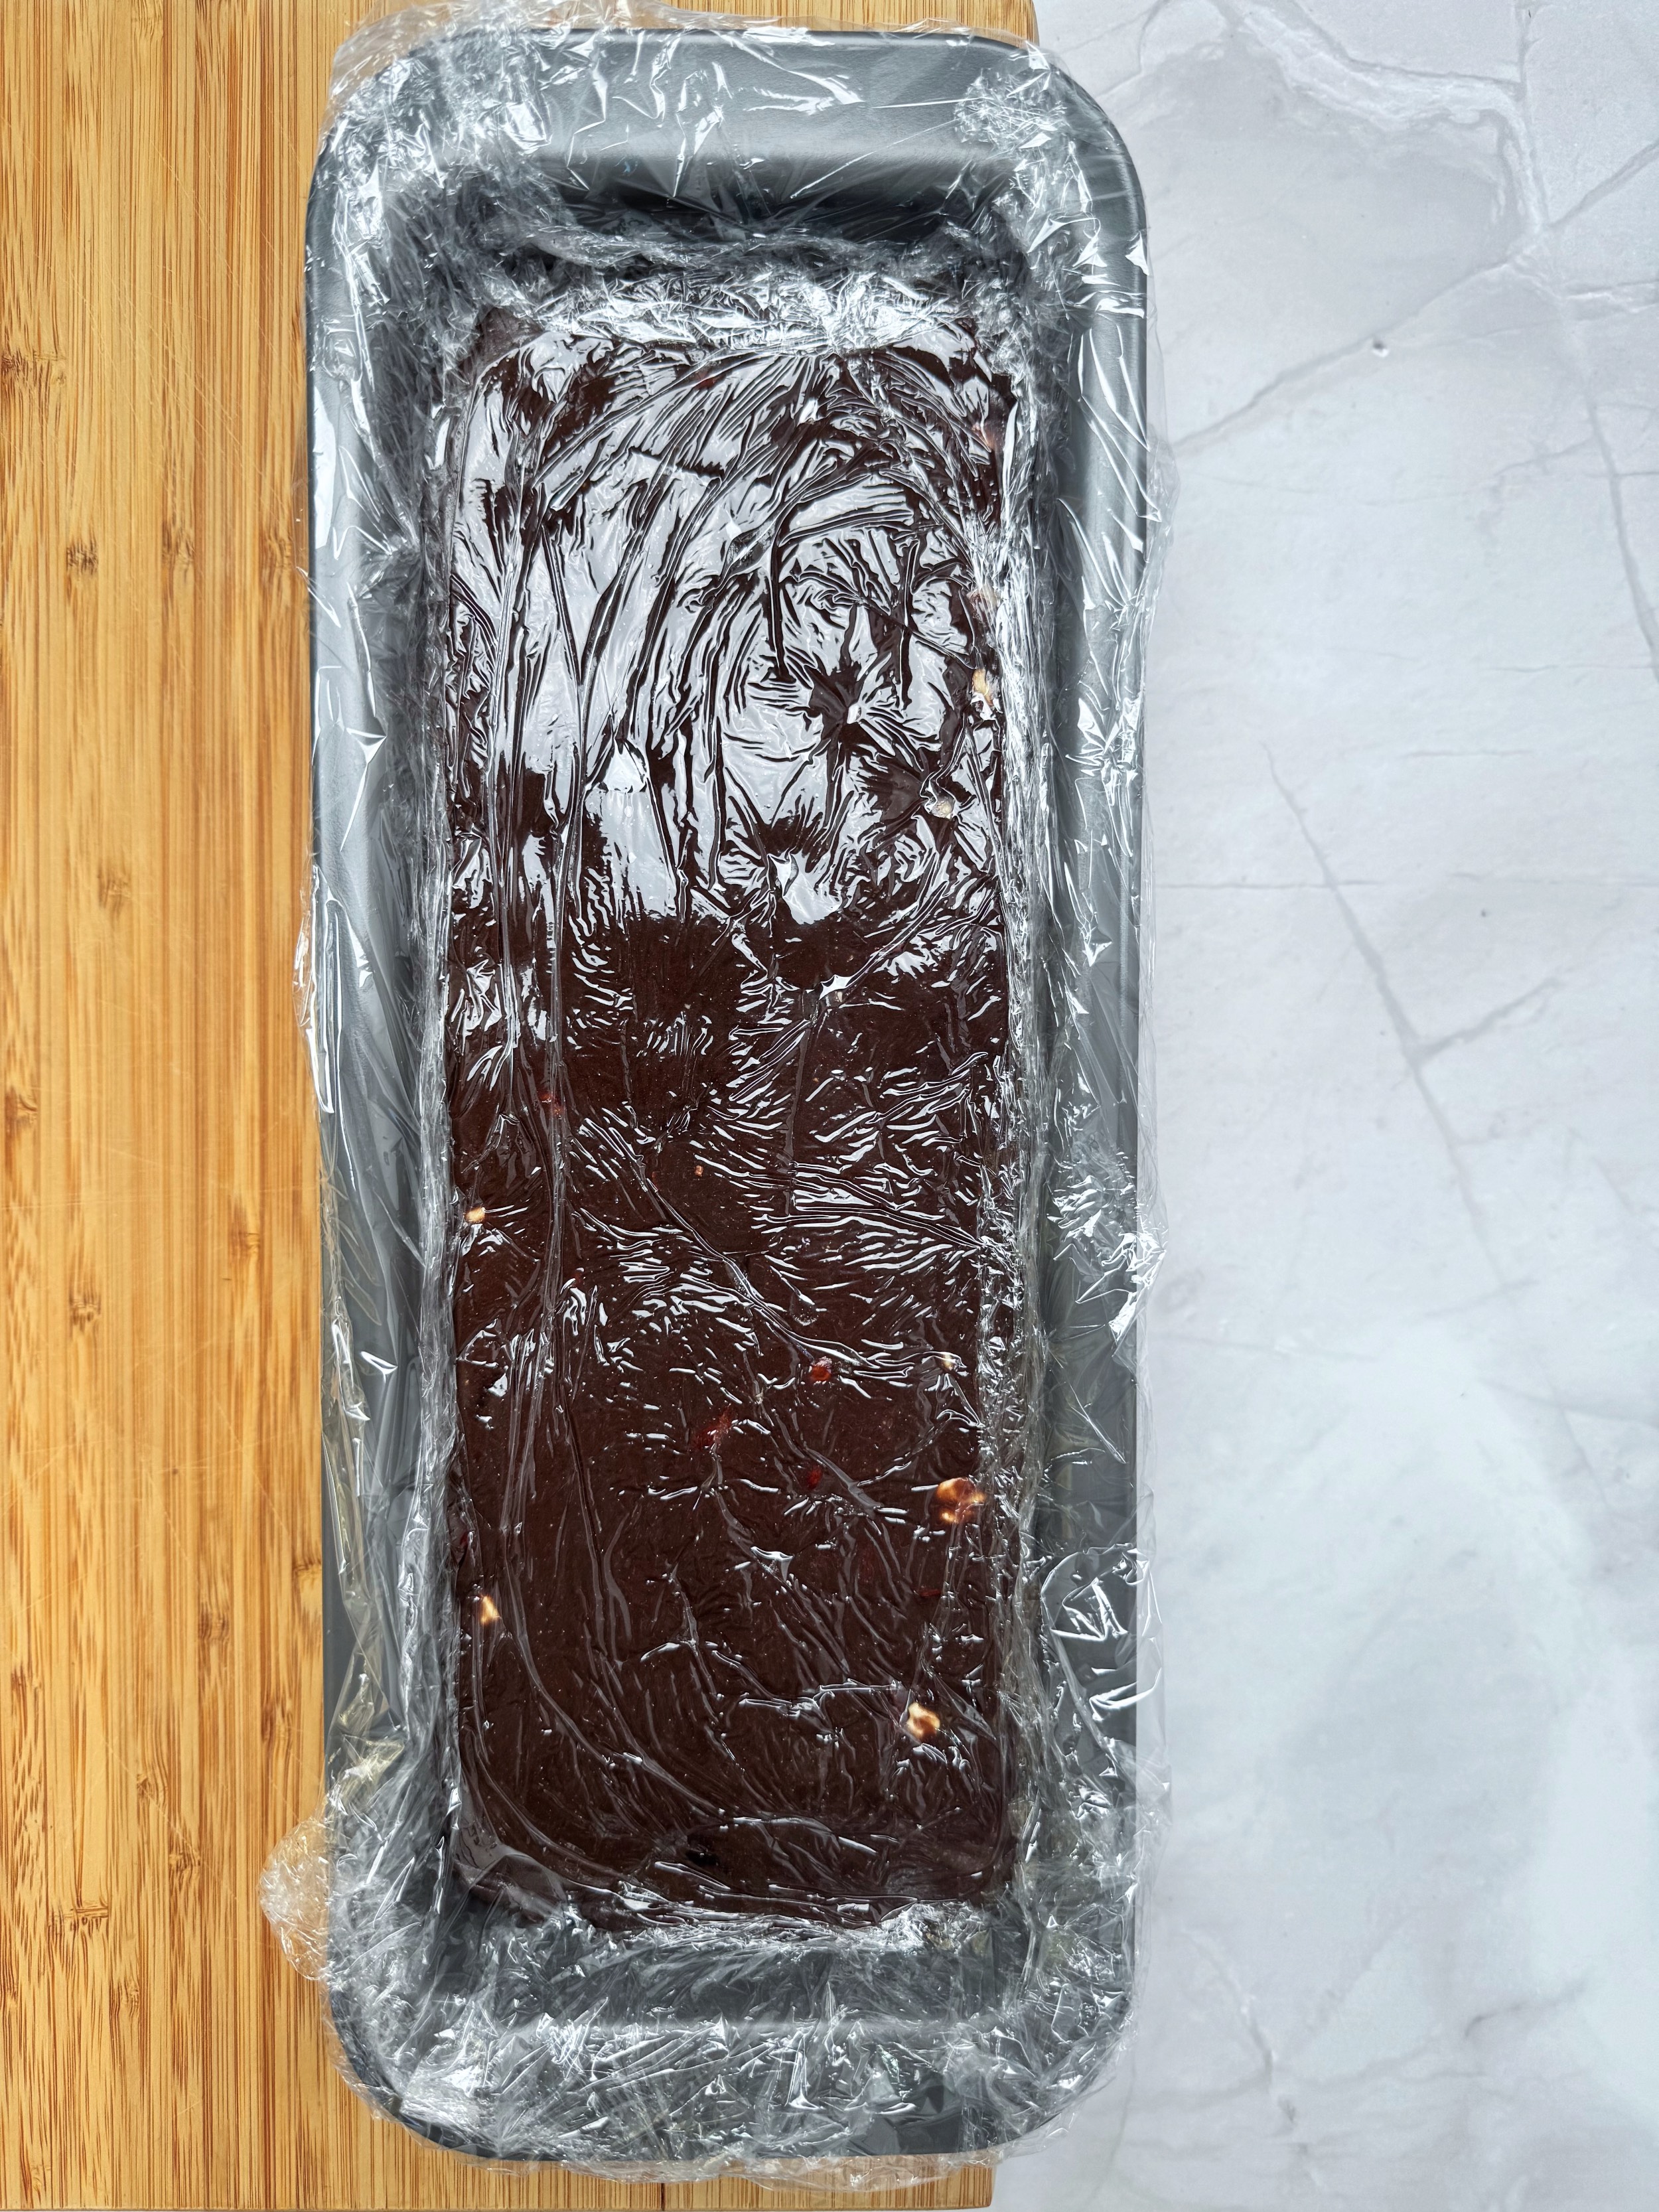
Most often, I use a loaf pan lined with food-safe plastic wrap, then cut the chocolate into slices once it has set. I like seeing the hazelnuts in each slice, and it makes portioning straightforward.
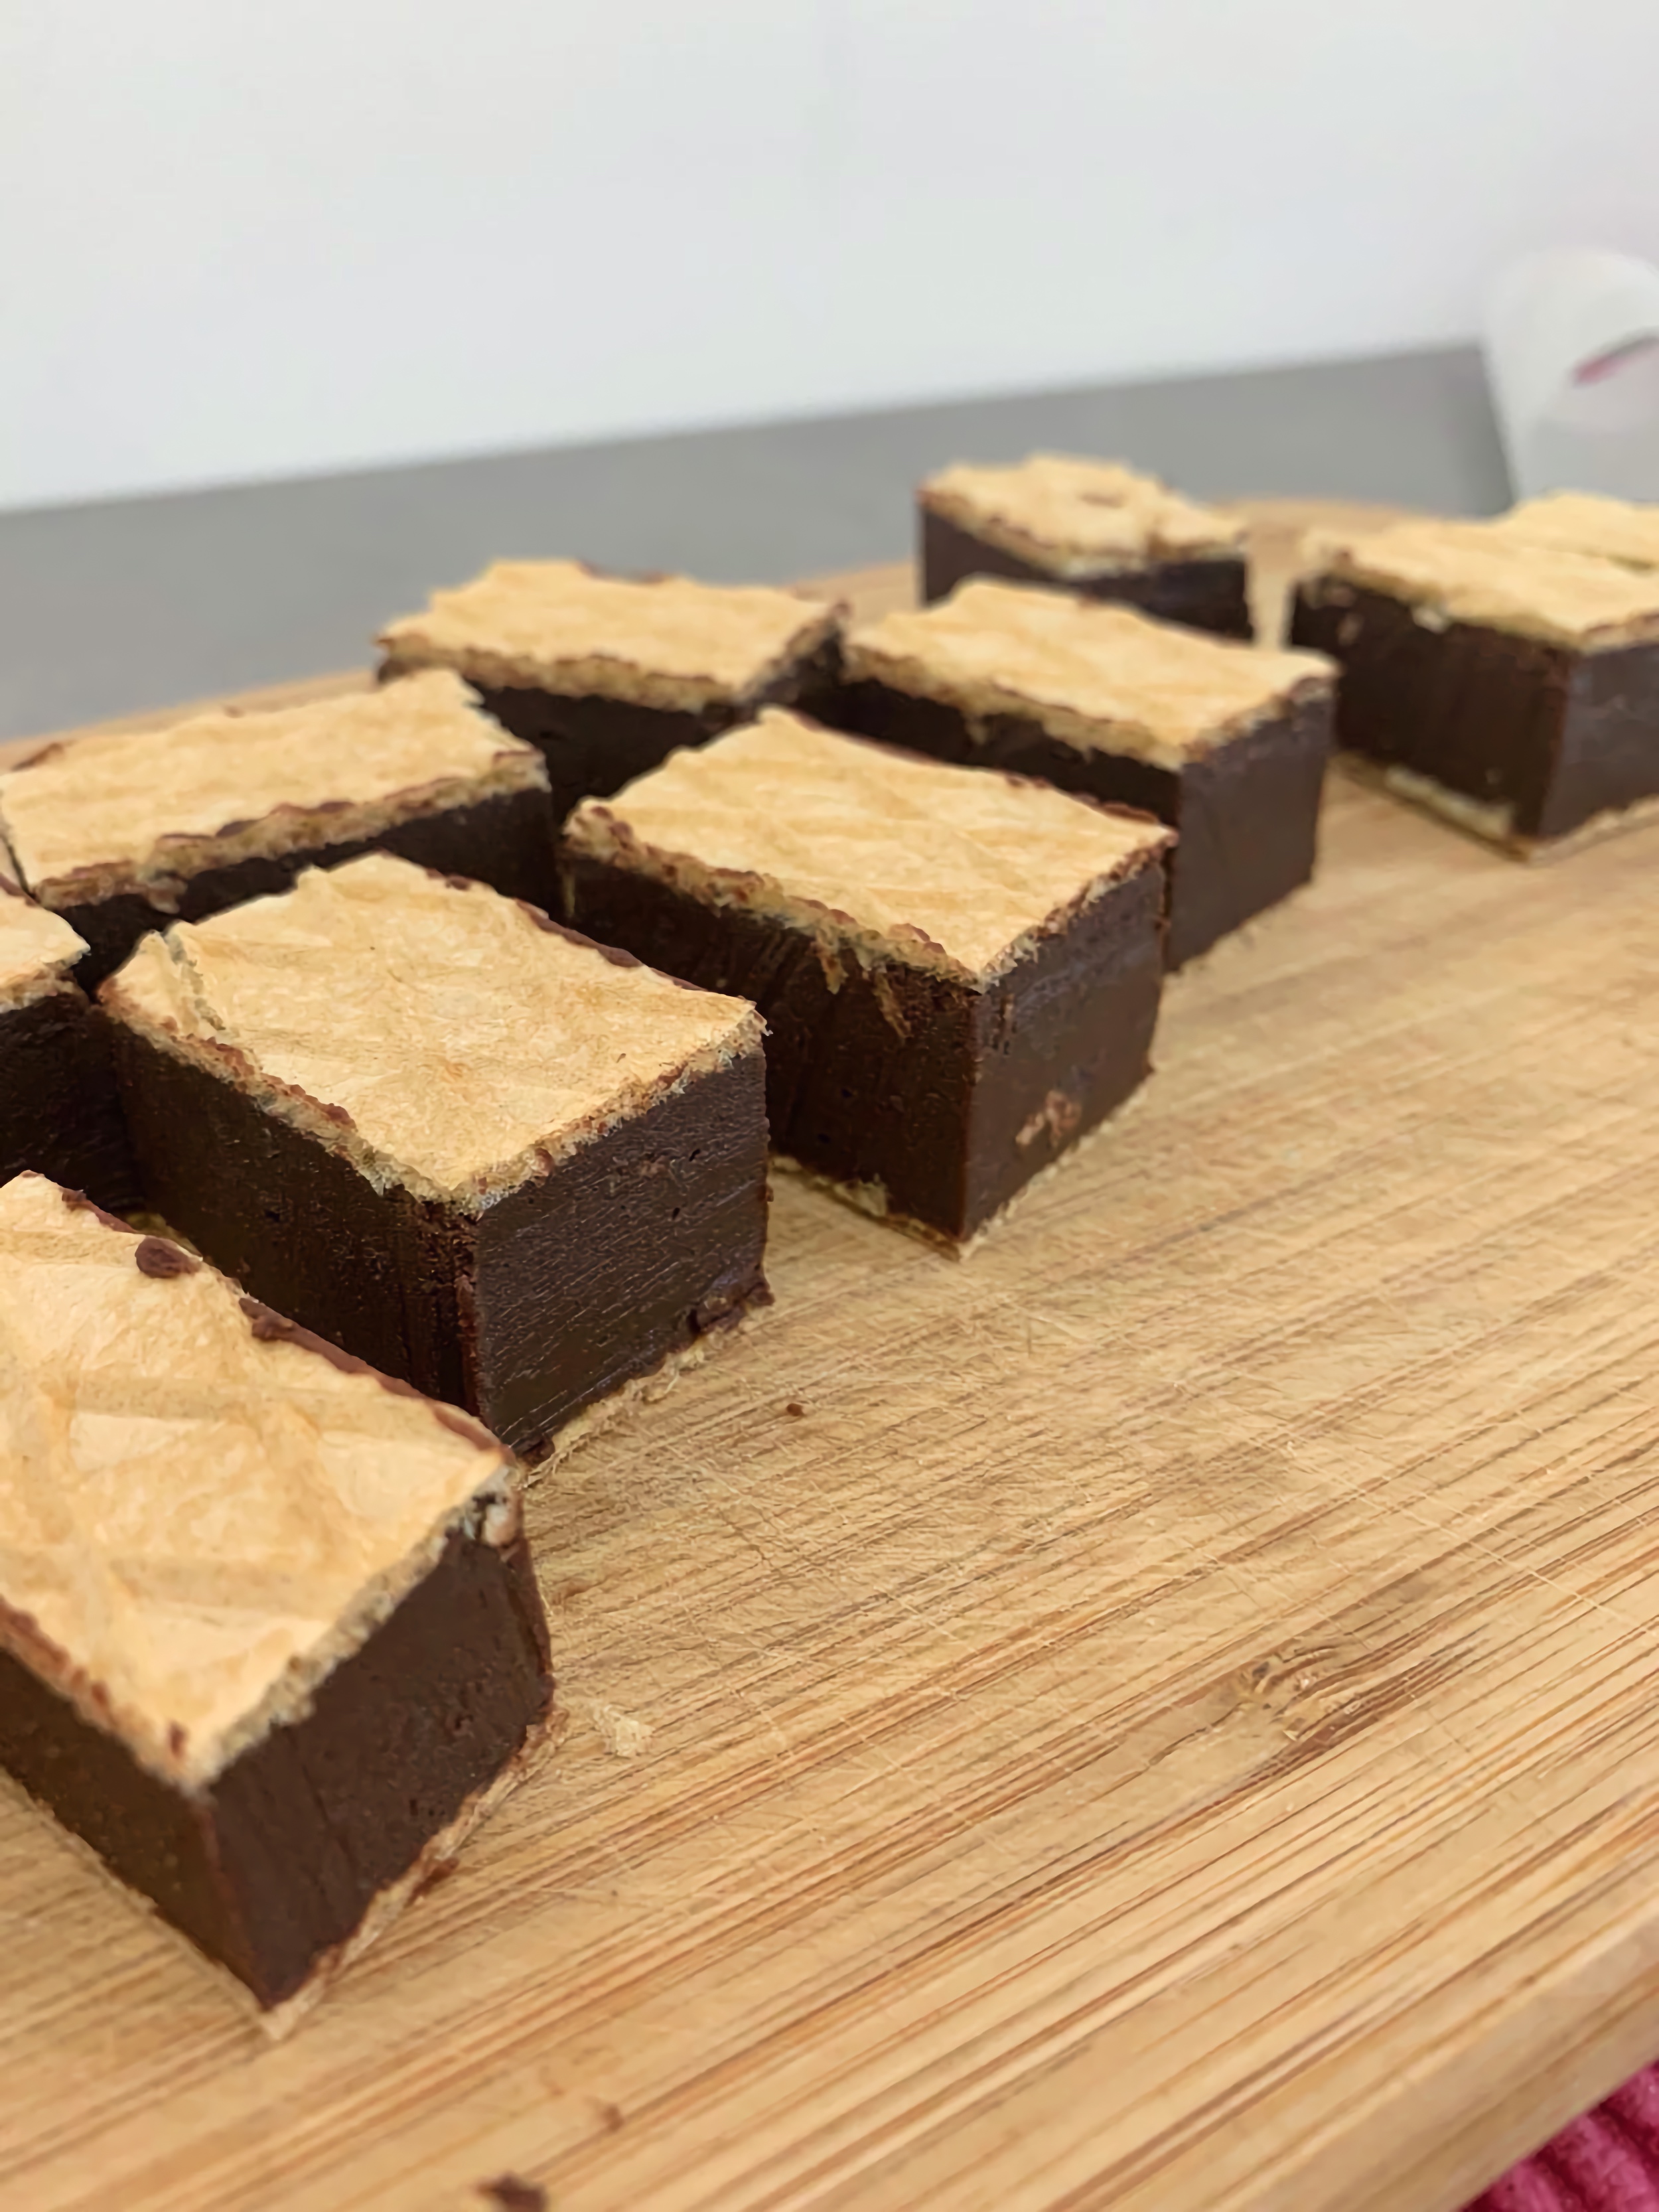
I’ve also made it in a regular rectangular pan, either on its own or between two wafer sheets. By wafer sheets, I mean the thin, plain sheets used for wafer cakes.
A rectangular pan is more convenient if you want bars. Remember that spreading the same mixture over a larger surface gives you a thinner layer, so choose the pan according to how you want to cut and serve the chocolate.
Tips for a Smooth, Even Texture
Sift the milk powder and cocoa together. This helps remove lumps before you add the syrup and makes it easier to get a smooth mixture.
Use a large, deep mixing bowl and an electric hand mixer. Start on low speed so the dry ingredients stay in the bowl rather than ending up all over the counter.
Add the syrup gradually and watch the consistency. The mixture should be thick but still workable enough to transfer to the pan and smooth out. Once it reaches that point, stop adding syrup. You don’t have to use all of it just because there’s some left in the saucepan.
Prepare the pan before mixing. Have it lined and ready so you can transfer the chocolate as soon as the mixture is finished.
Give it time to set. The texture in the bowl is not the final texture. Refrigeration is part of the recipe. 😉
Storing and Serving
I keep the chocolate covered in the refrigerator. I usually make it in the evening and slice it the next morning, which saves me from repeatedly checking whether it has set yet.
For serving, I like taking it out about half an hour beforehand. That gives me my favorite texture: still cool, but slightly creamy.
As for how long it lasts, ours has always disappeared within two or three days. I haven’t been able to test a longer storage time, so I can’t give you a shelf life beyond my own experience.
Frequently Asked Questions
Can I make it less sweet?
Yes. Being a tester at heart 😂, I’ve tried it with both 200 g and 180 g of sugar, and I liked the flavor. The version in the recipe card uses 250 g, which is the amount I’ve found most people prefer.
When I reduce the sugar, I cook the syrup a little longer. I haven’t measured the separate cooking times for those versions, so the five-minute simmer in the recipe applies to the original sugar quantity.
Can I put the chocolate between wafer sheets?
Yes, I’ve made it that way too. Spread the mixture evenly between two plain wafer sheets in a suitably sized pan, then let it set before cutting it into rectangular bars.
Can I leave out the hazelnuts?
Yes. I’ve made the chocolate plain as well, and the hazelnuts are an addition to the basic recipe.
More Recipes for Chocolate Lovers
If you’ve made it this far, I suspect we share a weakness for chocolate. 😁 Here are a few more recipes from the blog where the chocolate flavor comes through in every bite.
Dark Chocolate Crinkle Cookies — A powdered sugar coating, a cracked crust, and a slightly soft, chocolate-rich center. For when you want an intense chocolate flavor in a small cookie.
Chocolate Brownie Cookies with Walnuts and Caramel — Chocolate, crunchy walnuts, and caramel, with a little more chocolate on top. Apparently, the chocolate in the cookies wasn’t quite enough. 😁
Chocolate Sponge Cake with Cocoa Glaze — A light cocoa and vanilla cake finished with a cocoa glaze reserved from the same mixture. For those days when your chocolate craving calls for a whole pan of cake.
Romanian Homemade Chocolate Recipe with Hazelnuts
20
slices20
minutes15
minutes310
kcal4
hoursRomanian homemade chocolate made with whole milk powder, cocoa, vanilla, and roasted hazelnuts. Rich and dense, with a slightly creamy texture when served.
Ingredients
500 g whole milk powder — I use Rarăul
60 g unsweetened Dutch-process cocoa powder
200 g butter with 80–82% fat
250 g granulated sugar
250 ml water
2 tsp vanilla essence, to taste
150 g raw shelled hazelnuts
Directions
- Preheat the oven to 180°C / 350°F. Check the hazelnuts and discard any that look damaged or smell or taste rancid. Spread them in a single layer on a baking sheet and roast for 5–8 minutes, watching carefully so they don’t burn. Set aside to cool.
- Line a 10 × 30 cm (approximately 4 × 12-inch) loaf pan with food-safe plastic wrap suitable for contact with warm food. Alternatively, prepare a 20 × 30 cm (approximately 8 × 12-inch) rectangular pan.
- Sift the milk powder and cocoa powder together into a large, deep mixing bowl.
- Put the sugar and water in a small saucepan and bring to a boil. Reduce the heat to low and simmer for 5 minutes, stirring occasionally to help dissolve the sugar.
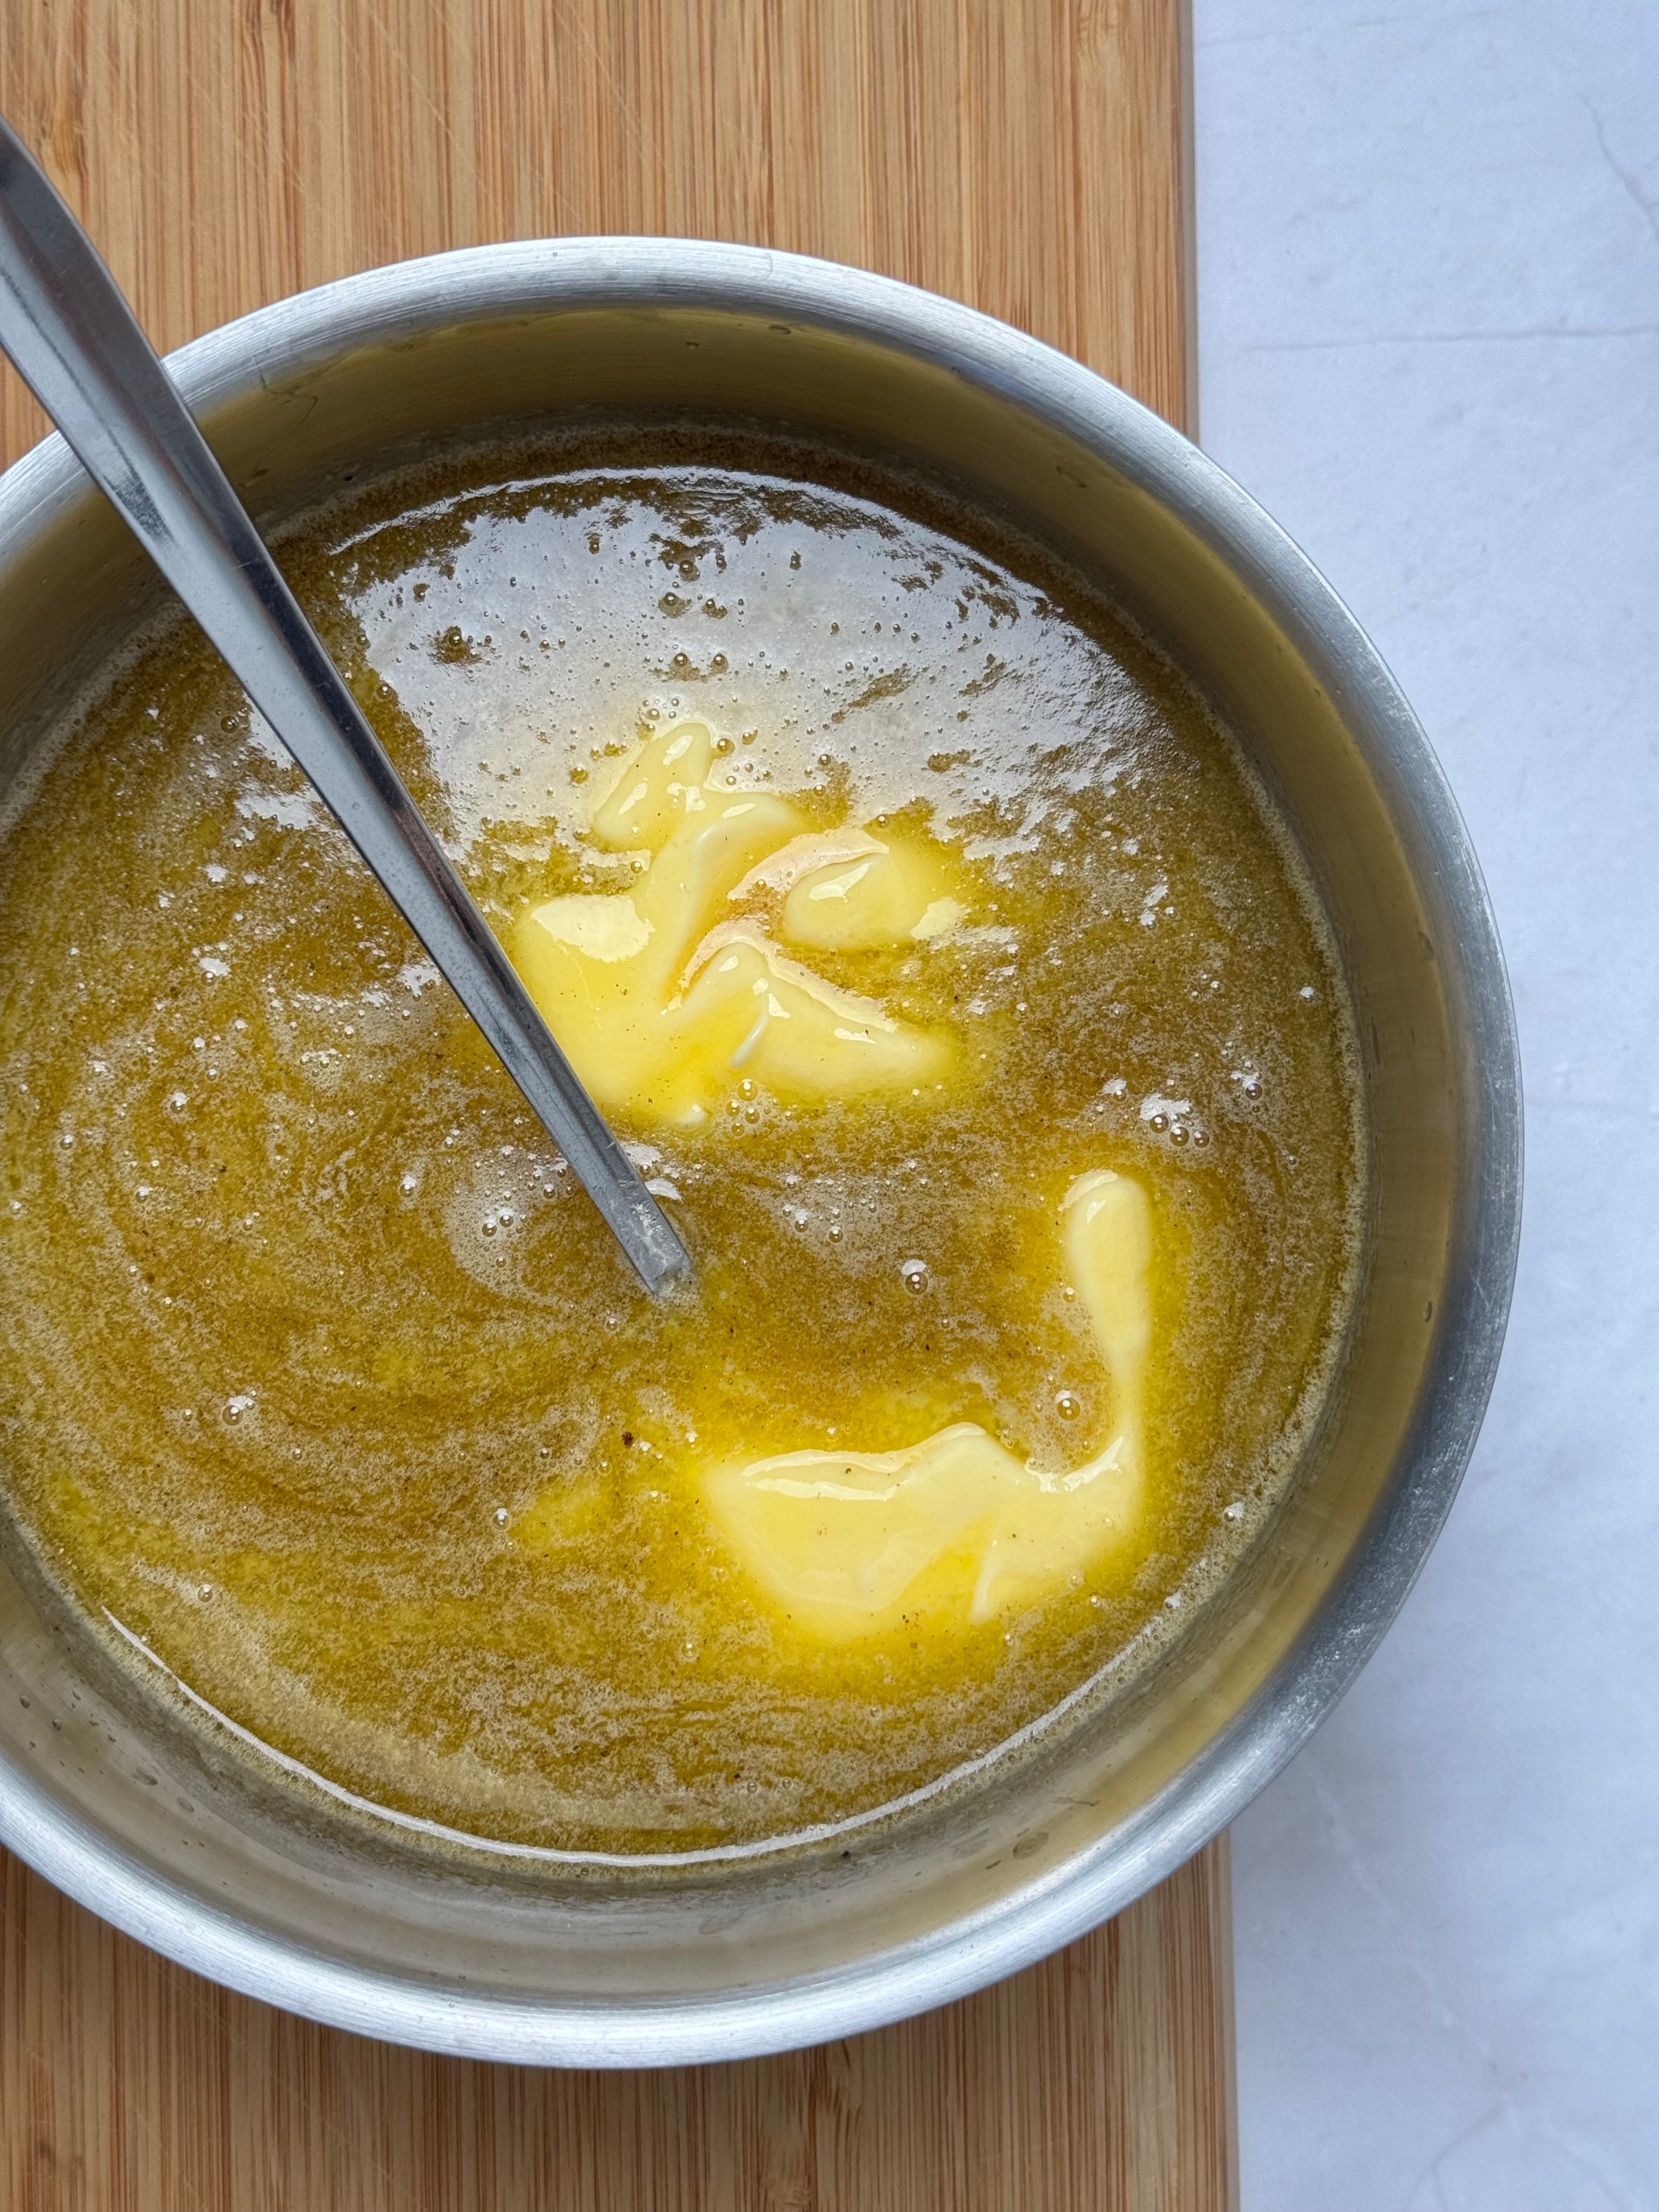
- Turn off the heat and add the butter and vanilla essence. Stir occasionally until the butter has melted completely and the mixture is combined.
- Pour approximately half the syrup and butter mixture over the dry ingredients. Mix with an electric hand mixer, starting on low speed.
- Gradually add more syrup, mixing after each addition, until the chocolate mixture is smooth and thick but still workable enough to transfer to the pan and level out. You may not need all the syrup.
- Fold in the cooled hazelnuts with a sturdy spatula.
- Transfer the mixture to the prepared pan and press it gently into the corners. Smooth the surface. For the wafer version, spread the mixture between two plain 20 × 30 cm / approximately 8 × 12-inch wafer sheets.
- Allow the chocolate to cool down, then cover and refrigerate for at least 3–4 hours, preferably overnight, until firm.
- Remove from the pan and cut into 20 slices. For a slightly creamier texture, take the chocolate out of the refrigerator about 30 minutes before serving.
Notes
- In a 20 × 30 cm pan, the chocolate can be cut into an estimated 24 rectangular bars, approximately 2.5 × 10 cm each: eight divisions across the shorter side and three along the longer side. For 24 bars without wafer sheets, the estimated energy value is approximately 260 kcal per bar. Add the wafer sheets separately when calculating nutrition.
- Nutrition values are estimates and may vary depending on the ingredients used and portion sizes.
This post contains affiliate links. If you choose to make a purchase, book an activity, or use a service through these links, I may receive a small commission at no additional cost to you.