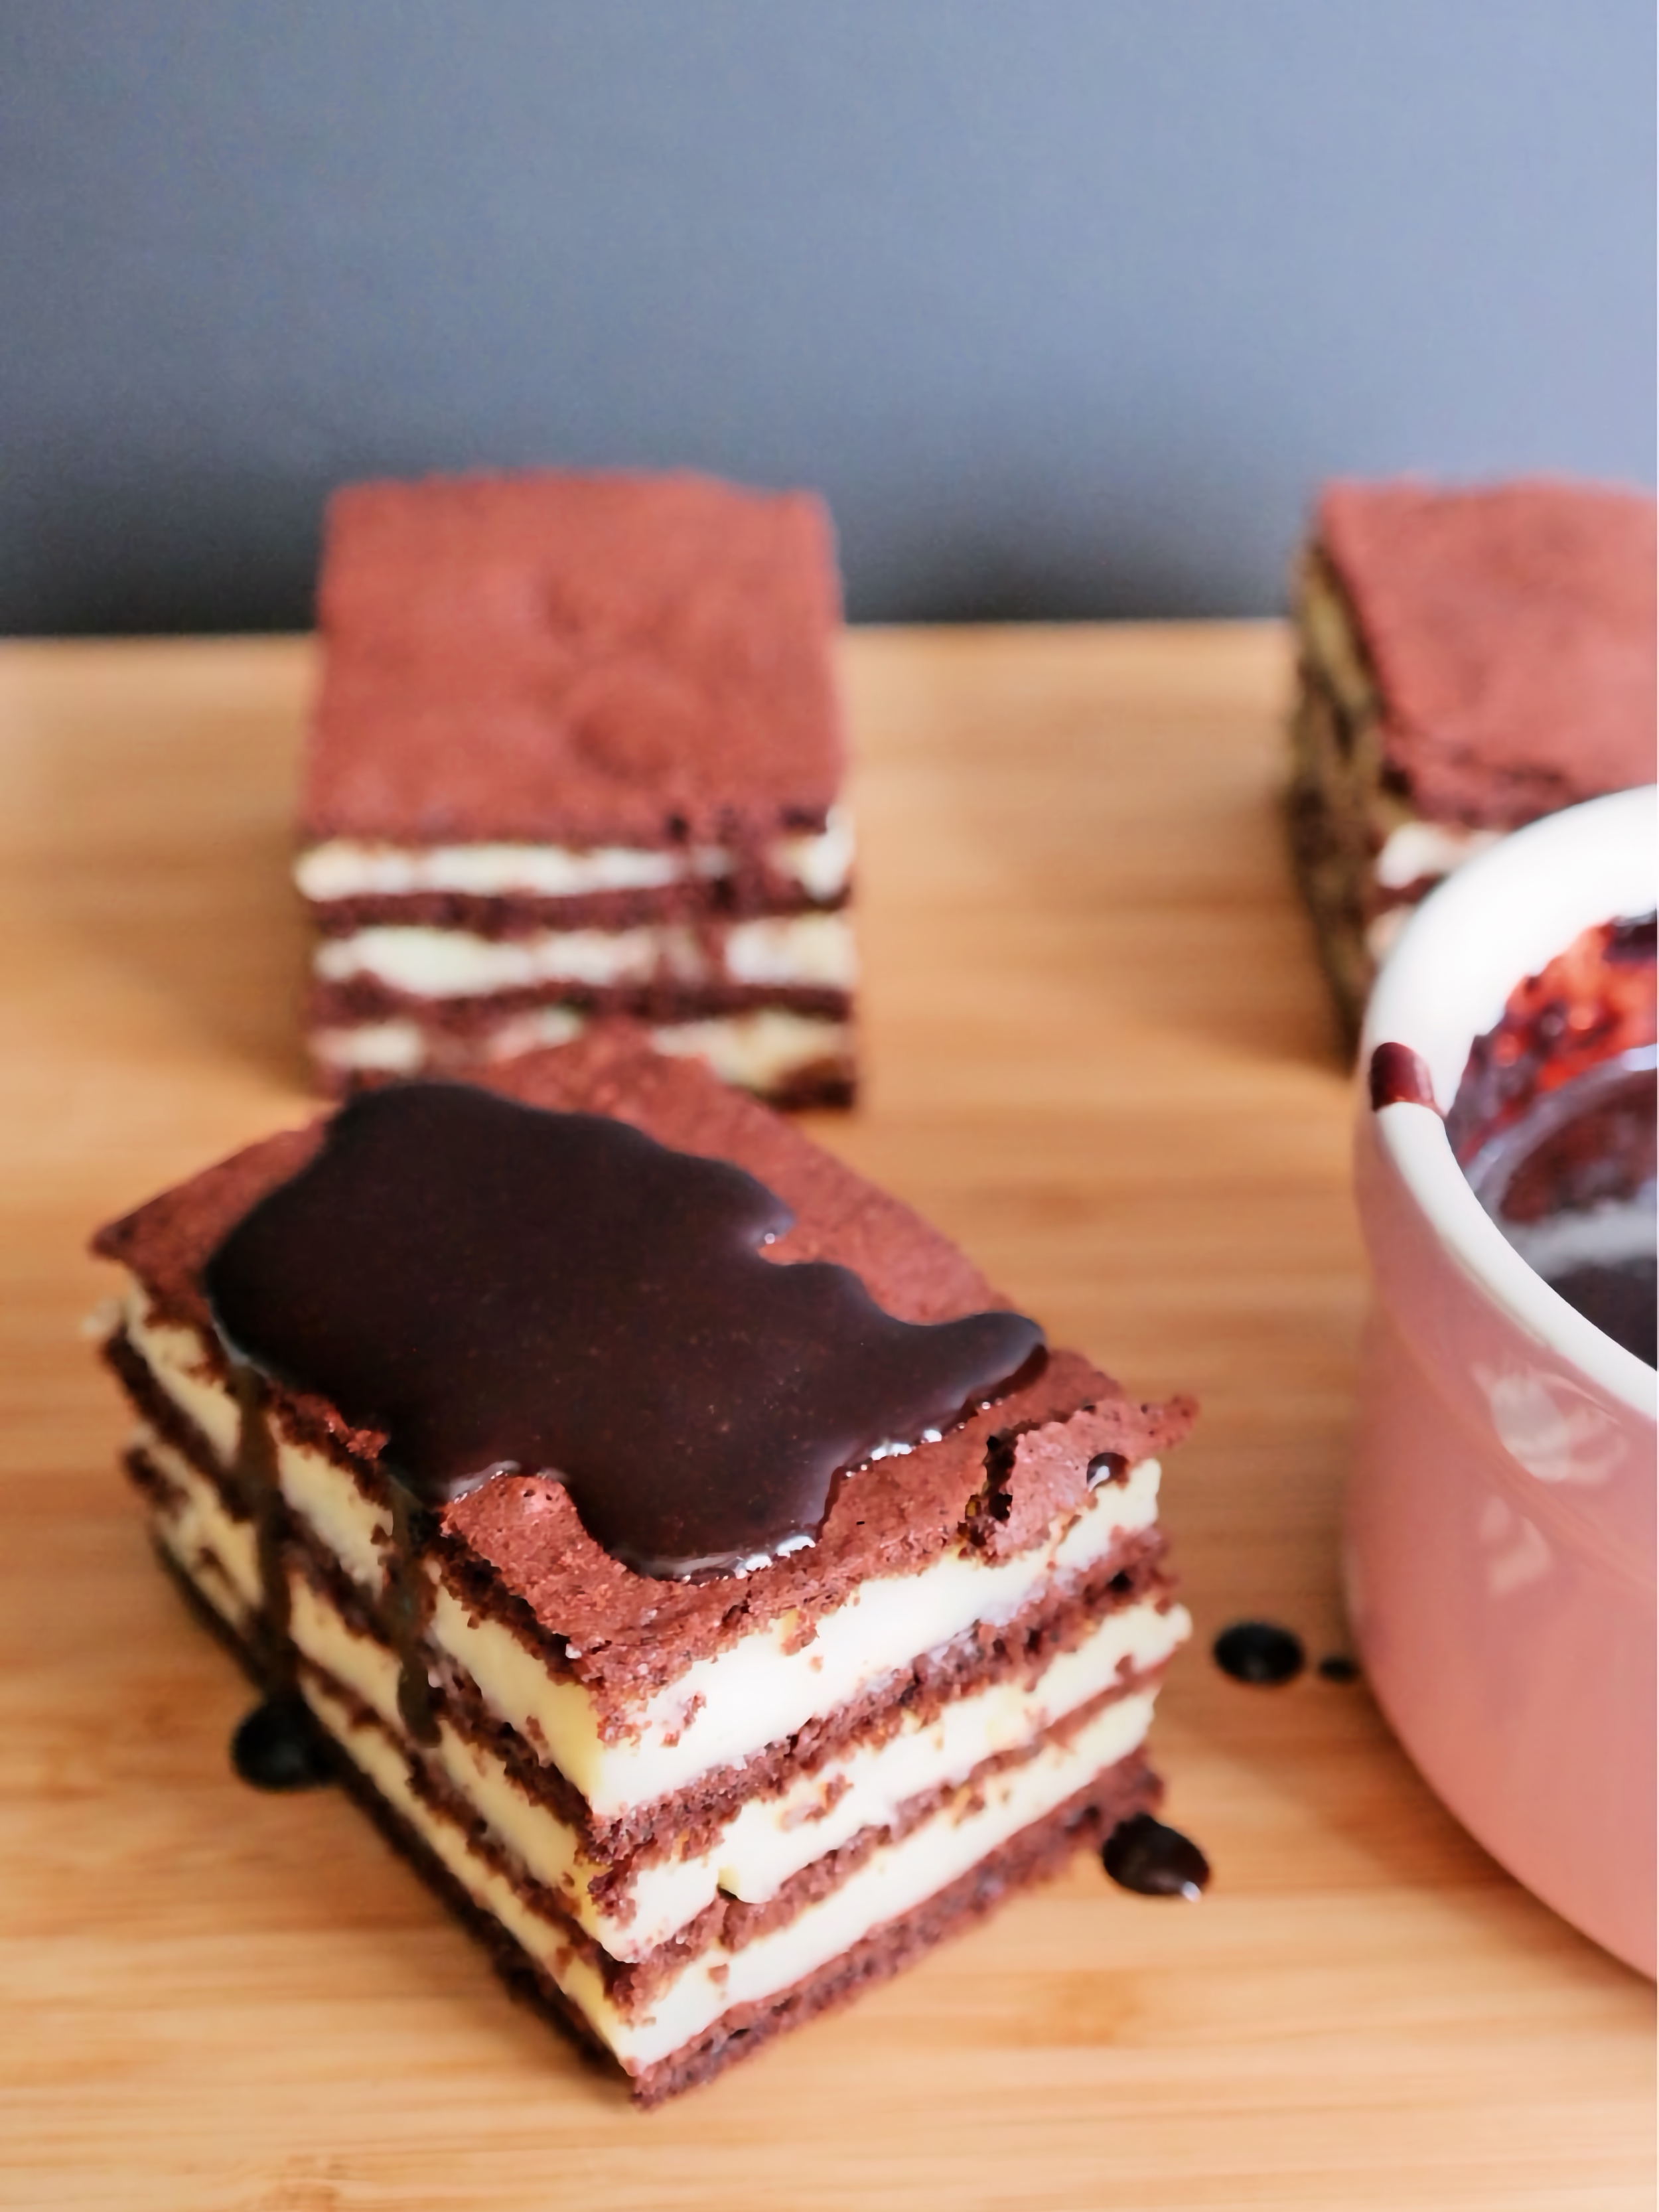
The first time I made this Nutella layer cake with milk cream, the result was… let’s say it wasn’t ready for a photo shoot. 😀 The sponge layers were too thick, the cream was lumpy and far too soft, and the whole thing looked rather unfortunate.
It tasted delicious, though. Cocoa sponge, milk cream and Nutella were a combination worth giving another chance.
So I added it to my list of recipes to revisit when I had more time and, more importantly, more patience. A few years later, I finally managed both. This time, I got what I had been hoping for: four thin cocoa sponge layers, milk cream with white chocolate, and Nutella glaze between them.
Luckily, I had people to share it with. My parents came to visit, and a few portions went to friends too. Otherwise, after two weeks of working hard at the gym, I was in danger of undoing my own efforts. *Le husband was already accusing me of sabotaging his. 🙄
Why This Nutella and Milk Cream Cake Is Worth Making
For me, the strongest argument was that first attempt. Even though the cake looked nothing like the picture in my head, it tasted good enough to make me want to try again.
Some recipes deserve a second chance, especially when the missing ingredient is the baker’s patience. This was definitely one of them.
Milk Cream and Nutella in Every Layer
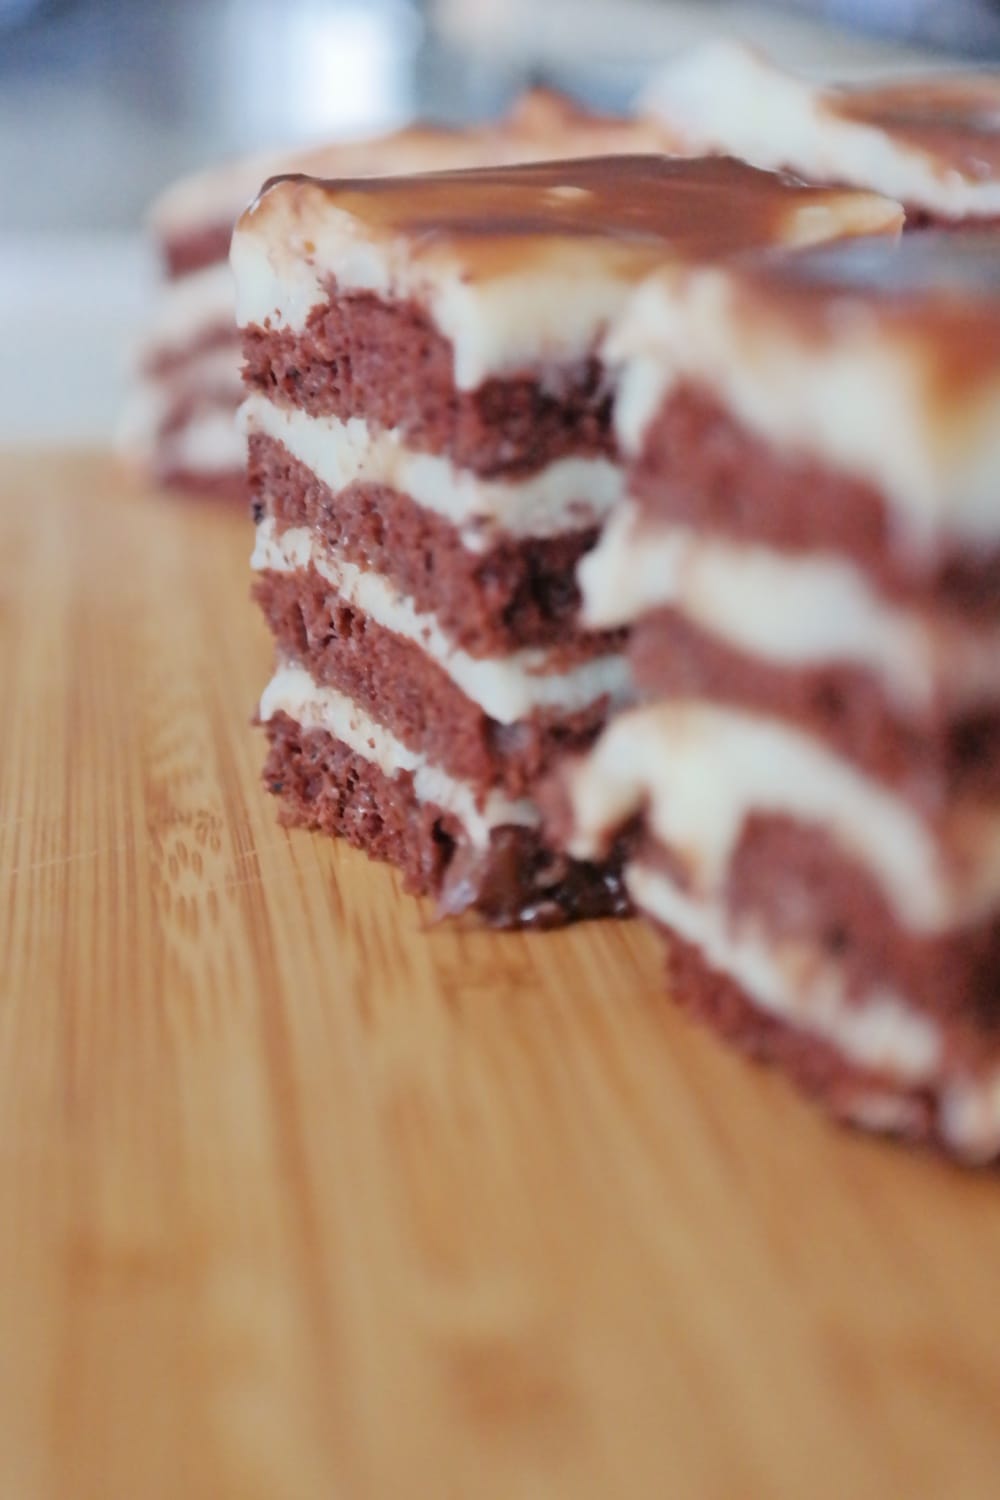
The Nutella glaze isn’t just spread over the top for decoration. It runs through the cake alongside the milk cream, so each piece brings together the cocoa sponge, the pale filling and the chocolate-hazelnut flavour.
The white chocolate adds another note to the milk cream, while the cocoa sponge provides a contrast to the sweet filling. This is a sweet, generously filled cake. If your favourite part of a layered dessert is getting a little sponge and plenty of cream on the same fork, it makes a very convincing case for itself.
Four Layers Without Baking Four Separate Sheets
From the side, the cake might look like a project involving a long succession of baking trays. Fortunately, the four layers come from just two sponge sheets.
There is no dough to knead and no individual sheets to roll out. If you prefer making sponge batter to working with a rolling pin, that is a practical advantage.
The main thing is to distribute the batter evenly. Similar thicknesses make the finished cake easier to assemble neatly, and you avoid ending up with one substantial layer surrounded by three much thinner companions.
The Layers Do Most of the Decorating
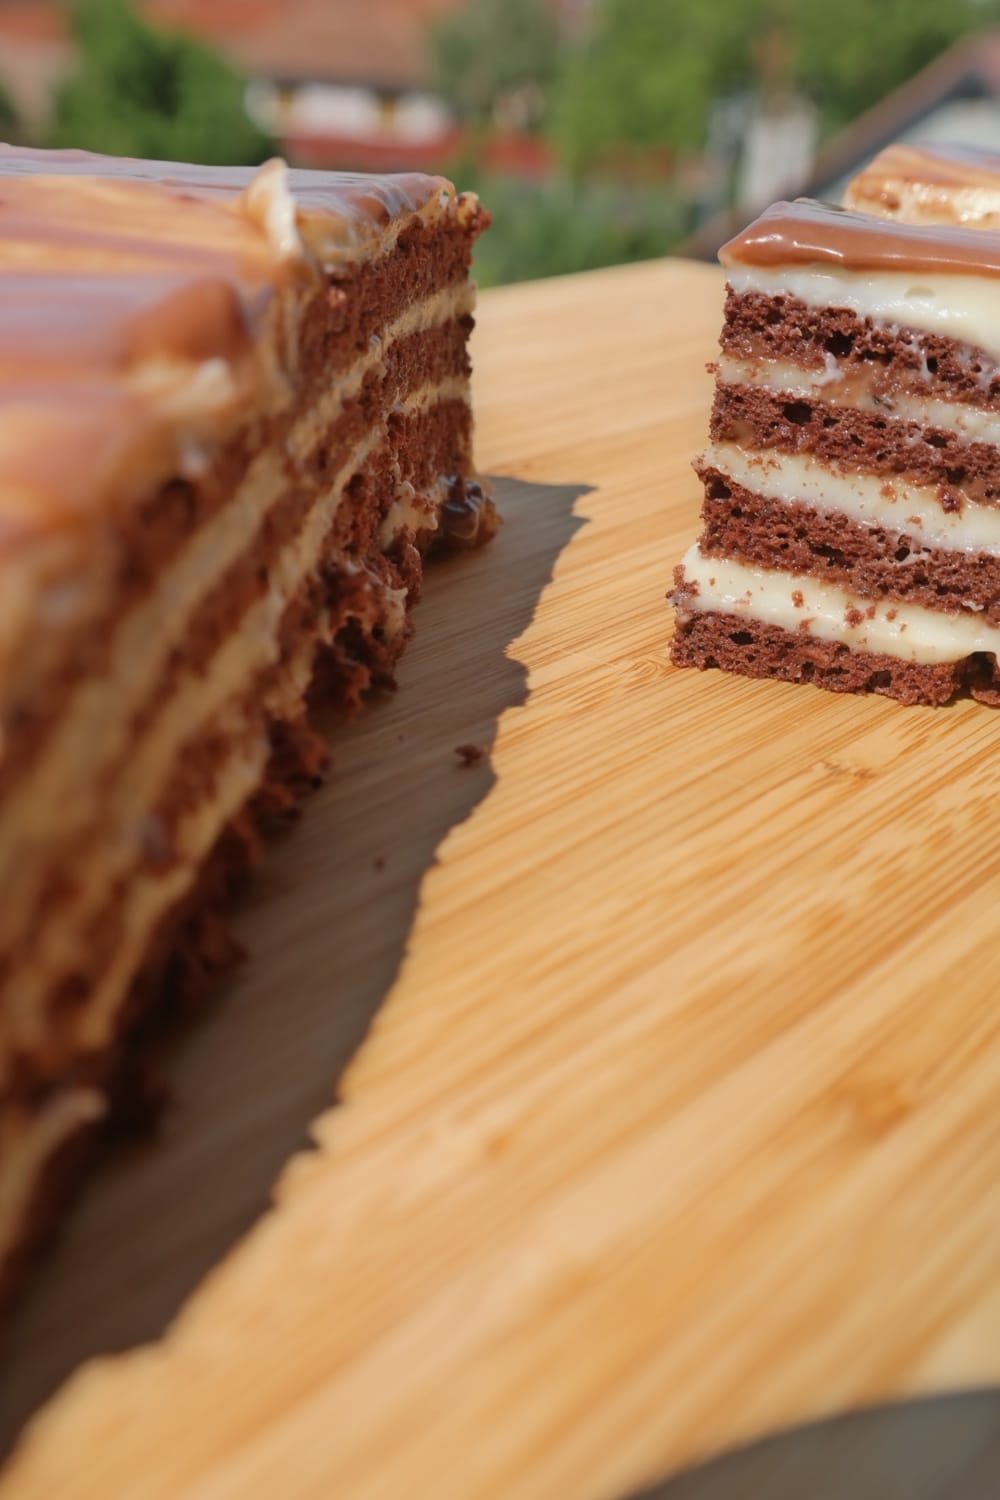
The dark sponge, pale cream and Nutella glaze already create a visible contrast. Once the cake is sliced, those layers become the decoration, so there is no need for elaborate piping or extra ornaments.
That doesn’t mean every piece needs to be measured with a ruler. My first attempt proved that a questionable appearance doesn’t necessarily spoil the flavour. 😀 Still, taking a little care with assembly and allowing enough chilling time makes a difference when it comes to cutting the cake.
A Cake You Can Share
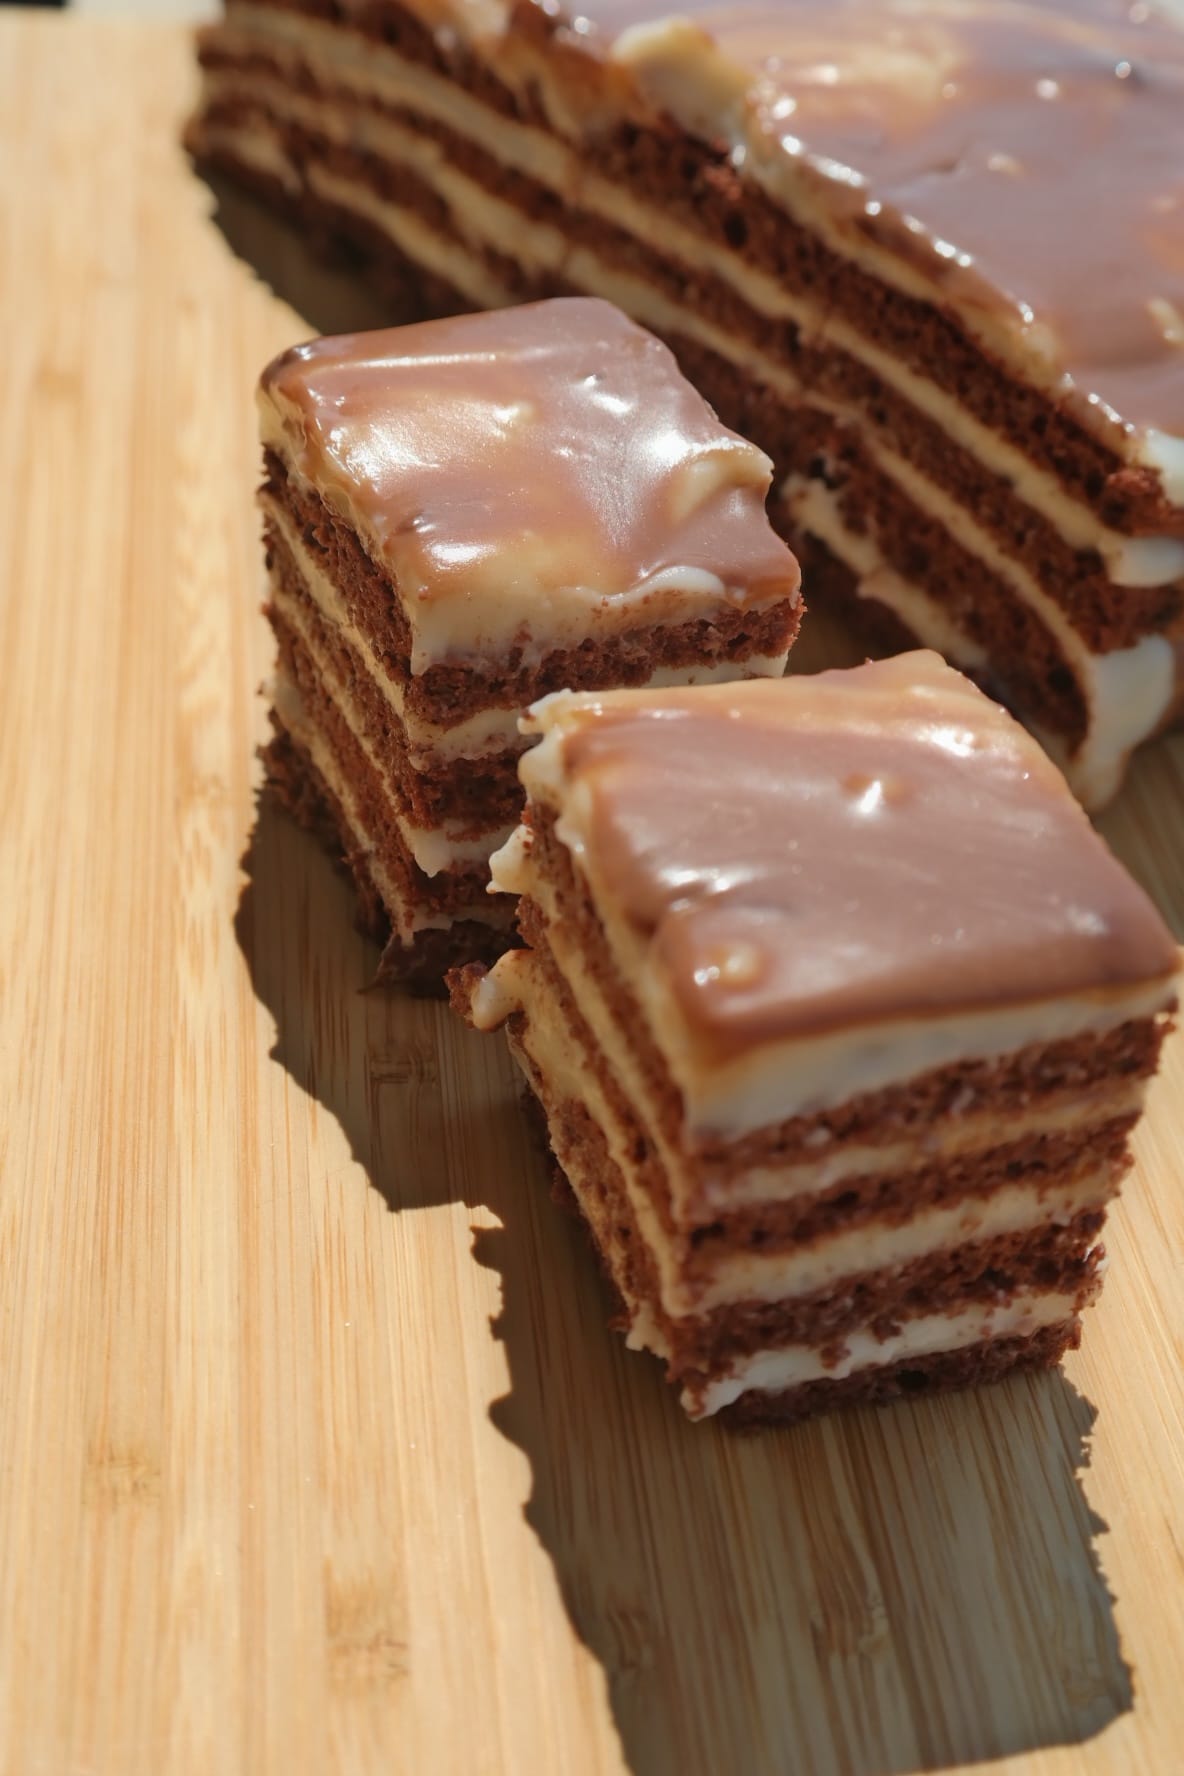
The rectangular shape makes it easy to cut small squares for a dessert platter. You can serve more generous pieces or smaller portions, depending on what else is on the table.
It is also a convenient shape when you want to arrange several pieces together: the cut sides show the layers, without needing to add anything else to each portion.
Tips for Making the Cake
Fold gently. The beaten egg whites bring air into the batter. Use light movements from the bottom of the bowl upwards, stopping once the ingredients are incorporated rather than continuing to stir.
Watch both trays towards the end of baking. Thin sponge sheets don’t need long in the oven. If the trays are on different shelves, check each one individually; they may not bake at exactly the same rate.
Use a heavy-based saucepan for the cream. It helps distribute the heat, but the filling still needs attention. Stir along the bottom and into the corners of the pan, especially as it thickens.
Add the white chocolate at the end. The milk cream should finish cooking before the chocolate goes in. This keeps the cooking stage focused on the flour-thickened base.
Cover the cream while it cools. Food-safe cling film suitable for contact with warm food, placed directly against the surface, helps prevent a skin from forming.
Allow time for cooling and chilling. Warm, runny fillings make the layers harder to control. Plan the cake around its resting time as well as the hands-on preparation.
Clean the knife between cuts. Cream and glaze left on the blade can smear over the next piece. Wiping it regularly helps keep the contrasting layers visible.
Frequently Asked Questions
How Do I Avoid Lumps in the Milk Cream?
Make sure the flour mixture is smooth before it goes into the hot milk. Adding the cold milk gradually makes it easier to work out any dry pockets of flour. A whisk is useful at this stage.
How Can I Tell When the Milk Cream Is Cooked?
A pudding-like consistency is one sign, but it isn’t the only one. I also check that the raw flour smell has disappeared, which is how my mother taught me to judge it. 🙂 Don’t take the cream off the heat simply because it has started to thicken.
Can I Use Milk Chocolate Instead of Nutella?
Yes, you can use milk chocolate, although it gives the glaze a different flavor without Nutella’s hazelnut note. I prefer the Nutella version.

More Cakes to Try
If you enjoy cocoa sponge with a pale cream filling, try my Homemade Kinder Milk Slice. It has two soft sponge layers and a milk cream filling that also includes whipping cream.
If you love white chocolate cream, you might also enjoy my Coffee Cake with White Chocolate Cream, made with a single cake layer and a creamy topping.
And for something intensely chocolatey with fewer preparation stages, try my Raspberry White Chocolate Brownies.
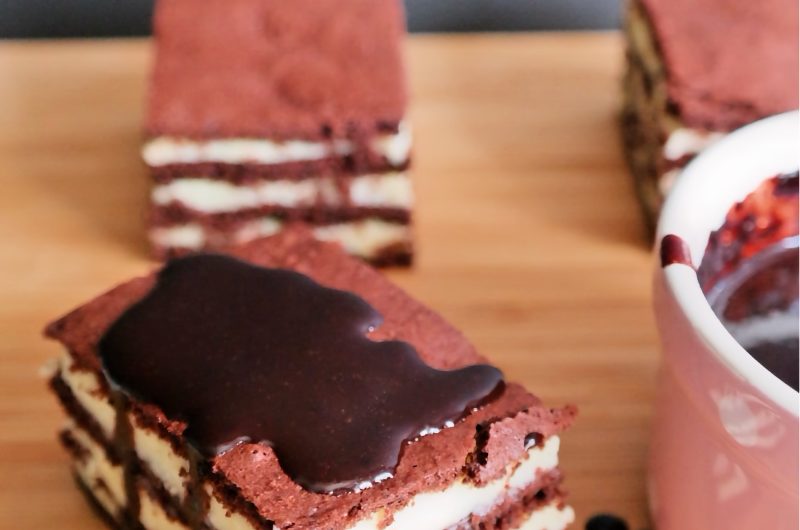
Nutella Layer Cake with Milk Cream and Cocoa Sponge
24
bucăți35
minutes35
minutes285
kcalFour layers of cocoa sponge with white chocolate milk cream and Nutella glaze.
Ingredients
- For the cocoa sponge sheets
6 eggs
120 g sugar
60 g plain flour
30 g unsweetened cocoa powder
10 g baking powder
1 teaspoon vanilla extract
45 ml vegetable oil
- For the milk cream
1 litre milk
160 g sugar
160 g plain flour
100 g white chocolate, broken into pieces
200 g butter, cut into small cubes
- For the Nutella glaze
120 g Nutella
50 g butter
approximately 100 ml whipping cream
Directions
- Make the cocoa sponge sheets
- Preheat the oven to 180°C (350°F). Prepare two 30 × 40 cm (12 × 16-inch) baking trays. Line them with baking paper to make the sponge sheets easier to remove.
- Separate the eggs. Beat the egg whites with the sugar until stiff.
- Add the oil to the egg yolks and mix briefly, just until combined.
- Add the yolk mixture to the beaten whites, together with the flour, cocoa powder, baking powder and vanilla. Fold gently from the bottom of the bowl upwards until incorporated.
- Divide the batter evenly between the two trays and spread it into an even layer.
- Bake both sponge sheets at 180°C (350°F) for approximately 15 minutes. Check each tray towards the end of baking.
- Leave the sponge sheets to cool. Cut each one in half to make four layers measuring approximately 30 × 20 cm (12 × 8 inches).
- Make the milk cream
- Mix the flour and sugar in a bowl. Gradually add a glass of milk taken from the total quantity, mixing until smooth and free of lumps.
- Pour the remaining milk into a saucepan and bring it to the boil.
- Add the flour mixture, stirring as it goes in, then reduce the heat to very low.
- Cook, stirring constantly along the bottom and into the corners of the pan, until the cream has a pudding-like consistency and no longer smells of raw flour.
- Once the cream is cooked, add the white chocolate. Stir until completely melted, then turn off the heat.
- Let the cream cool until lukewarm.
- Gradually add the cubed butter, stirring until fully incorporated. Allow the cream to cool further until it is thick enough to spread without running.
- Make the Nutella glaze
- Place the Nutella, butter and whipping cream in a small saucepan over low heat.
- Stir until smooth and combined, without allowing the mixture to boil. Leave to cool slightly before assembling.
- Assemble the cake
- Divide the milk cream into four portions and the Nutella glaze into four portions.
- Place the first sponge layer on a serving board or platter. Spread with one portion of milk cream, followed by one portion of glaze.
- Repeat with the remaining three sponge layers. Finish the top layer with milk cream and Nutella glaze.
- Cover and refrigerate for at least 4 hours, or until the layers have set sufficiently for slicing.
Note
- Nutritional values are estimates and may vary depending on the ingredients used and portion sizes.