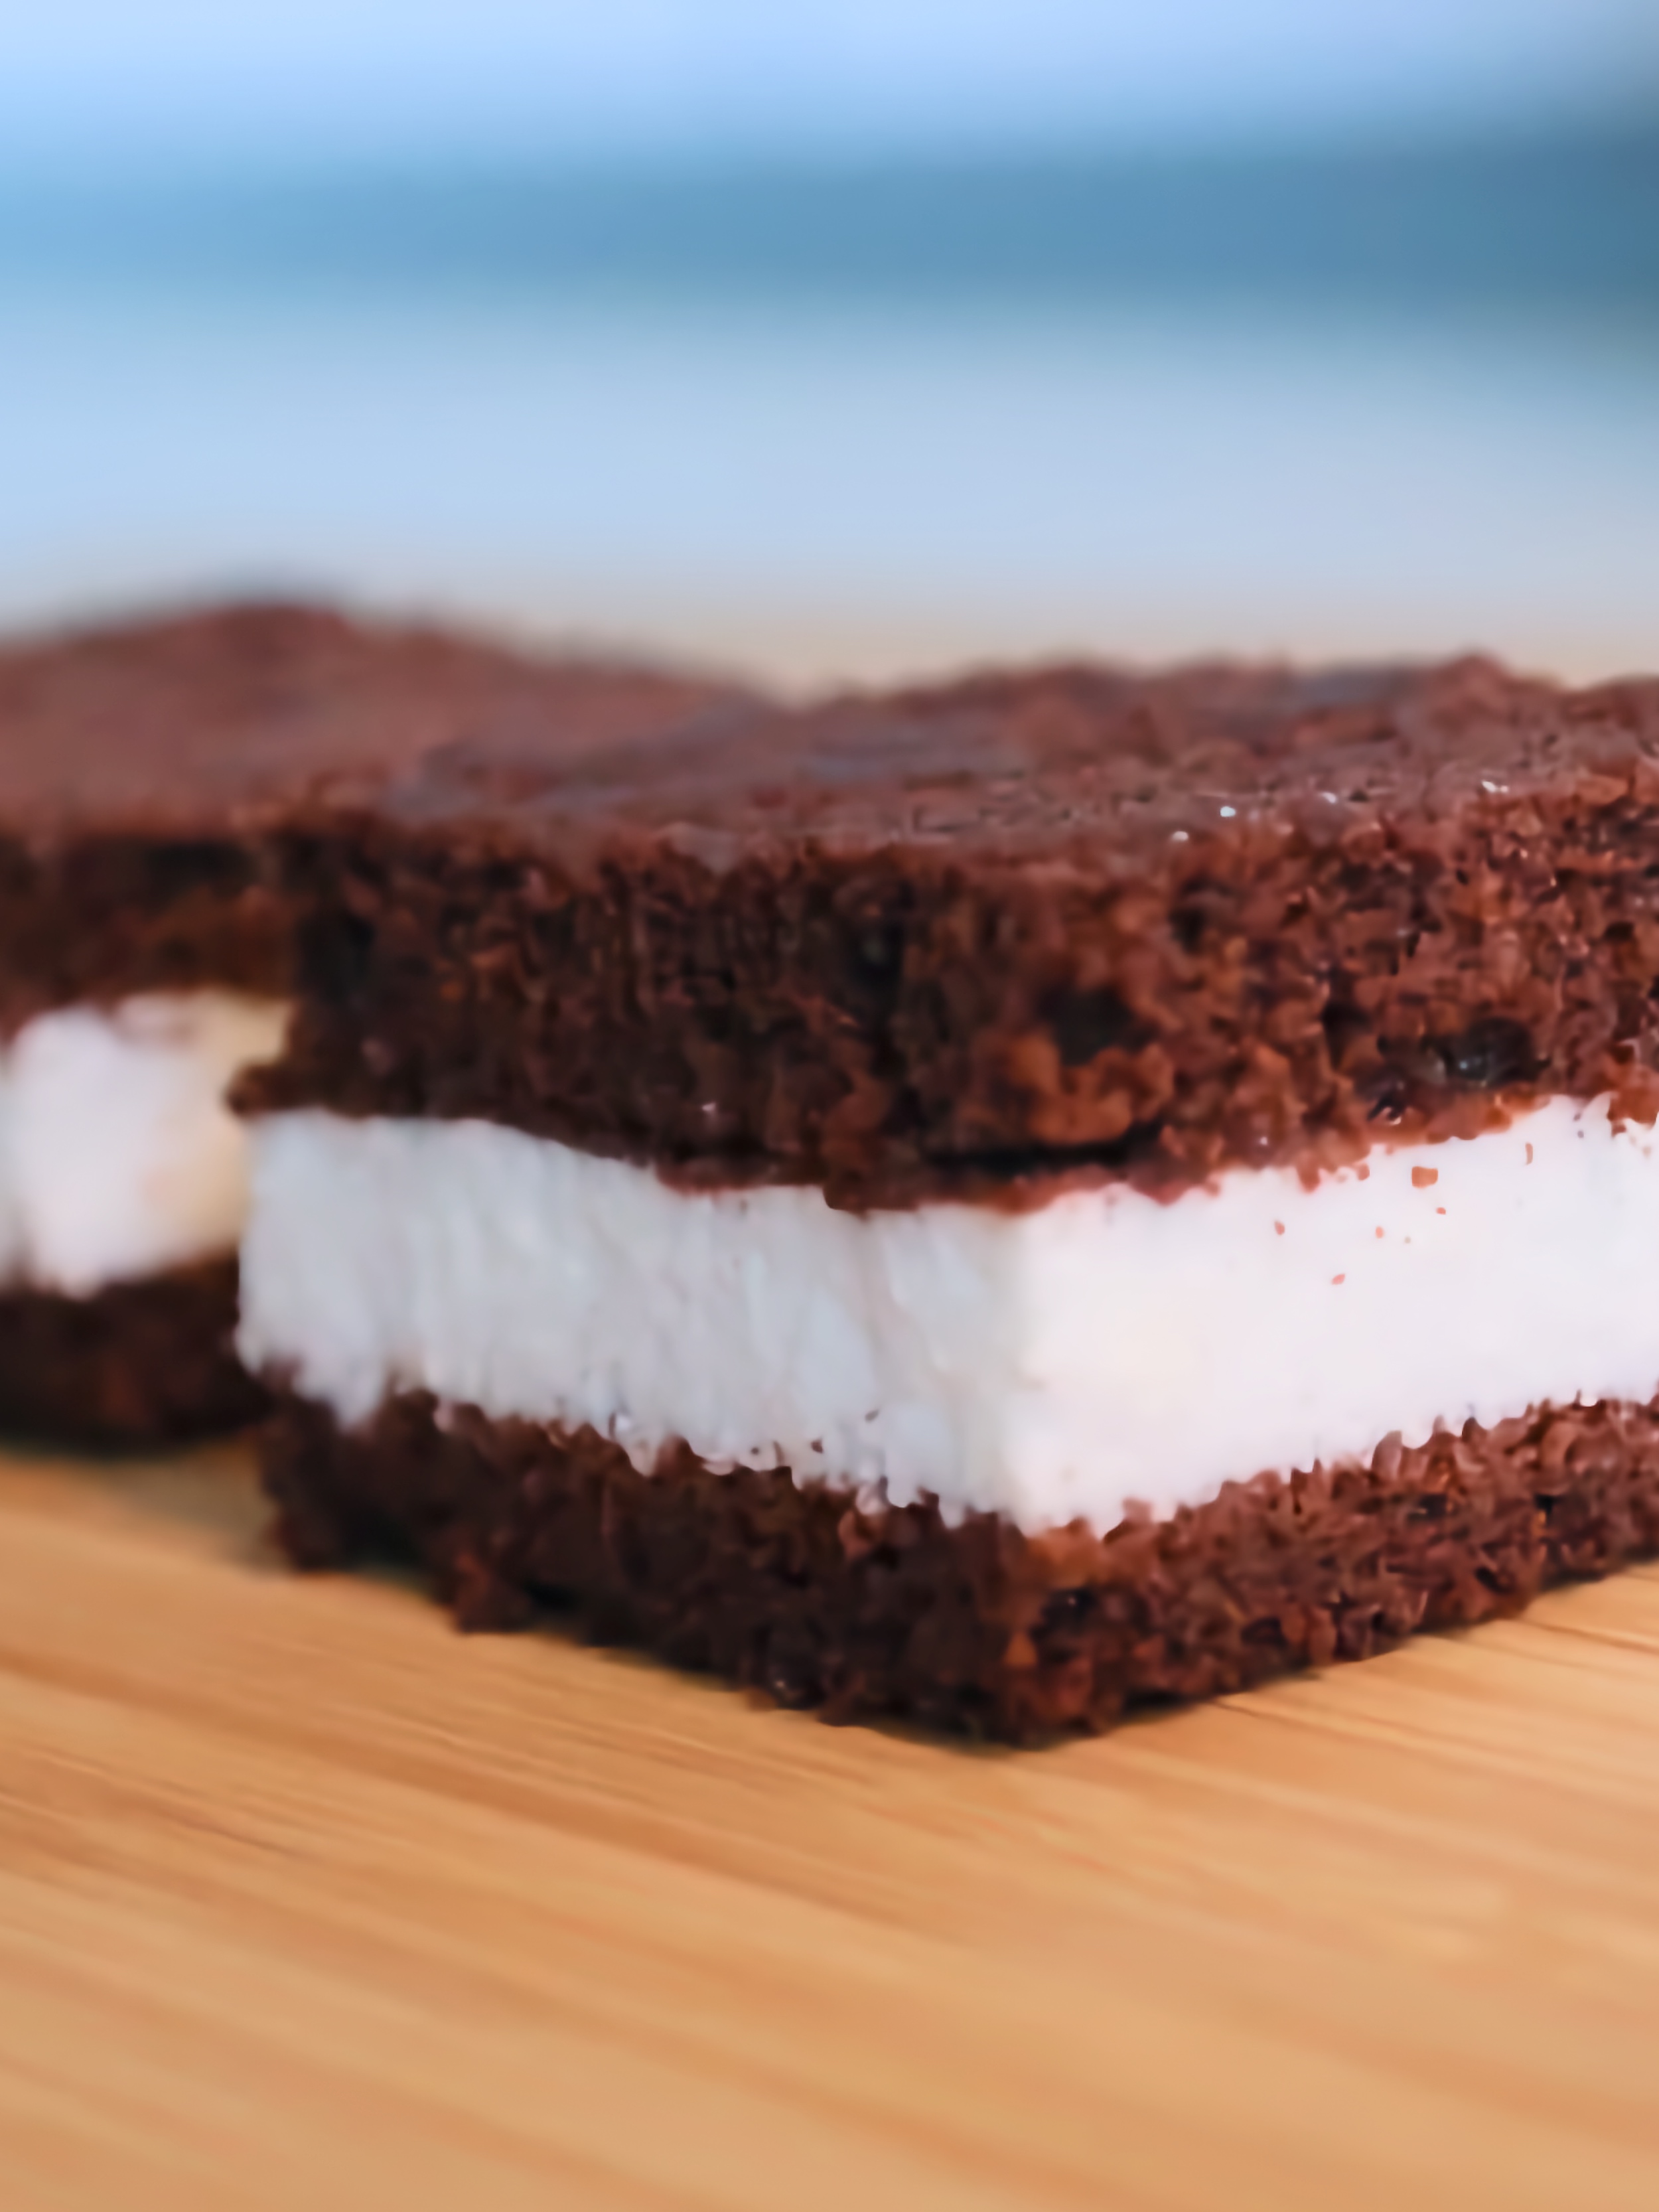
This is one of those recipes that always comes to my rescue. I’ve made this Kinder Milk Slice countless times for birthdays, a wedding, New Year’s Eve, weekend guests, or simply when I was craving something sweet and wanted a recipe I knew would turn out well every time.
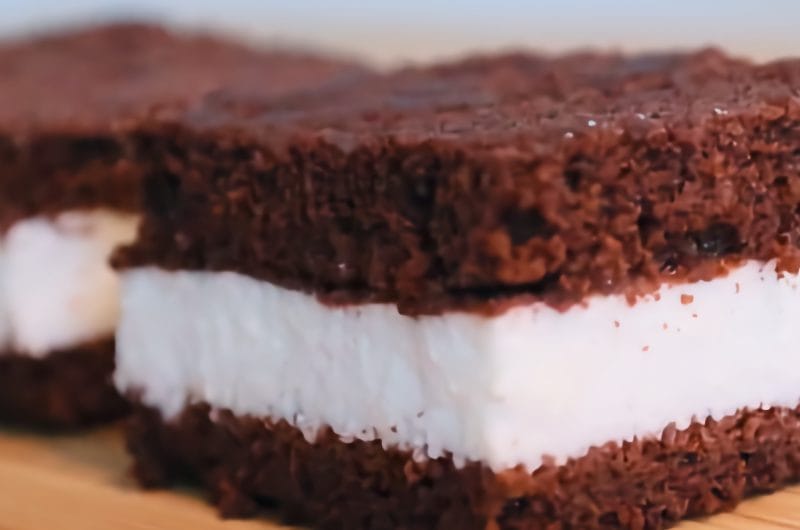
If you love the famous Kinder Milk Slice, this homemade version is definitely worth trying. It’s not an exact copy of the store-bought Kinder Milk Slice, of course, but it keeps the things I love most about this dessert: two soft chocolate sponge layers with a smooth, creamy white filling in between.
Why You’ll Love This Kinder Milk Slice
I think one of the reasons I’ve made this recipe so many times is that you don’t need to wait for a special occasion to make it.
- it’s relatively simple to make;
- the sponge layers are thin and soft, so the cake doesn’t feel heavy;
- the filling is smooth and airy;
- the combination of cocoa, honey, and milk is really delicious;
- it looks lovely on a serving platter, making it great for guests too;
- you can make it ahead of time, and it slices beautifully once it has chilled properly.
And, most importantly for me, it’s one of those cakes you can make without making a huge mess in the kitchen. 😁
Tips for Making a Perfect Kinder Milk Slice
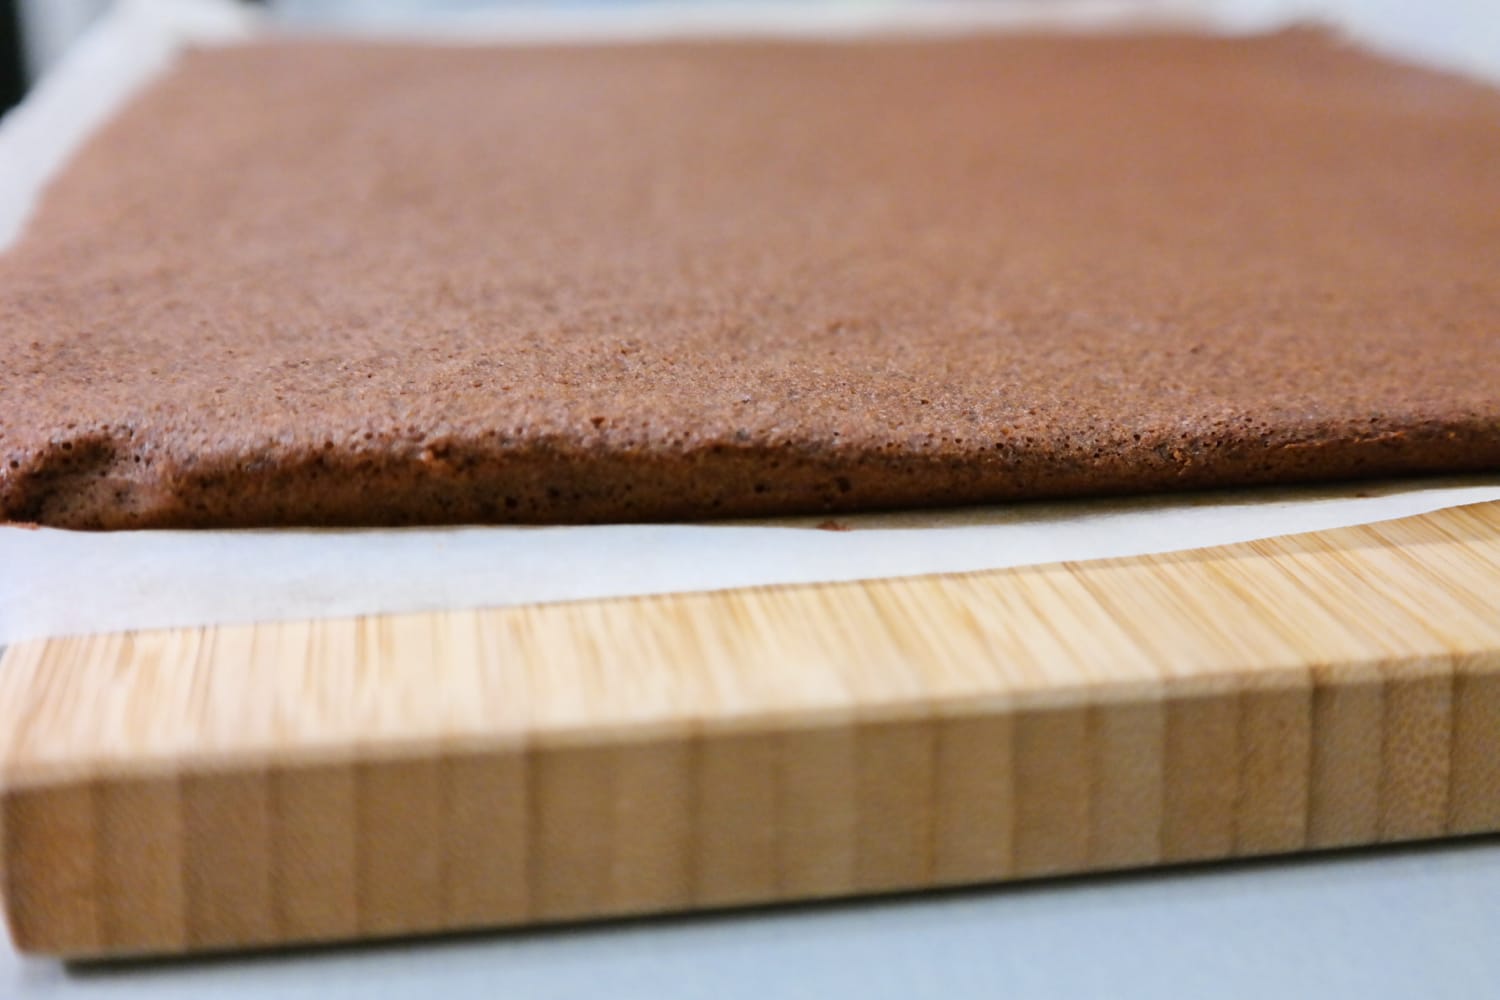
Don’t overbake the sponge layers. They are thin and bake quickly, so leaving them in the oven for too long can dry them out. For this cake, we want the layers to stay soft and flexible.
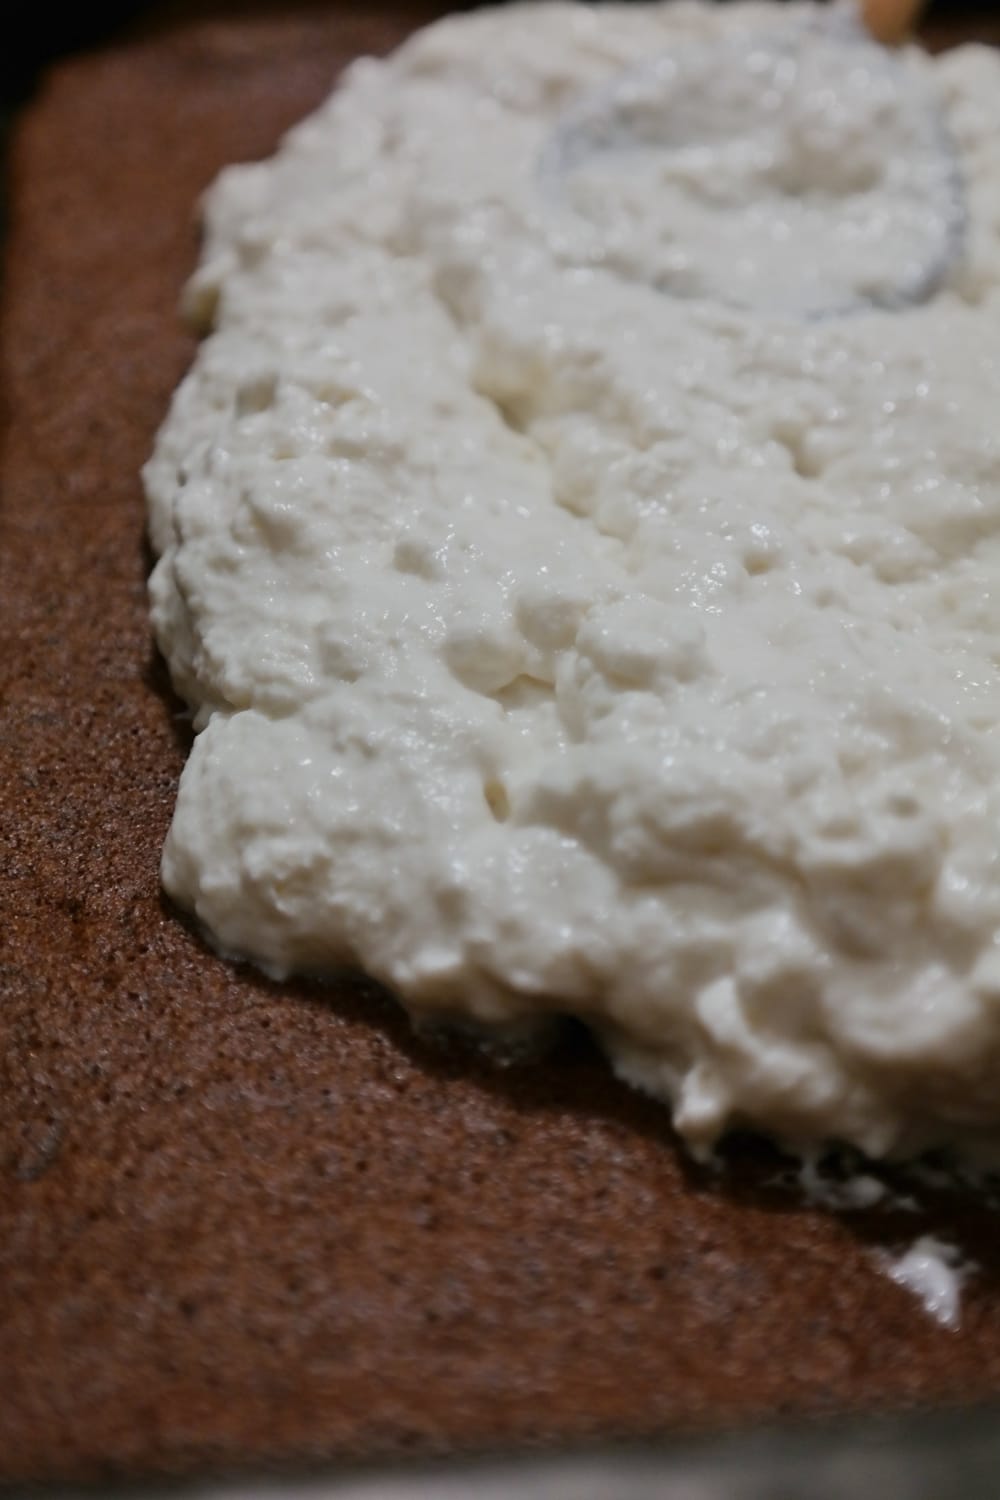
Let the cream cool before assembling the cake. If it’s too warm, it will be too runny and difficult to spread between the two sponge layers.
Give the cake enough time to chill. Once assembled, let it chill in the refrigerator before slicing. The cream will set properly, and the sponge layers will become softer and more tender.
Use a sharp knife for slicing. If you want neat, clean edges, wipe the blade after each cut or warm it slightly before slicing the cake.
You can make the cake a day ahead. This is actually a great option if you’re making it for a special occasion. After sitting overnight, the sponge layers become softer and the cream reaches the perfect consistency.
Keep the cake refrigerated. Since the cream contains perishable ingredients, the cake should be kept chilled and well covered to prevent it from absorbing odors from the refrigerator.
Homemade Kinder Milk Slice Recipe
24
servings30
minutes12
minutes210
kcalKinder Milk Slice made with two soft chocolate sponge layers and a smooth, airy milk cream filling. A delicious, easy-to-make dessert that’s perfect for any occasion.
Ingredients
- For 2 sponge layers, 30 × 40 cm baking tray
6 eggs
4 tablespoons sugar
½ packet baking powder
50 ml milk
3 tablespoons flour
3 tablespoons semolina
3 tablespoons cocoa powder
100 ml vegetable oil (I used sunflower)
2 tablespoons honey
- For the cream
300 ml sweetened whipping cream
4 packets vanilla sugar
100 g butter
20 g gelatin
3 tablespoons honey
300 ml milk
Directions
- Sponge Layers
- Separate the egg whites from the yolks.
- Beat the egg yolks with the sugar until pale and doubled in volume.
- Add the milk and continue mixing until the sugar has completely dissolved.
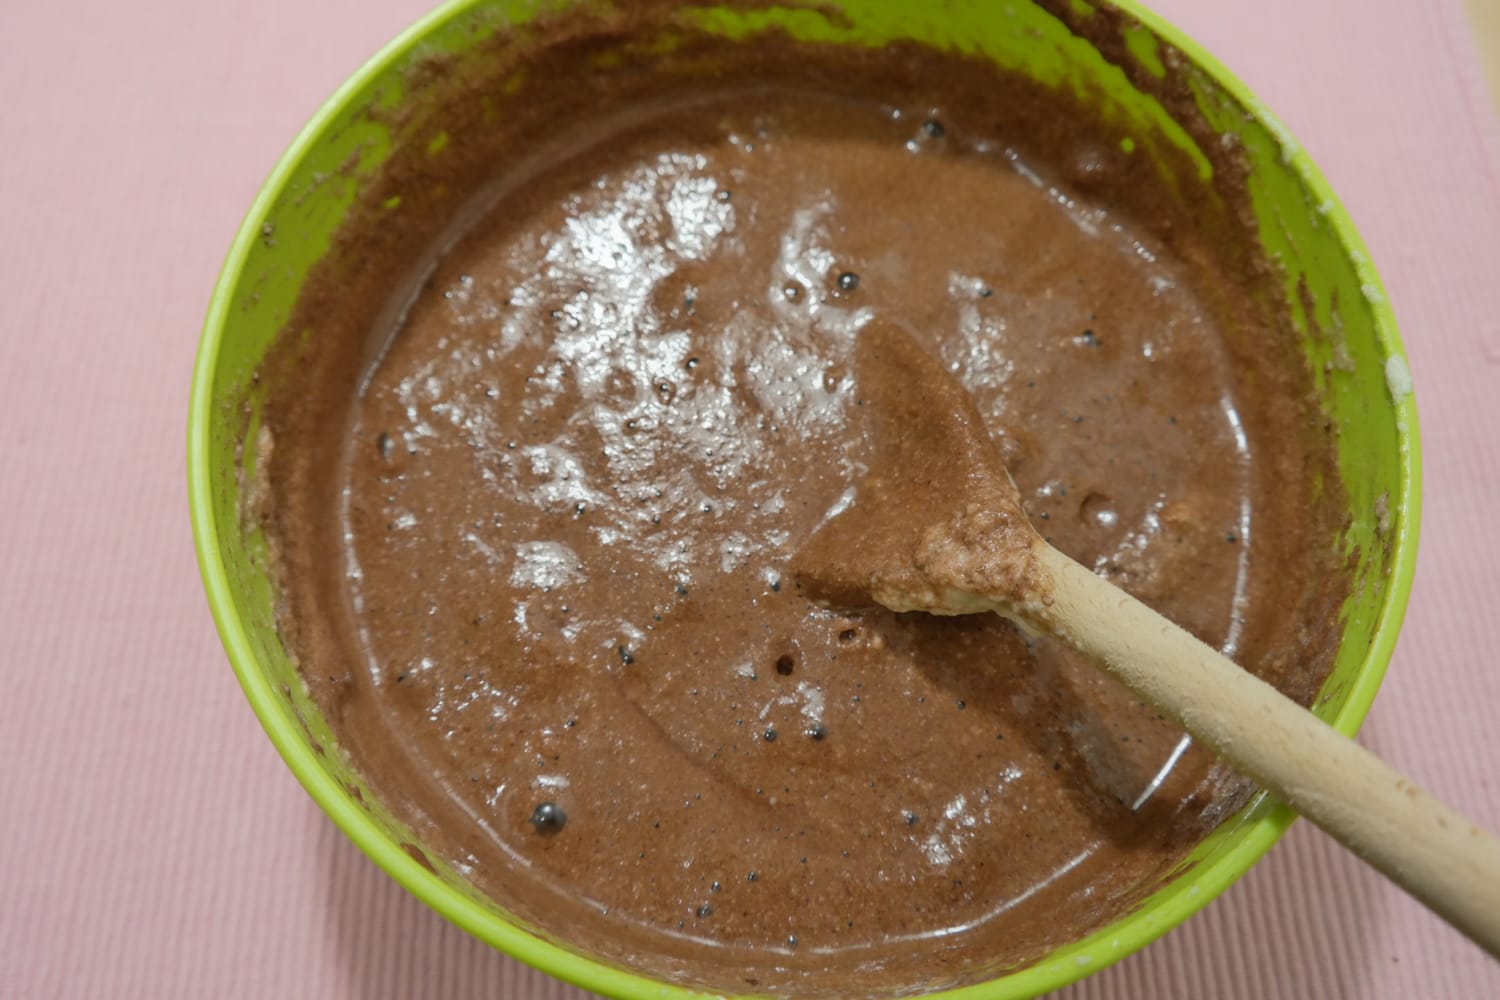
- Add the honey, oil, flour, semolina, cocoa powder, and baking powder, one at a time, mixing until well combined.
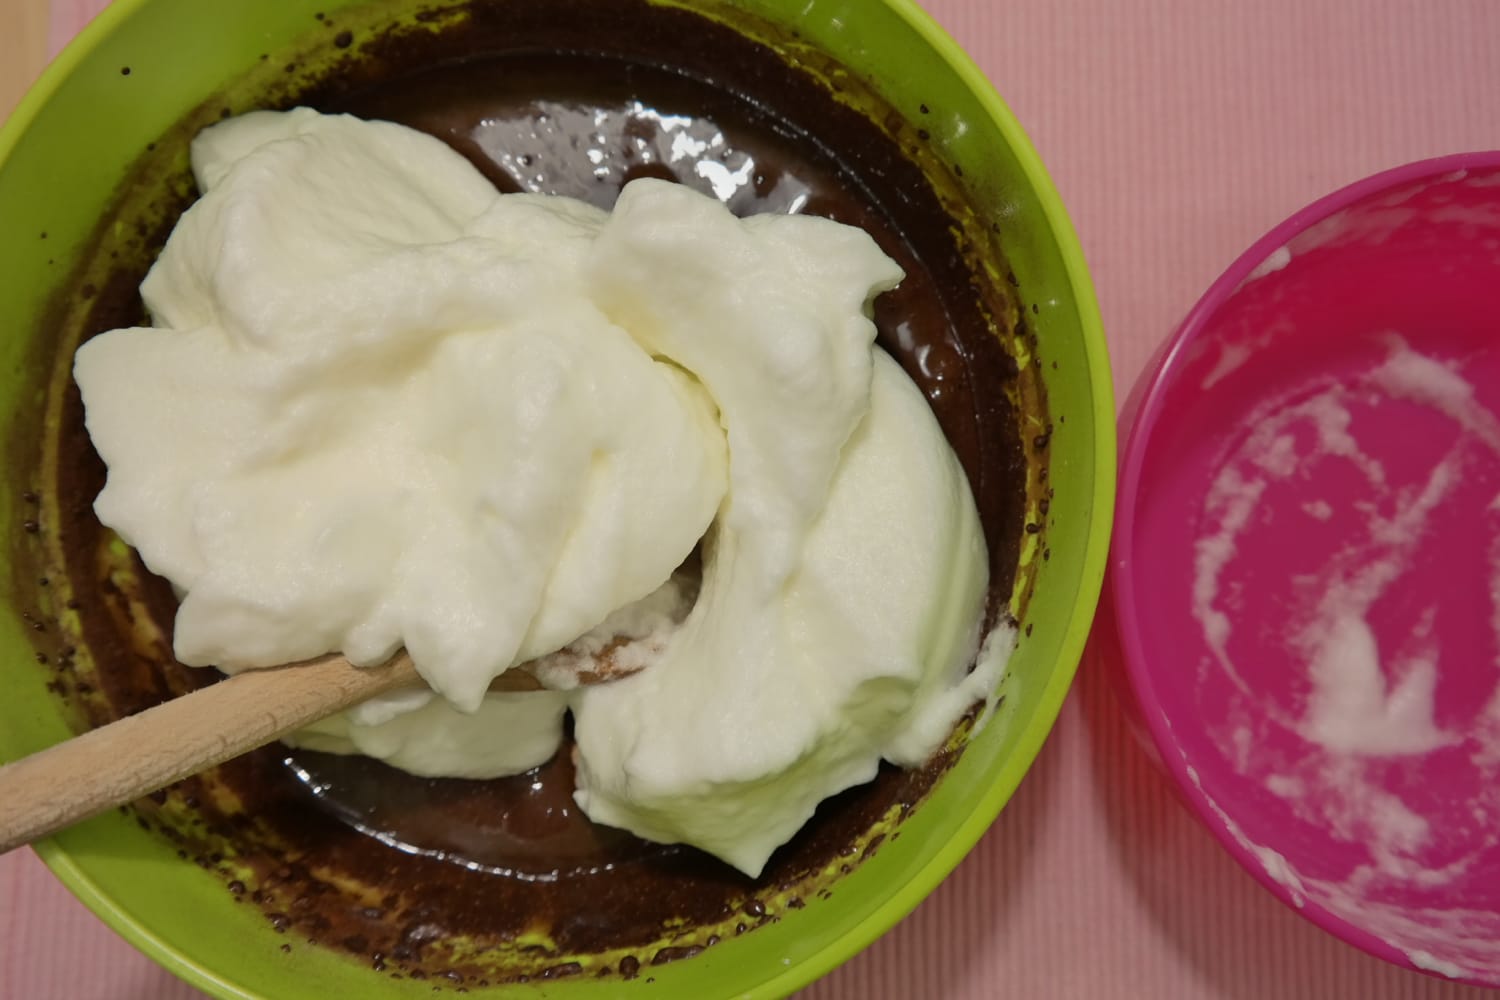
- Gently fold in the whipped egg whites, using a bottom-to-top motion.
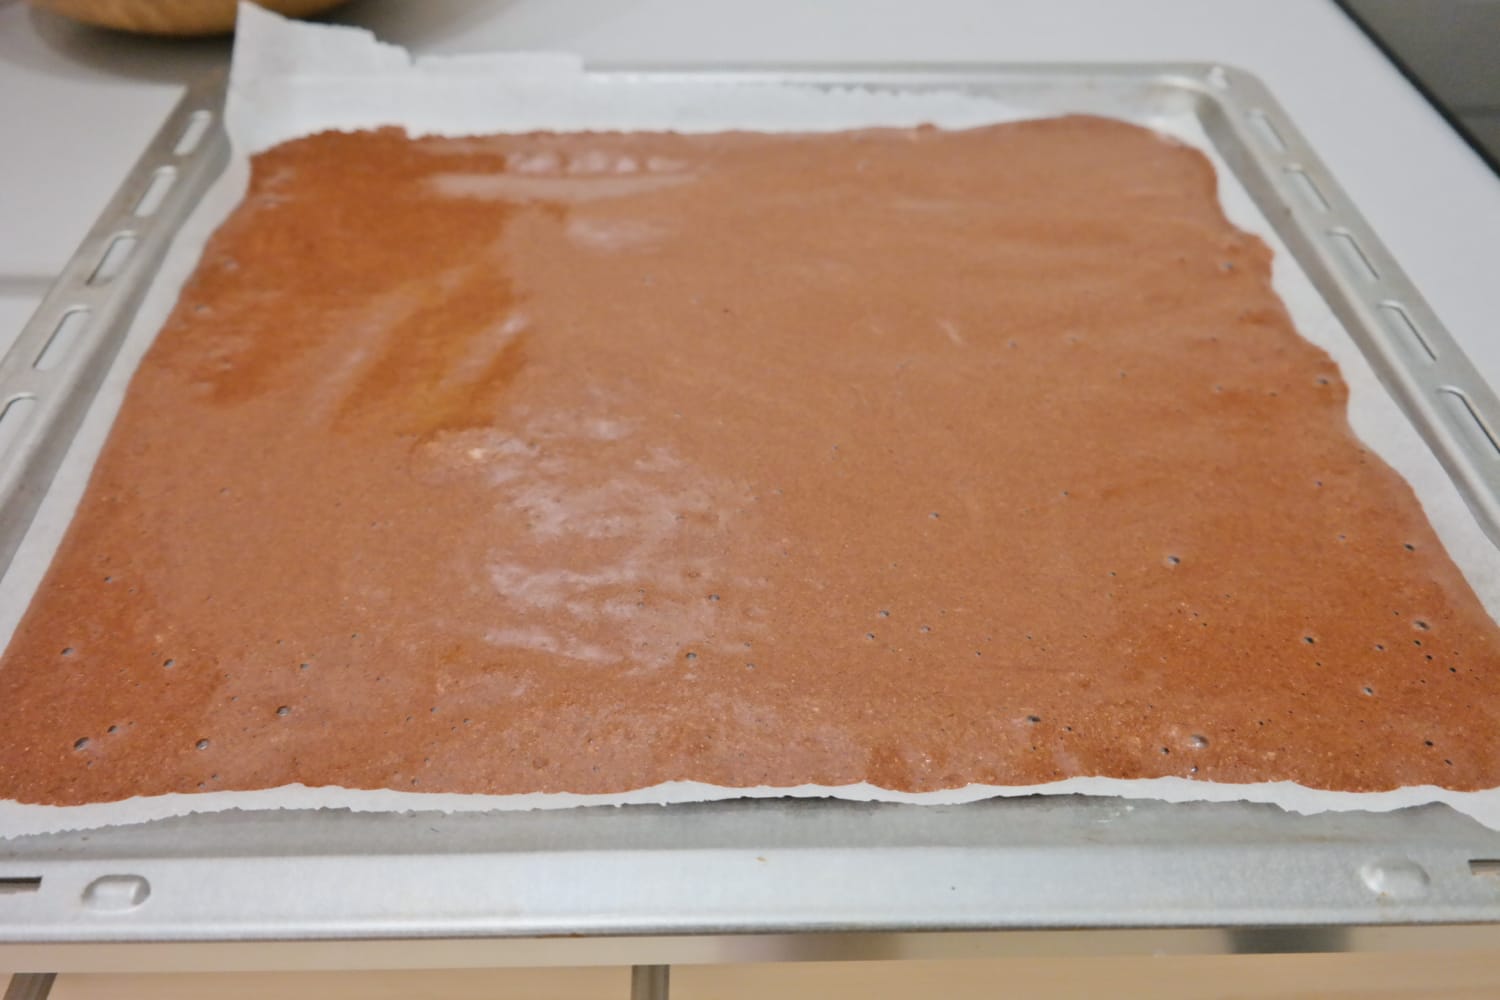
- Divide the batter between two 30 × 40 cm baking trays lined with parchment paper.
- Bake the sponge layers in a preheated oven at 200°C (400°F) for approximately 10–12 minutes.
- Cream
- Add the butter and milk to a saucepan and heat over low heat until just before boiling.
- Remove from the heat and add the honey. Stir until completely dissolved.
- Add the gelatin, previously hydrated in a glass of cold water, and stir until well combined.
- Leave the mixture to cool.
- In a bowl, whip the sweetened whipping cream together with the vanilla sugar until firm.
- Gradually add the cooled mixture to the whipped cream and mix for a few seconds, until smooth and well combined.
- Place the cream in the freezer for approximately 1 hour, or in the refrigerator for about 2 hours. Check it from time to time so it doesn’t become too firm.
- Once the cream reaches the consistency of sour cream, spread it between the two sponge layers.
- Refrigerate the assembled cake for at least 1 more hour before serving.

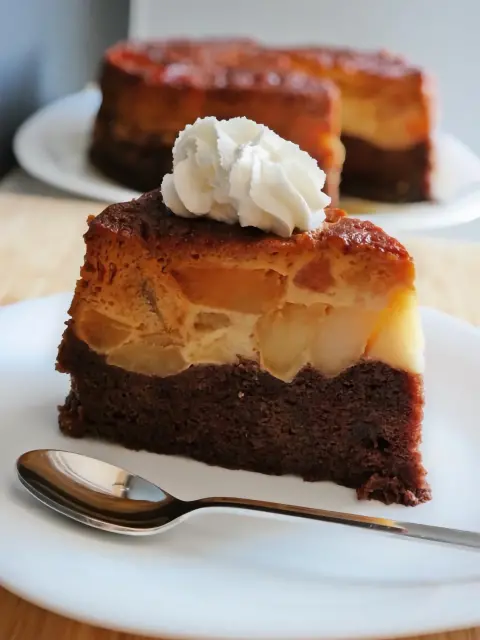

![[EN] This apple cake is made with lots of thinly sliced apples, very little batter and has a moist, compact texture. And the salted caramel sauce on top takes it to another level. 🍎🤎👉 Find the recipe on the blog – link in bio.
https://www.loredanaarion.ro/en/apple-cake-with-salted-caramel/[RO] Această prăjitură cu mere foarte multe mere feliate subțire, puțin aluat și o textură umedă și compactă. Iar deasupra vine sosul de caramel sărat, care o completează perfect. 🍎🤎👉 Găsiți rețeta pe blog – link în bio.
https://www.loredanaarion.ro/prajitura-cu-mere-si-caramel-sarat/
.
.
.
.
.
#applecake #saltedcaramel #invisibleapplecake #prajituracumere #retetacumere](https://www.loredanaarion.ro/wp-content/uploads/2026/08/793678090_18619152523035854_5881653736870438239_n-480x640.jpg)
![[EN] A Dubai trip that has been sitting in my camera roll for far too long… and has finally made it to the blog. 😅Link in bio 🔗
https://www.loredanaarion.ro/en/dubai-vacation/[RO] O vacanță în Dubai care a stat mult prea mult timp în galeria foto… și care, în sfârșit, a ajuns pe blog. 😅Link in bio 🔗
https://www.loredanaarion.ro/vacanta-dubai/.
.
.
.
#Dubai #DubaiTravel #DubaiVacation #VisitDubai #ExoticVacation](https://www.loredanaarion.ro/wp-content/uploads/2026/08/782455807_18616775566035854_5079182756366064778_n-360x640.jpg)




![[EN] This apple cake is made with lots of thinly sliced apples, very little batter and has a moist, compact texture. And the salted caramel sauce on top takes it to another level. 🍎🤎👉 Find the recipe on the blog – link in bio.
https://www.loredanaarion.ro/en/apple-cake-with-salted-caramel/[RO] Această prăjitură cu mere foarte multe mere feliate subțire, puțin aluat și o textură umedă și compactă. Iar deasupra vine sosul de caramel sărat, care o completează perfect. 🍎🤎👉 Găsiți rețeta pe blog – link în bio.
https://www.loredanaarion.ro/prajitura-cu-mere-si-caramel-sarat/
.
.
.
.
.
#applecake #saltedcaramel #invisibleapplecake #prajituracumere #retetacumere](https://scontent-otp1-1.cdninstagram.com/v/t51.82787-15/793678090_18619152523035854_5881653736870438239_n.jpg?stp=dst-jpg_e35_tt6&_nc_cat=104&ccb=7-5&_nc_sid=18de74&efg=eyJlZmdfdGFnIjoiQ0FST1VTRUxfSVRFTS5iZXN0X2ltYWdlX3VybGdlbi5DMyJ9&_nc_ohc=uwj2FQJFBaAQ7kNvwFLJUE0&_nc_oc=AdoDEOGQSFaNmEWIcE6WlHUG_UZU90SFtUZJjx_SOFSeQGugwT5tAL08bVRfSCpVOXE&_nc_zt=23&_nc_ht=scontent-otp1-1.cdninstagram.com&edm=ANo9K5cEAAAA&_nc_gid=-ctXDRihA5PkAwMR7w2WZQ&_nc_tpa=Q5bMBQLT6L6TEwjgSJz_KA8Xd0bFjYvLC0sXyLM_pm09Rq7OQaUszB6P6RMdkdRG-AZp5KNQsUt6yaA6&oh=00_AQPhZ92h8Nm7RFpA-Nq9lVFWN0ZRdm6jEWPOIsiMeTWfUg&oe=6ADC8B81)
![[EN] This apple cake is made with lots of thinly sliced apples, very little batter and has a moist, compact texture. And the salted caramel sauce on top takes it to another level. 🍎🤎👉 Find the recipe on the blog – link in bio.
https://www.loredanaarion.ro/en/apple-cake-with-salted-caramel/[RO] Această prăjitură cu mere foarte multe mere feliate subțire, puțin aluat și o textură umedă și compactă. Iar deasupra vine sosul de caramel sărat, care o completează perfect. 🍎🤎👉 Găsiți rețeta pe blog – link în bio.
https://www.loredanaarion.ro/prajitura-cu-mere-si-caramel-sarat/
.
.
.
.
.
#applecake #saltedcaramel #invisibleapplecake #prajituracumere #retetacumere](https://scontent-otp1-1.cdninstagram.com/v/t51.82787-15/793580677_18619152571035854_6441160978434826045_n.jpg?stp=dst-jpg_e35_tt6&_nc_cat=104&ccb=7-5&_nc_sid=18de74&efg=eyJlZmdfdGFnIjoiQ0FST1VTRUxfSVRFTS5iZXN0X2ltYWdlX3VybGdlbi5DMyJ9&_nc_ohc=1UK0xho6CcQQ7kNvwECcuZh&_nc_oc=AdoVmz0bxGfxWbXN7VmJVo_7nWI1fh6AIeueptKEpE0PP_uLcXjkAqh_UV8yrRfUB7c&_nc_zt=23&_nc_ht=scontent-otp1-1.cdninstagram.com&edm=ANo9K5cEAAAA&_nc_gid=-ctXDRihA5PkAwMR7w2WZQ&_nc_tpa=Q5bMBQIpc0HAvX1DdVPO2OC-FDAny0hfa9nHHYdUdKroe1V4fcE3vq6PvVuJNBajjsC6GDp38TZ6i17l&oh=00_AQP6-fxzXsBFh2NBwGbtSLI62ZyYvL13ttv1UjFIA8eySA&oe=6ADC70B8)