I’m not the biggest coconut fan, but I wouldn’t say I dislike it either. Every now and then, I “borrow” a Bounty bar from *le husband’s stash. “Protection money,” as he calls it. 🙂
That’s how this chocolate coconut cake came about. I originally wanted to make little coconut bites coated in chocolate. I’d made them for my birthday before and they were really good, but I never got around to photographing them. This time, though, I wasn’t feeling patient enough to shape every single one.
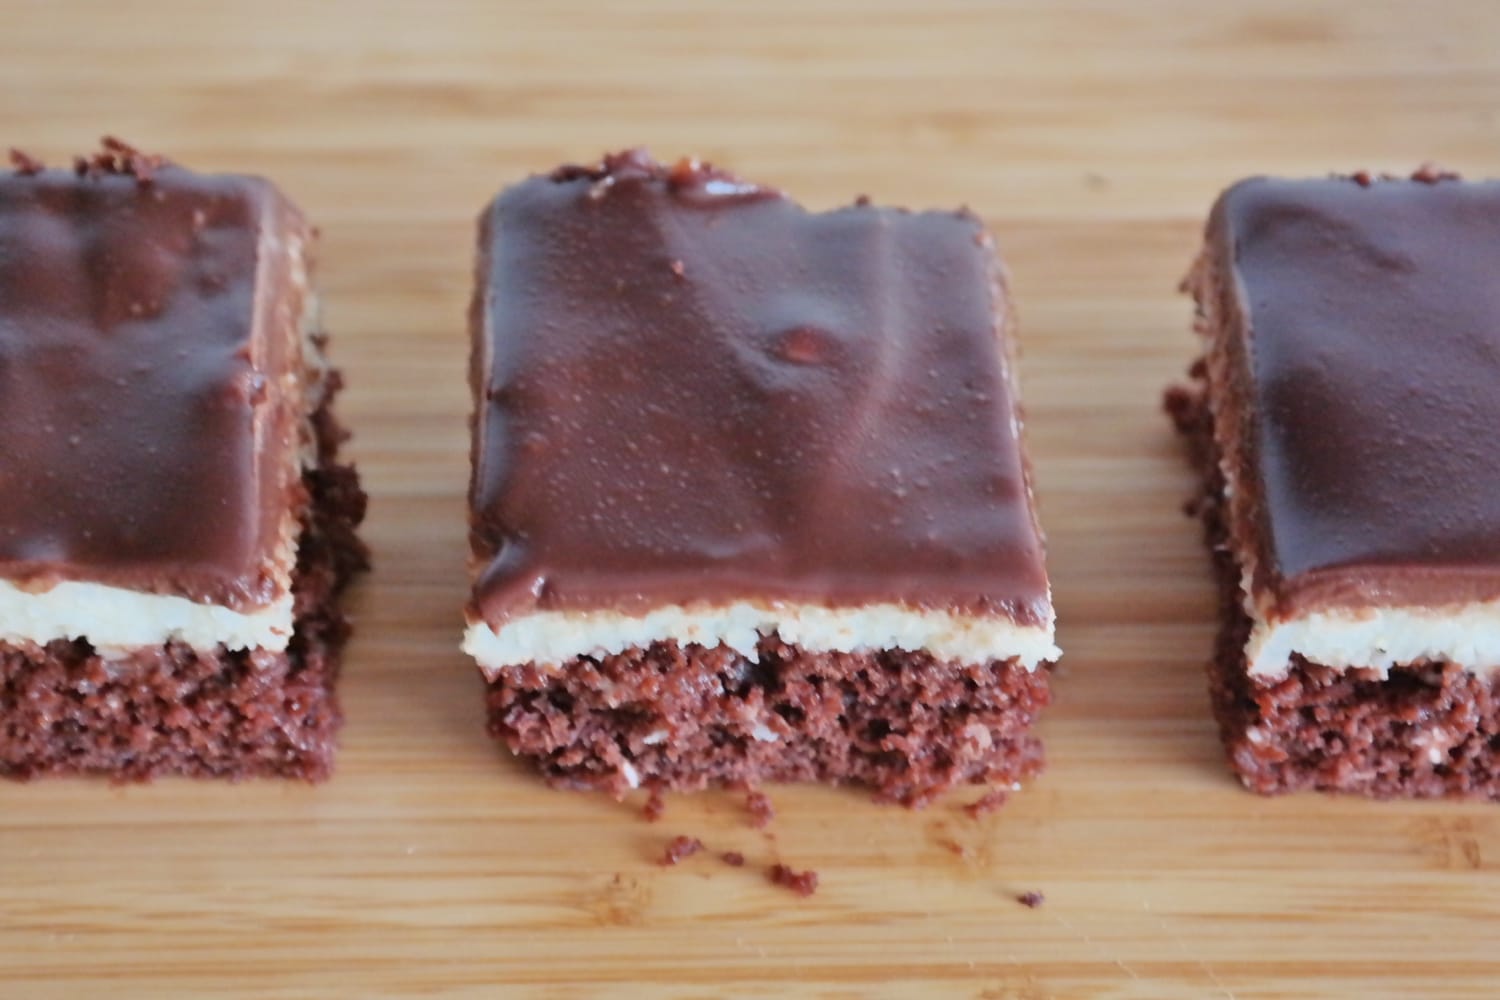
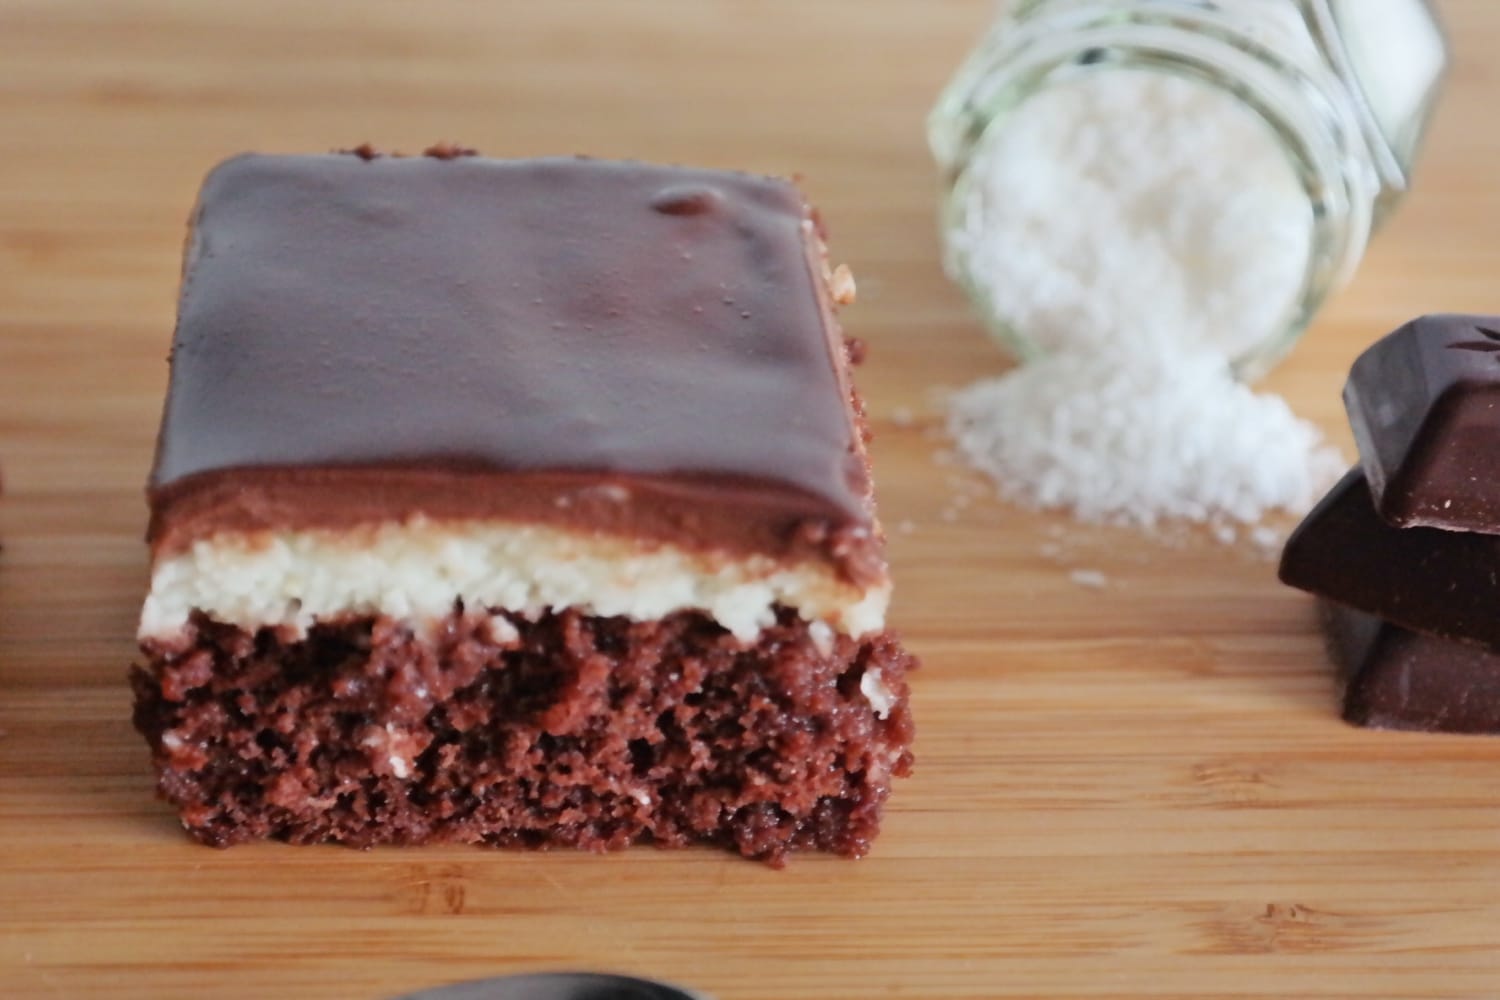
Something baked in a pan sounded quicker and more convenient. That led me to Bounty cake recipes and, eventually, to this version: a syrup-soaked cocoa sponge, a coconut semolina filling and a milk chocolate glaze.
One thing before we go any further: I don’t think it tastes exactly like a Bounty bar. The coconut and chocolate combination certainly brings one to mind, but this is a cake with its own texture and flavor. And it’s well worth making for those. 🙂
Why You’ll Love This Chocolate Coconut Cake
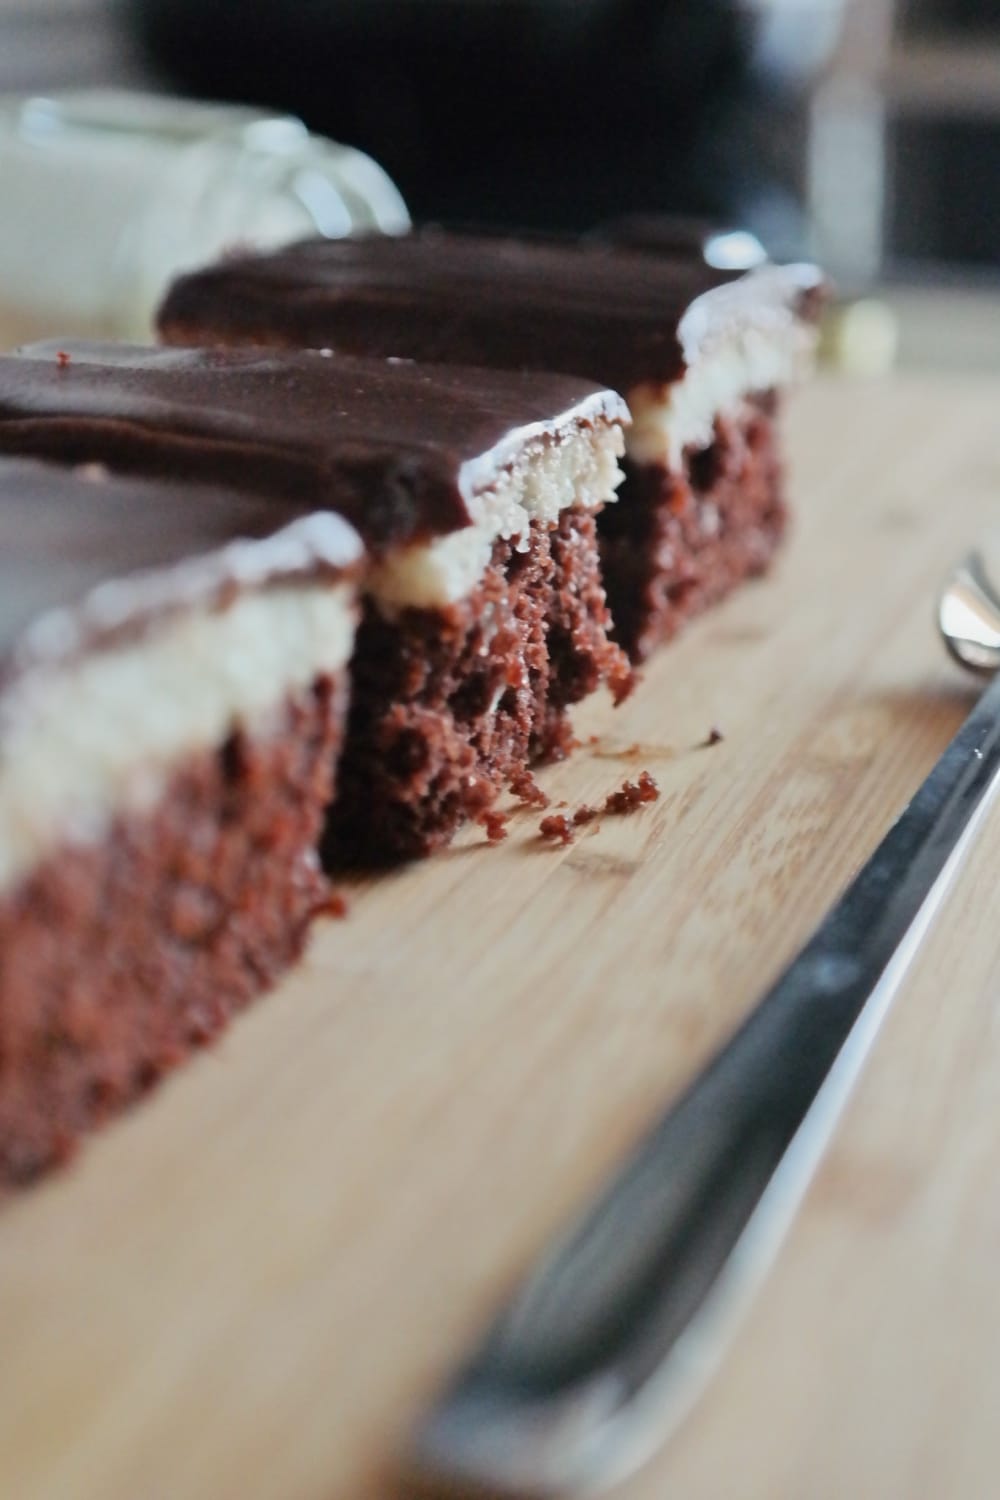
For me, the main attraction is the contrast between the layers. The syrup-soaked sponge, coconut filling and chocolate topping each bring something different. They stay distinct, so you get a little of everything in each bite rather than one uniform texture.
The caramel milk syrup also adds more than moisture. It gives the cocoa sponge another layer of flavor, which becomes part of the finished cake rather than disappearing behind the coconut. It’s one of the details I would keep in this version.
I also like that the whole dessert comes together in one baking pan. There are no pastry sheets to roll out and no individual coconut bites to shape, which was exactly what I wanted to avoid when I started.
That doesn’t mean it’s ready to eat straight away. The actual preparation is fairly simple, but there are cooling breaks between stages. This is a cake for a day when you can come back to it a few times, rather than one when you need neatly cut squares in the next half hour.
What Is Coconut Semolina Filling?
The filling here is made with semolina, milk and coconut. Semolina thickens the cooked mixture, giving it the body it needs to form a separate layer, while the coconut adds its characteristic texture. Don’t expect it to be completely smooth like a custard.
This matters particularly if you found the recipe while looking for a Bounty cake. That name is used for quite a range of desserts: some have a condensed milk filling, others use semolina; some have a baked base, while others need no baking at all.
This version has a baked cocoa sponge and a cooked coconut filling. The coconut sits in its own layer above the sponge, rather than being mixed into the cake batter. That distinction makes it easier to know what you’re making before you start.
Helpful Tips
Keep the pan size in mind. The dimensions in the recipe give the layers their proportions. A larger pan spreads the batter more thinly, while a smaller one makes a deeper cake. If you change the pan, don’t rely on the original baking time alone: check whether the sponge is actually baked through.
Use softened butter for the sponge. It needs to be at room temperature so it can be creamed with the sugar. Cold butter straight from the fridge won’t behave in the same way, and spending longer with the mixer isn’t a particularly enjoyable substitute for letting it soften first.
Take care when adding milk to the caramel. The mixture can steam and splutter. If the caramel hardens when the milk goes in, that doesn’t mean the syrup has failed. The important point is to let the caramel dissolve completely, rather than assuming the syrup is ready as soon as the milk has been added.
Pay attention to the bottom of the saucepan when making the filling. Stirring only through the middle can leave some of the mixture sitting against the hot base. Stir continuously and have your spreading spatula ready, so you aren’t searching through a drawer when the filling is ready to use.
Clean the knife between cuts. A sharp blade helps, but wiping it also stops chocolate and filling from being dragged across the next piece. It’s a small thing that makes the separate layers look much neater once the cake is sliced.
Frequently Asked Questions
Should I cool the coconut filling before spreading it?
No. For this recipe, spread the filling while it is hot, over the cooled sponge that has already absorbed the syrup. It is easier to distribute evenly at this stage. Then allow the filling layer to cool before adding the chocolate glaze.
Does this cake taste exactly like a Bounty bar?
Not to me. The coconut and chocolate combination brings the candy bar to mind, but the syrup-soaked sponge and semolina filling give this dessert a different texture and flavor. Think of it as a coconut and chocolate cake rather than an exact copy of the bar.
Can I slice the cake as soon as I add the glaze?
It’s better to wait until the layers have cooled and the glaze has set. While they are still warm, the filling and topping can smear as you cut, and the pieces won’t hold their shape as neatly.
More Coconut Recipes to Try
If you still have coconut in the cupboard and fancy something sweet, here are three more ways to use it. From syrup-soaked cake to cookies and no-bake bites, there’s a little variety. 🙂
Coconut Lamingtons – keep the cocoa, coconut and moist sponge combination, but each piece is dipped in glaze and coated in coconut. Try them if you like those flavors and would prefer a cake without a separate filling.
Easy Coconut Macaroons – are made with egg whites and coconut, with chocolate as an optional finishing touch. They’re closer to the small coconut treats I originally had in mind, without assembling a cake in layers.
Date Energy Balls with Peanut Butter and Chocolate – contain coconut both in the mixture and on the outside. With dates, oats and seeds, they’re a no-bake option for days when you want something sweet without switching on the oven.

Chocolate Coconut Cake Recipe with Coconut Semolina Filling
20
squares25
minutes40
minutes240
kcalA cocoa sponge cake soaked in caramel milk syrup, topped with coconut semolina filling and a milk chocolate glaze.
Ingredients
- For the syrup
60 g sugar
100 ml milk
- For the cocoa sponge
3 eggs
100 g butter, softened to room temperature
100 g sugar
125 g all-purpose flour
2 tablespoons cocoa powder
4–5 tablespoons milk
1 packet baking powder, 10 g
1 teaspoon rum essence
A pinch of salt
Butter for greasing the pan, as needed
- For the coconut filling
300 ml milk
60 g semolina
100 g sugar
100 g butter
7 tablespoons desiccated coconut
1 tablespoon vanilla essence
- For the chocolate glaze
100 g milk chocolate
100 ml whipping cream
Directions
- Make the syrup. Place the sugar in a small saucepan and heat until caramelized. Carefully add the milk, as the mixture may splutter. Stir over the heat until the caramel has completely dissolved, then set aside to cool.
- Prepare the oven and pan. Preheat the oven to 170°C (340°F). Grease a 20 × 30 cm (approximately 8 × 12 inches) baking pan with butter.
- Make the sponge batter. Beat the softened butter and sugar until light and fluffy. Add the eggs one at a time, beating after each addition.
- Add the flour, cocoa powder, milk, baking powder, rum essence and salt. Mix until the batter is evenly combined.
- Pour the batter into the prepared pan and bake for approximately 20 minutes at 170°C (340°F). Check with a toothpick inserted into the center. Once the sponge is baked, remove the pan from the oven and leave to cool.
- Make the coconut filling. Place the milk, semolina, sugar and butter in a saucepan. Heat, stirring continuously to prevent the mixture from catching on the bottom.
- Once the mixture begins to boil, continue cooking for approximately 5 minutes, stirring continuously. Remove from the heat and stir in the coconut and vanilla essence.
- Assemble the cake. Pour the cooled syrup evenly over the cooled sponge. Immediately spread the hot coconut filling over the sponge and smooth the surface. Leave the filling to cool before adding the glaze.
- Make the chocolate glaze. Break the milk chocolate into pieces and place in a small saucepan with the whipping cream. Heat gently over low heat, stirring until melted and smooth. Do not bring to a boil.
- Spread the glaze evenly over the cooled coconut filling. Allow the cake to cool and the glaze to set before cutting into pieces.
Note
- Nutrition information is approximate and may vary depending on the ingredients used and portion sizes.