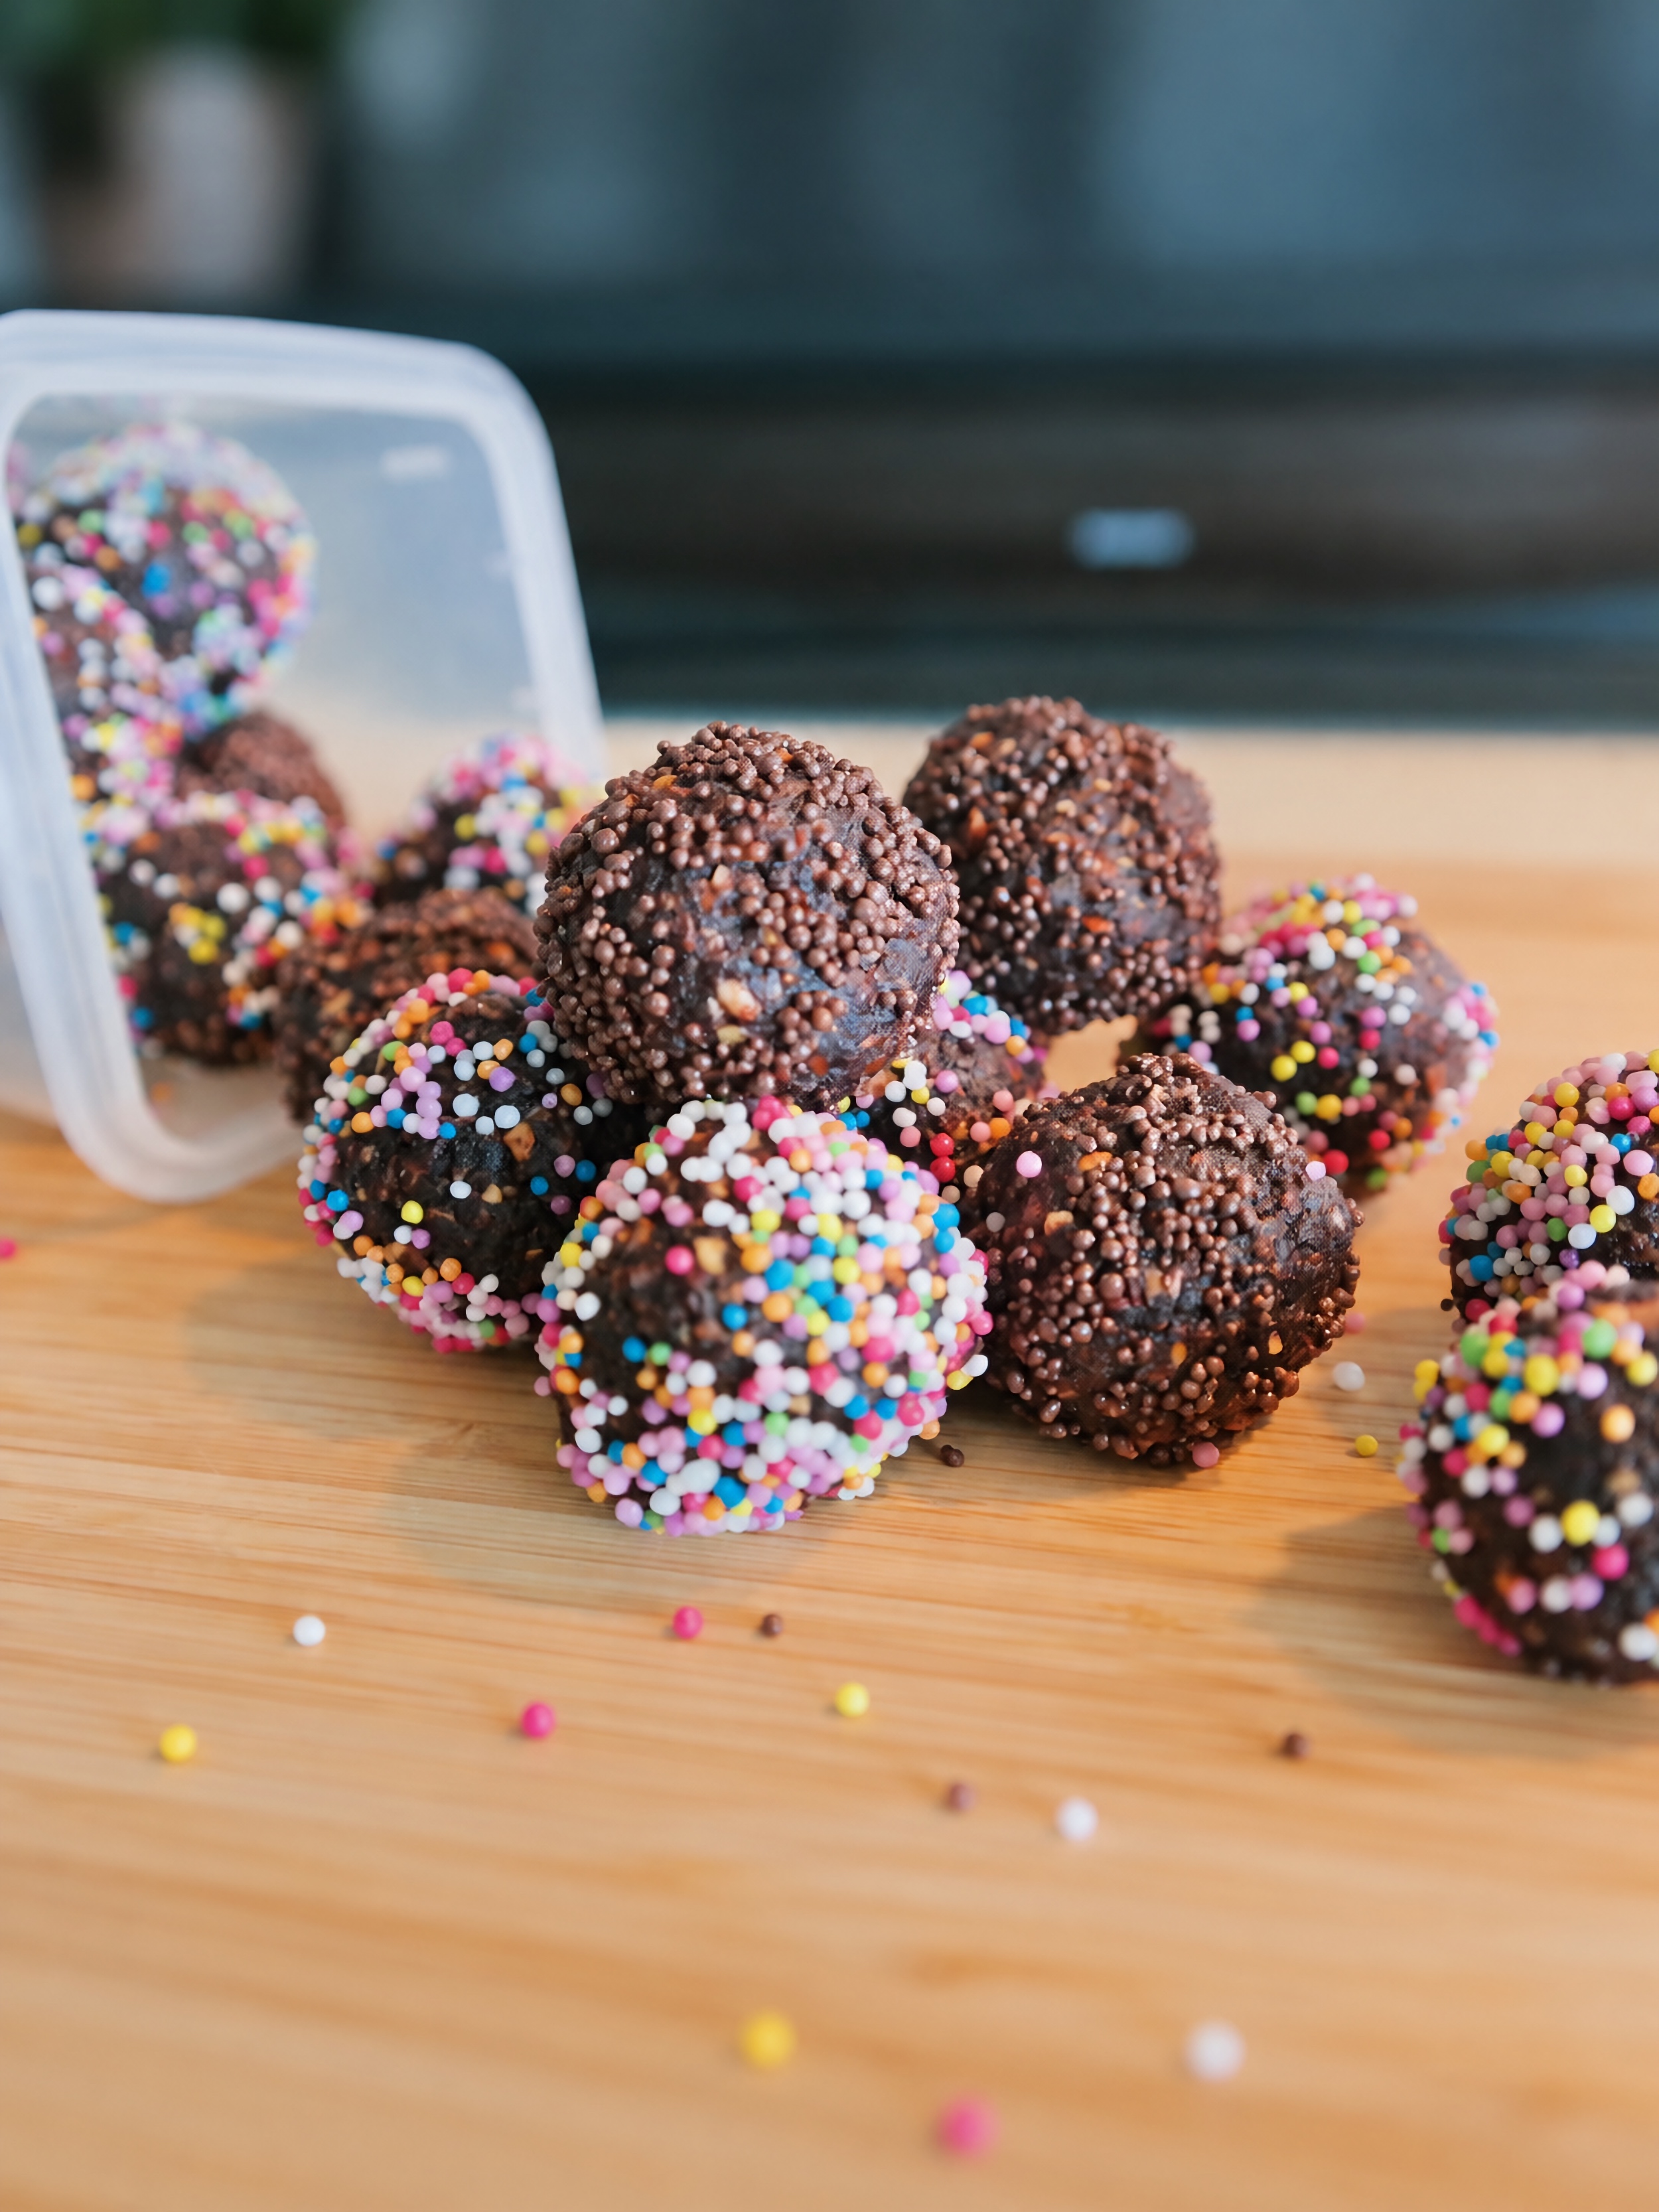
I spent quite a while trying to decide what to call these. Sweets? Truffles? Little chocolate bombs? 😄 There are enough ingredients in them that, if I’d put everything in the title, I could almost have skipped writing the recipe. Sticking a little stick into each one and calling them cake pops would have solved the naming problem.
In the end, I settled on chocolate biscuit balls with nuts and peanut butter. I came up with the recipe using ingredients I already had in the kitchen, which is how a plain wafer sheet found its way into the mixture too. It’s the sort of dessert that starts with opening the cupboard and seeing what you can make with what’s there.
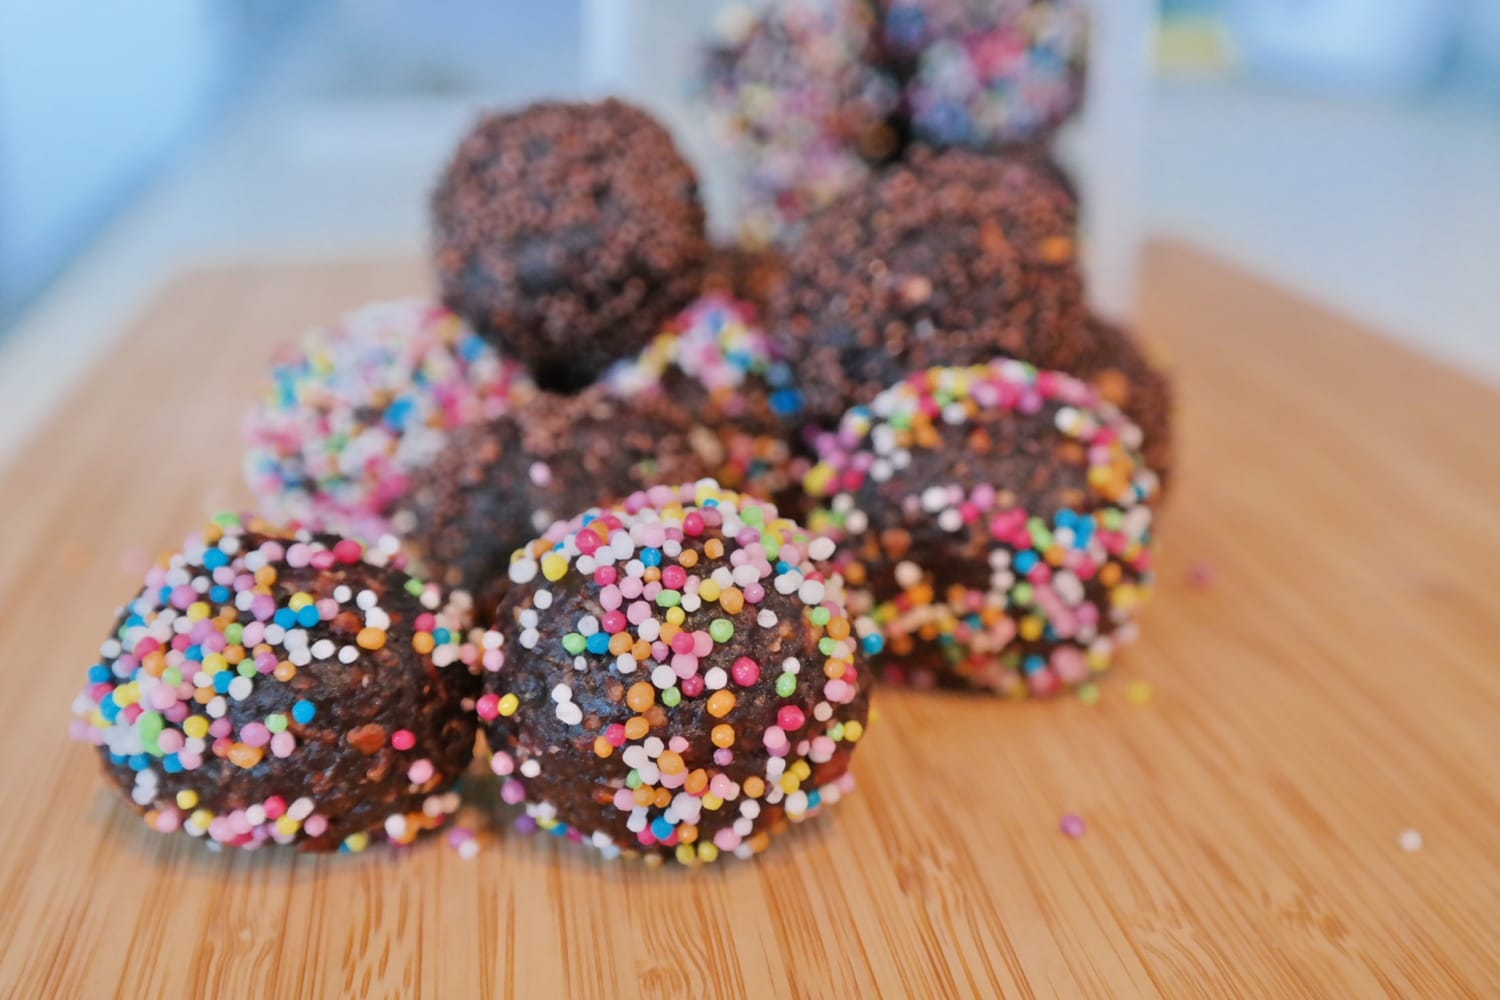
These little treats are rolled by hand, with pieces of nuts and a hint of rum flavoring. They don’t have a chocolate shell or the smooth centre of a classic chocolate truffle. Their texture comes from the contrast between the finely crushed biscuit base and the slightly chunkier nuts.
Why You’ll Love These Chocolate Biscuit Balls
First, there’s the contrast in textures. The biscuits and wafer form the base, while the walnuts, hazelnuts and almonds add little crunchy pieces. If you like a dessert with something to bite into, that’s a good reason to leave the nuts a little coarse rather than grinding everything into powder.
The balls don’t need baking once they’re shaped. You do need to toast the nuts and prepare the cocoa syrup, but there’s no dough to watch rising and no centre to test with a skewer. What matters here is getting a mixture that holds together well enough to roll.
They’re also individually portioned from the start. You can arrange them on a platter alongside other sweets without having to slice anything. And the decoration can be as simple as you like. I went with colourful sprinkles, but there’s no need to turn every little ball into a separate craft project. 😄

What Gives Them Their Flavor and Texture?
Cocoa powder gives these biscuit balls their chocolate flavor. That distinction is worth making if you’re expecting a recipe with melted chocolate: the mixture here is made with crushed biscuits and brought together with a cocoa syrup, rather than a chocolate cream or ganache.
Peanut butter complements the mixed nuts. It adds another layer of flavour without turning the centres into a peanut butter filling. The product you use matters too: sweetened or salted peanut butter can shift the balance compared with a plain version.
The wafer sheet has its own role in the mixture. This recipe uses a plain, unfilled wafer sheet of the kind sold for making layered wafer cakes. It doesn’t mean cream-filled wafer biscuits. Those would add extra ingredients and moisture, so the result wouldn’t be quite the same.
Rum flavouring rounds out the cocoa and nuts. If you grew up with homemade biscuit desserts, the combination might taste familiar. These balls still have their own texture, though, with the pieces of nuts standing out in each bite.
Tips for Making Chocolate Biscuit Balls
Don’t grind everything to the same texture. A fine crumb works well for the base, but the nuts should still have a little bite. Check them between pulses of the food processor rather than leaving it running continuously. It’s much easier to control the size of the pieces that way.
Keep an eye on the nuts as they toast. Ovens heat differently, and smaller pieces can brown faster than larger ones. A pleasant toasted-nut smell is a useful cue; a burnt smell means we’ve gone past the good part. Let them cool before processing.
Check the texture before portioning the whole mixture. A small amount should come together into a ball and hold its shape when you put it down. If it immediately spreads or flattens, the mixture isn’t ready for shaping yet. It’s easier to discover that with the first ball than after rolling the entire batch.
Aim for roughly equal portions. They don’t have to look as though they came from a confectioner’s display, but similar-sized balls are nicer to serve together. Using the same teaspoon to portion the mixture helps, then you can finish rolling each one between your palms.
Choose a coating you actually enjoy eating. Colorful sprinkles add sweetness, coconut brings its own flavor, and chopped hazelnuts make the outside crunchier. The coating isn’t just there for the photograph — you’ll notice it when you take a bite too.
How to Serve Them
You can place the balls in small paper cases, especially if you’re arranging them on a platter with other desserts. The cases also help keep the coating around each ball, rather than leaving half the sprinkles scattered across the plate.
Coffee or unsweetened tea makes a simple pairing. There’s no need for an extra sauce: the balls already have cocoa, rum flavoring and the mixed nuts. For a little variety on the platter, you can serve some coated and some plain.

Frequently Asked Questions
Why is my mixture too soft to roll?
The main thing to watch in this recipe is the syrup: pouring it all in at once may make the mixture too wet. Biscuits and wafer sheets can absorb different amounts of liquid, so judge how much to add by the consistency, rather than feeling obliged to empty the saucepan.
If the mixture is still very warm, let it cool before deciding whether it needs adjusting. Don’t immediately add large amounts of other ingredients: you could change the recipe’s proportions before knowing whether that’s necessary.
Can I use milk instead of water?
Yes. Milk works well as an alternative liquid for the cocoa syrup. Use it in place of the water, rather than adding it on top of the amount listed.
Do I have to coat the biscuit balls?
No. You can leave them plain, just as I mentioned when I first made this recipe. They’ll be less colorful, but they’ll still have the same cocoa and nut flavor. The coating is a matter of taste and presentation, rather than something the recipe needs to work with.
More Recipes to Try
If you enjoy cocoa and peanut butter together, here are three more ideas from the blog:
Date Energy Balls – No-bake bites with peanut butter, dark chocolate, oats and seeds, rolled in coconut. Another hand-rolled treat, with sweetness from dates.
Peanut Butter Chocolate Cookies – Cocoa cookies with a peanut butter filling tucked inside. For when you want a similar combination of flavours and feel like switching on the oven. 😁
Chocolate Peanut Butter Pudding – A stovetop dessert served with walnuts and sliced banana. The cocoa and peanut butter combination, this time in a creamy pudding.
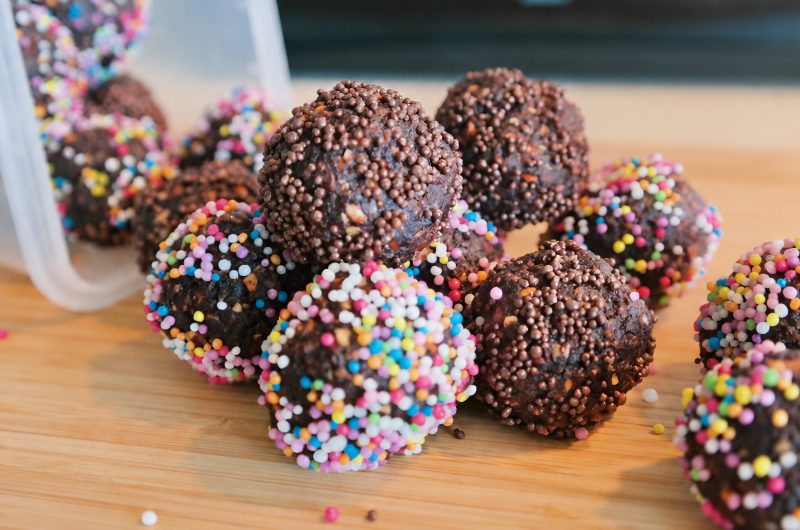
Chocolate Biscuit Balls with Nuts and Peanut Butter
20
balls30
minutes15
minutes105
kcalHomemade biscuit balls with a dense texture and crunchy nut pieces, shaped individually and finished with your favorite coating.
Ingredients
100 g petit beurre biscuits
1 plain, unfilled wafer sheet
Approximately 150 g mixed walnuts, hazelnuts and almonds
2 tablespoons cocoa powder
5 tablespoons sugar
50 g butter
50 ml water or milk
1 tablespoon peanut butter
1 teaspoon rum flavoring
Optional coatings: colorful sprinkles, desiccated coconut or chopped hazelnuts, as needed
Directions
- Process the biscuits into fine crumbs. Break the wafer sheet into pieces and process separately.
- Spread the mixed nuts on a baking tray and toast in a preheated oven at 180°C (350°F) for approximately 8 minutes. Watch carefully to prevent burning.
- Let the nuts cool, then pulse in the food processor until chopped, keeping some texture rather than grinding them into a fine powder.
- Combine the biscuit crumbs, crushed wafer and chopped nuts in a bowl. Add the peanut butter and mix it in.
- In a small saucepan, mix the sugar and cocoa powder. Add the water or milk and the butter. Heat gently over low heat, stirring until the sugar dissolves and the butter melts. Stir in the rum flavoring at the end.
- Gradually pour the cocoa syrup into the biscuit mixture, stirring with a wooden spoon. Stop adding syrup once the mixture holds together and can be shaped; you may not need all of it.
- If the mixture is too warm to handle, let it cool. Shape into approximately 20 walnut-sized balls.
- Roll in your chosen coating or leave plain.
Note
- Nutrition information is approximate and may vary depending on the ingredients used and the size of each portion.