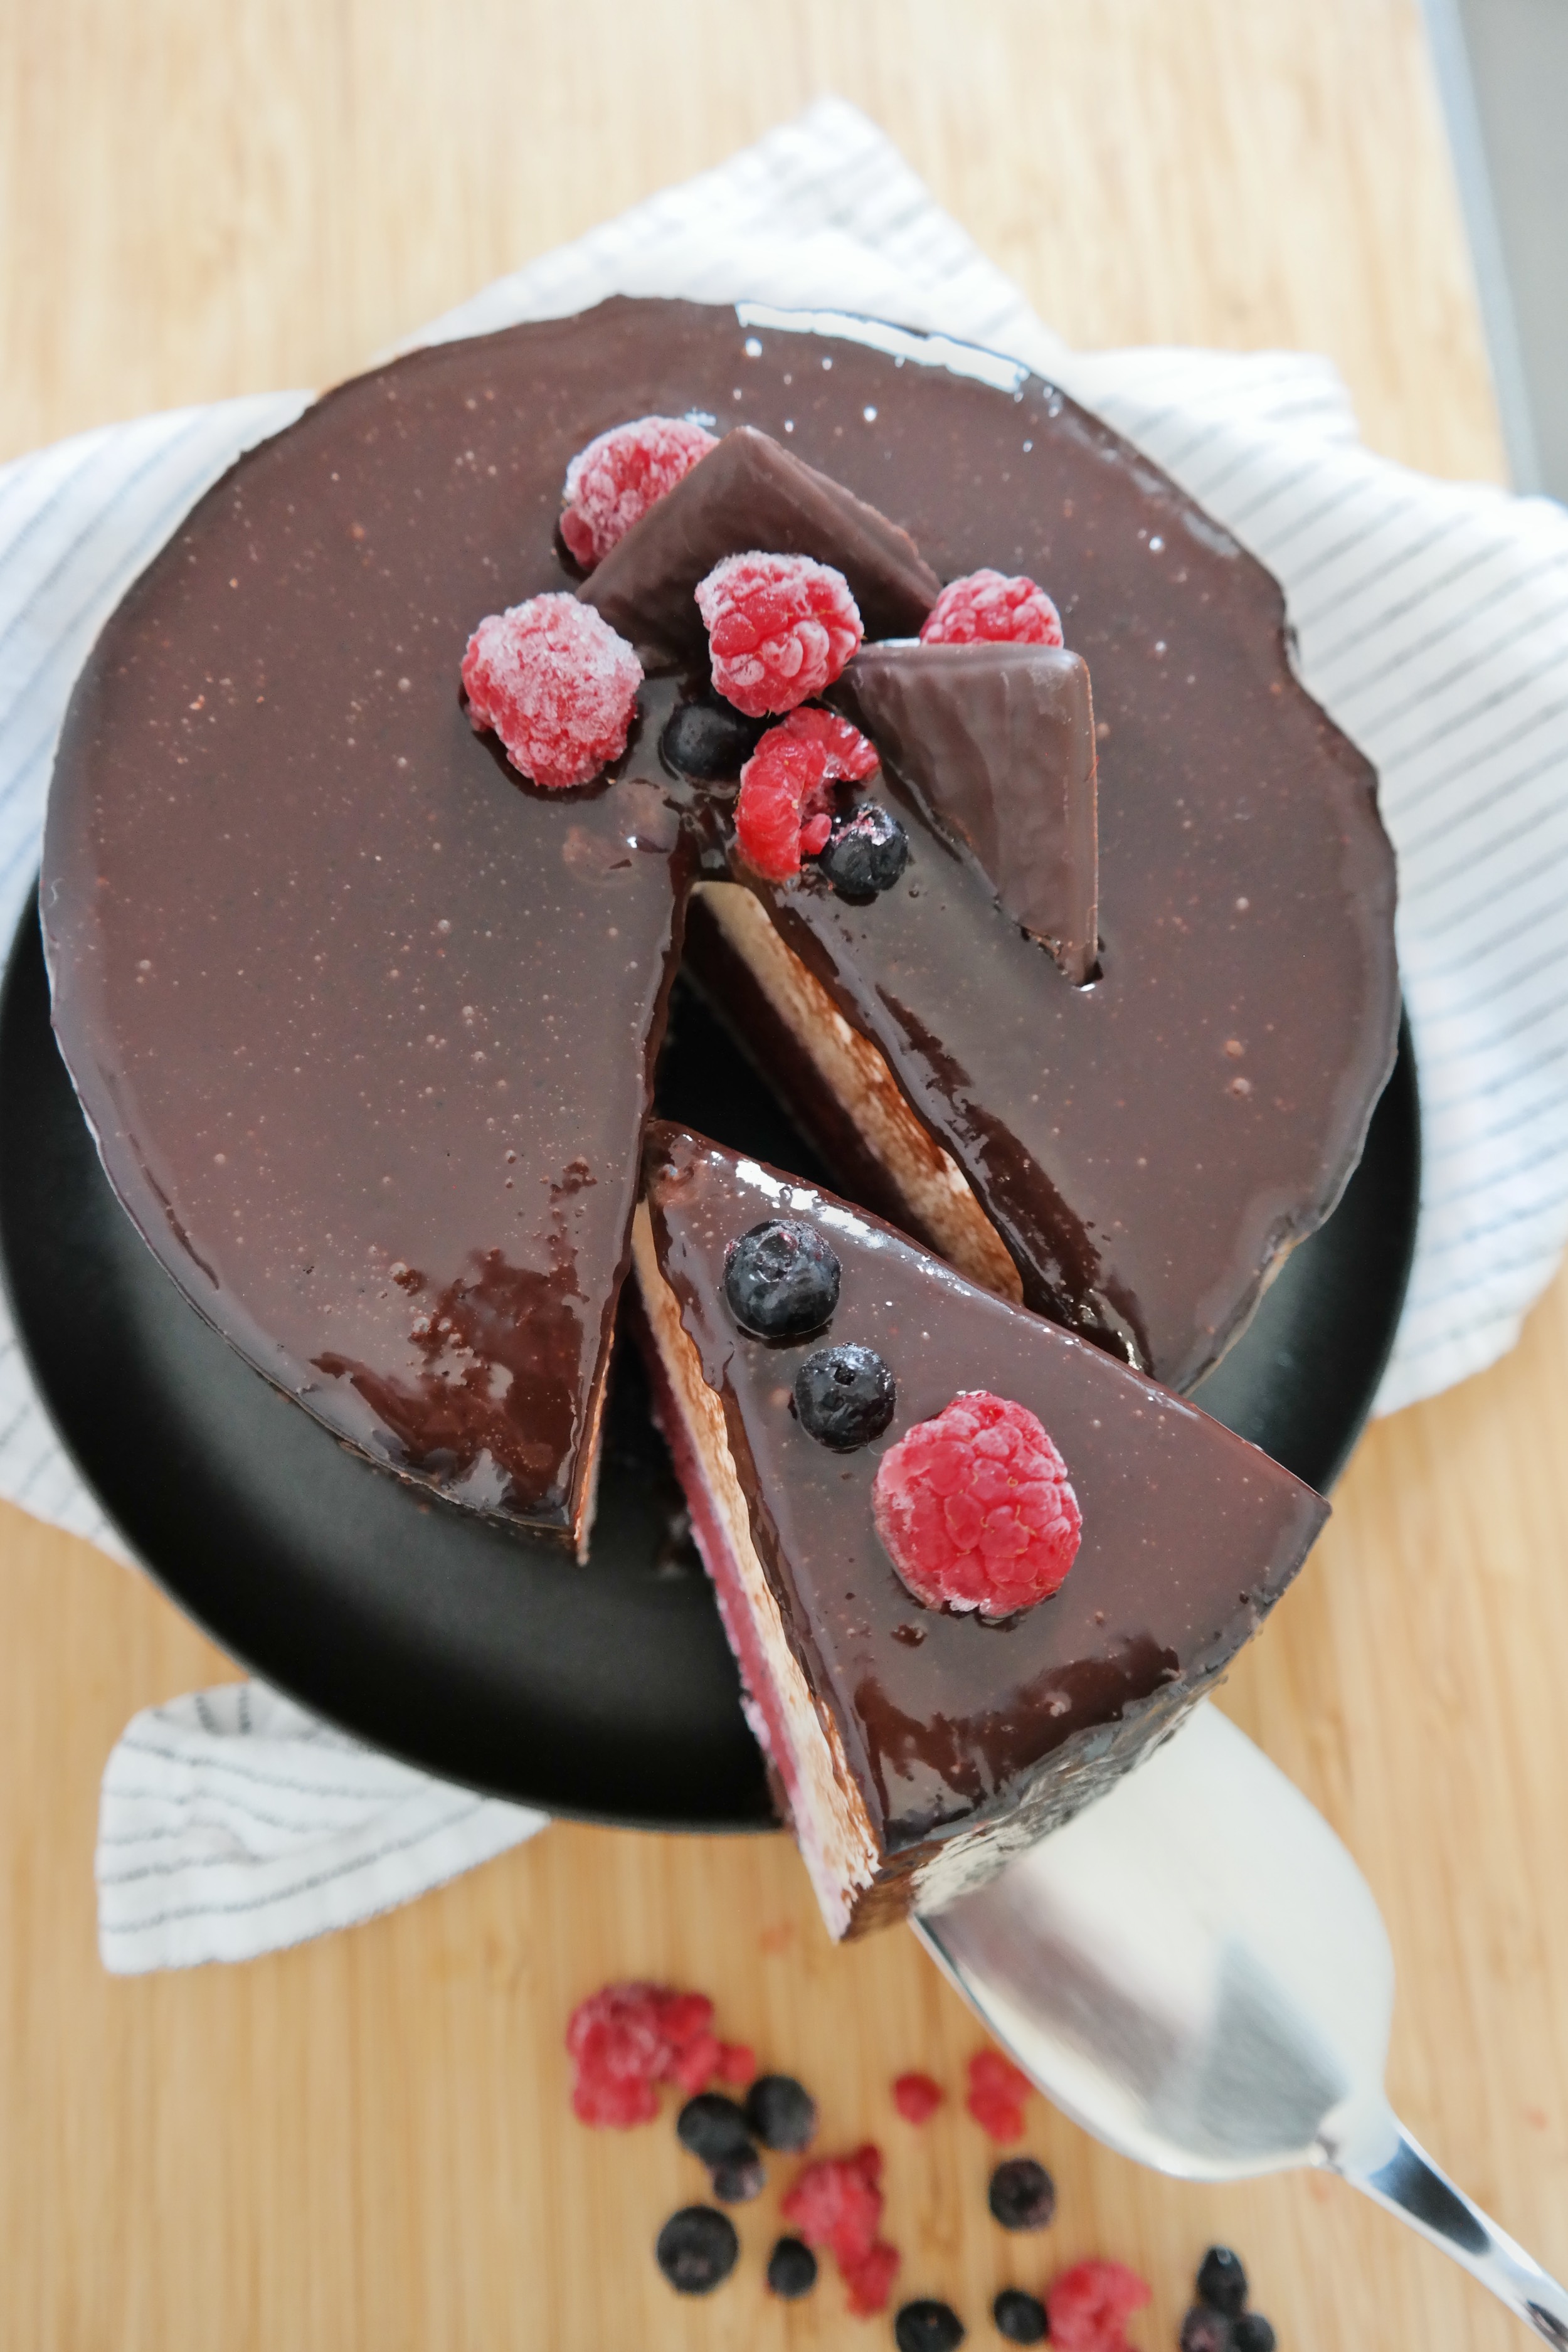
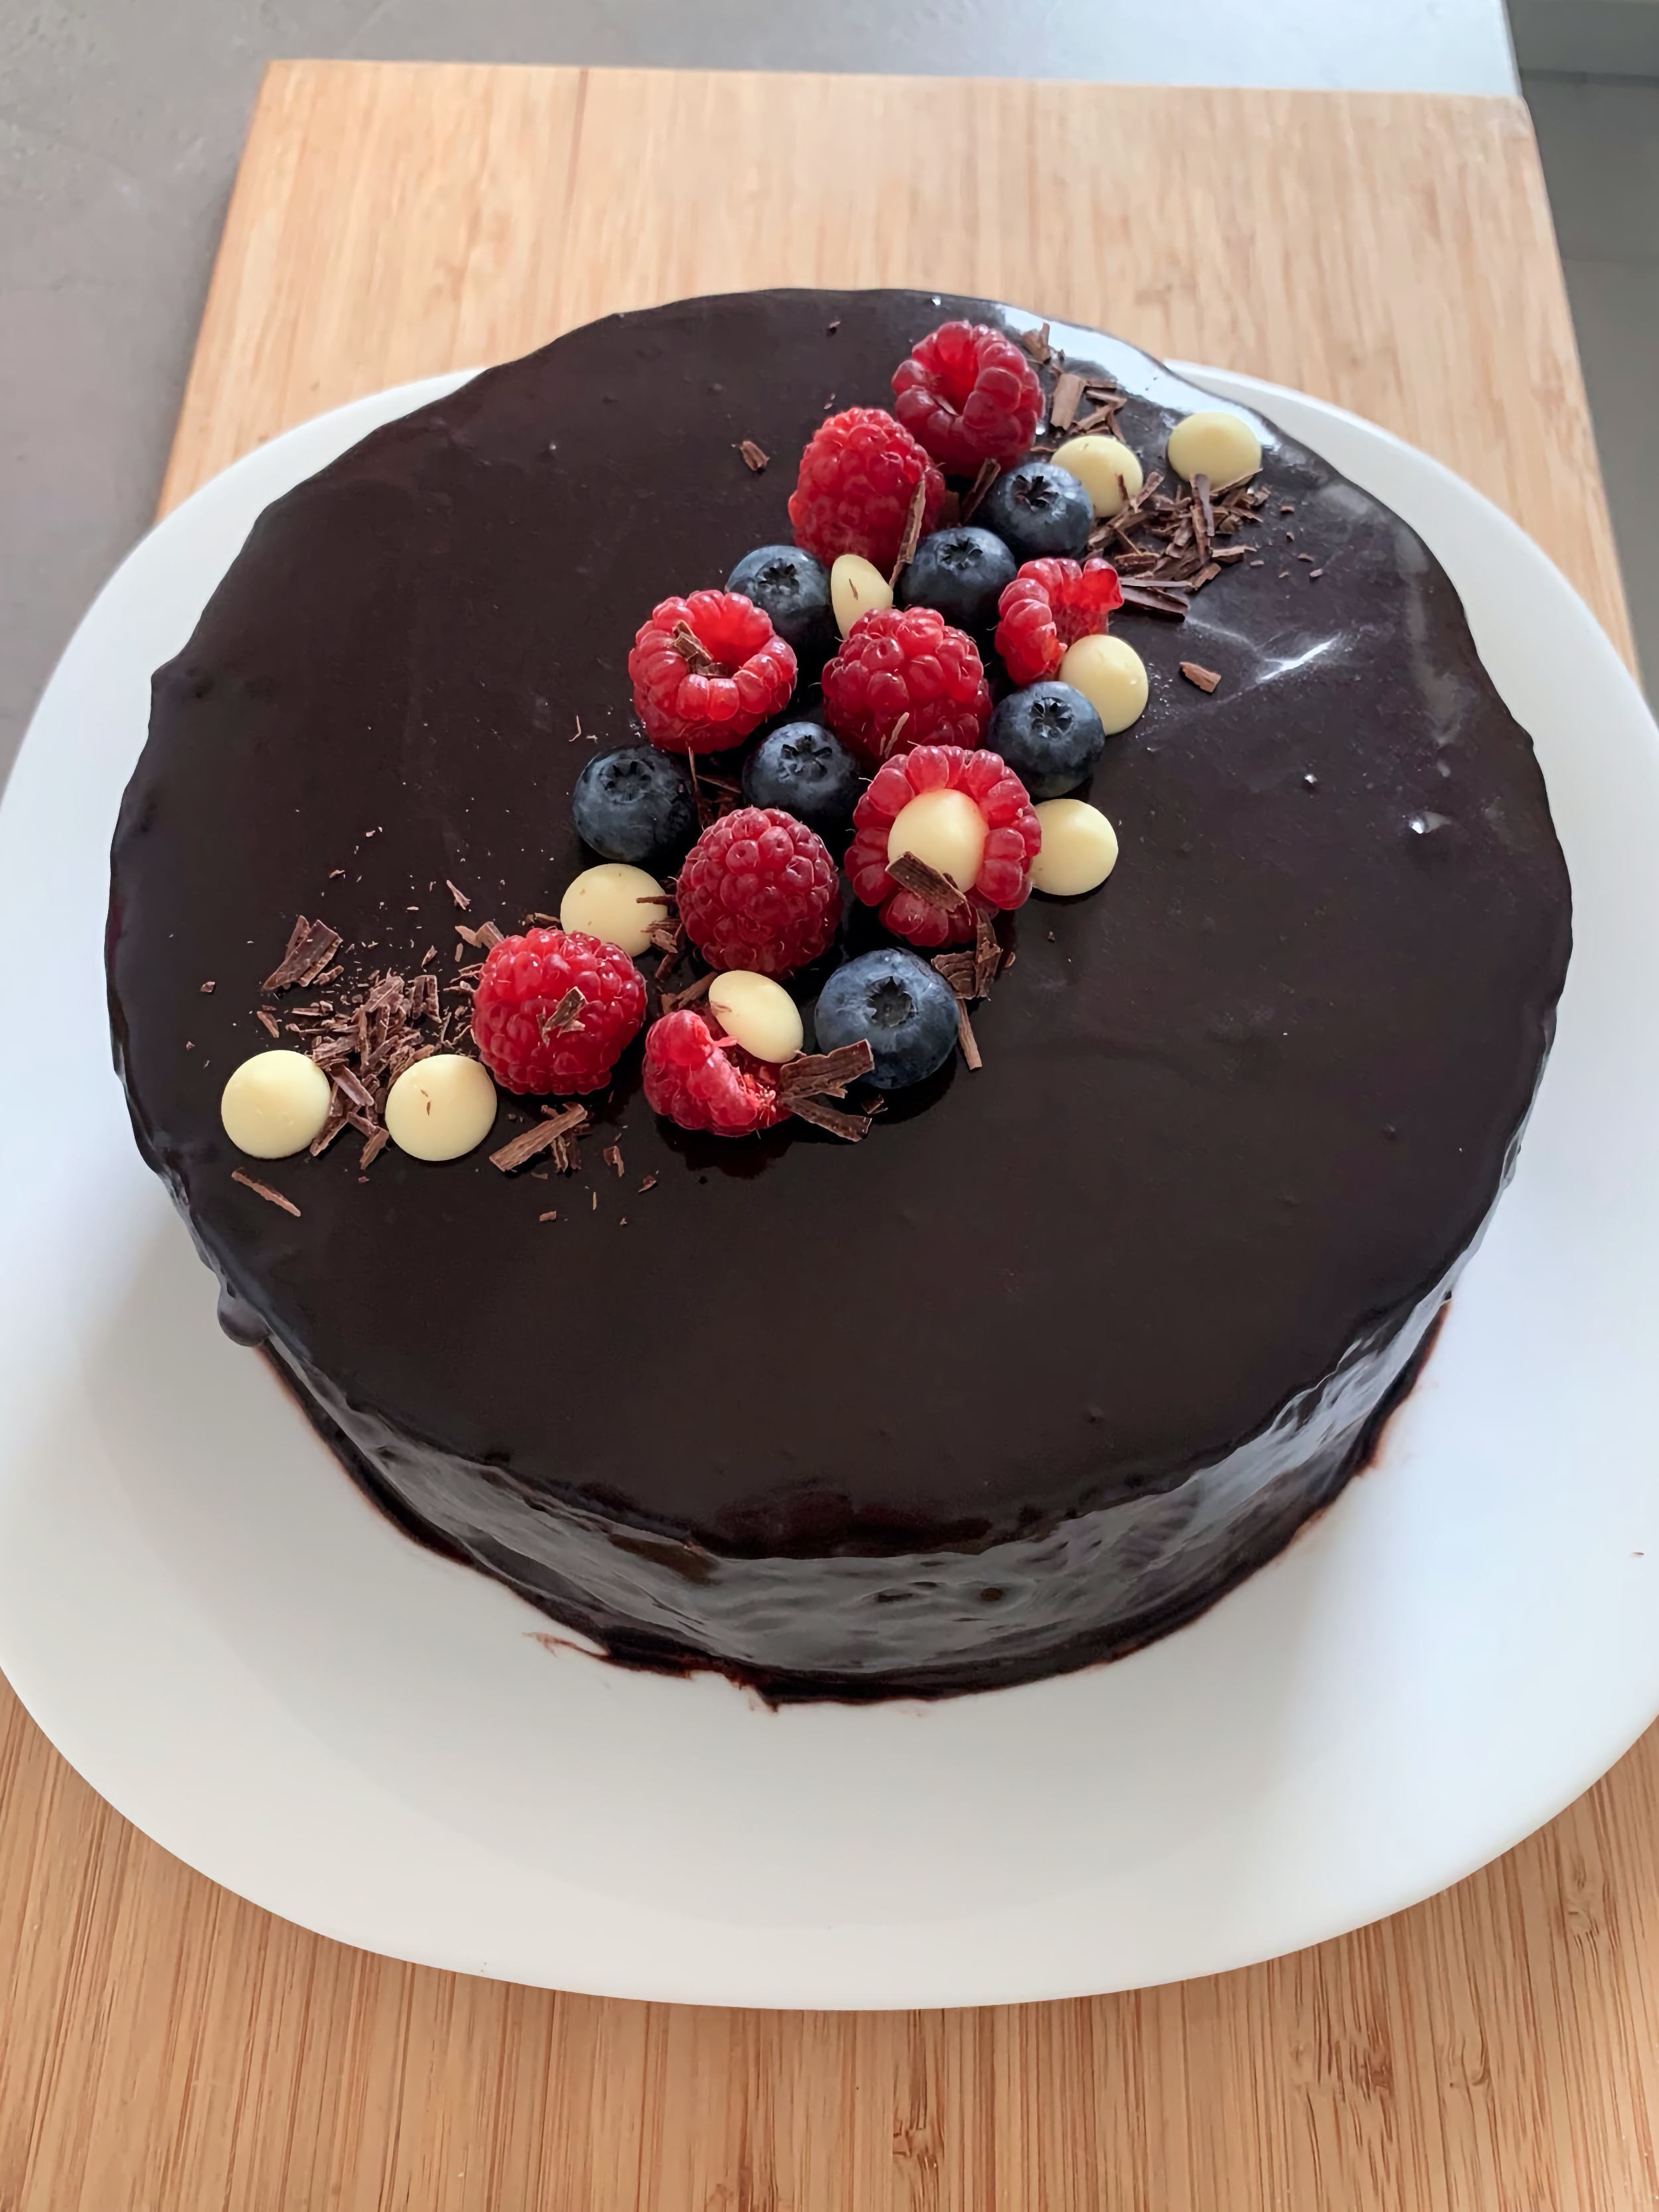
I’ve made this mixed berry mousse cake several times, and it’s always been a hit. It’s one of my favorite cakes for special occasions, especially when I want something that looks impressive without being overly sweet.
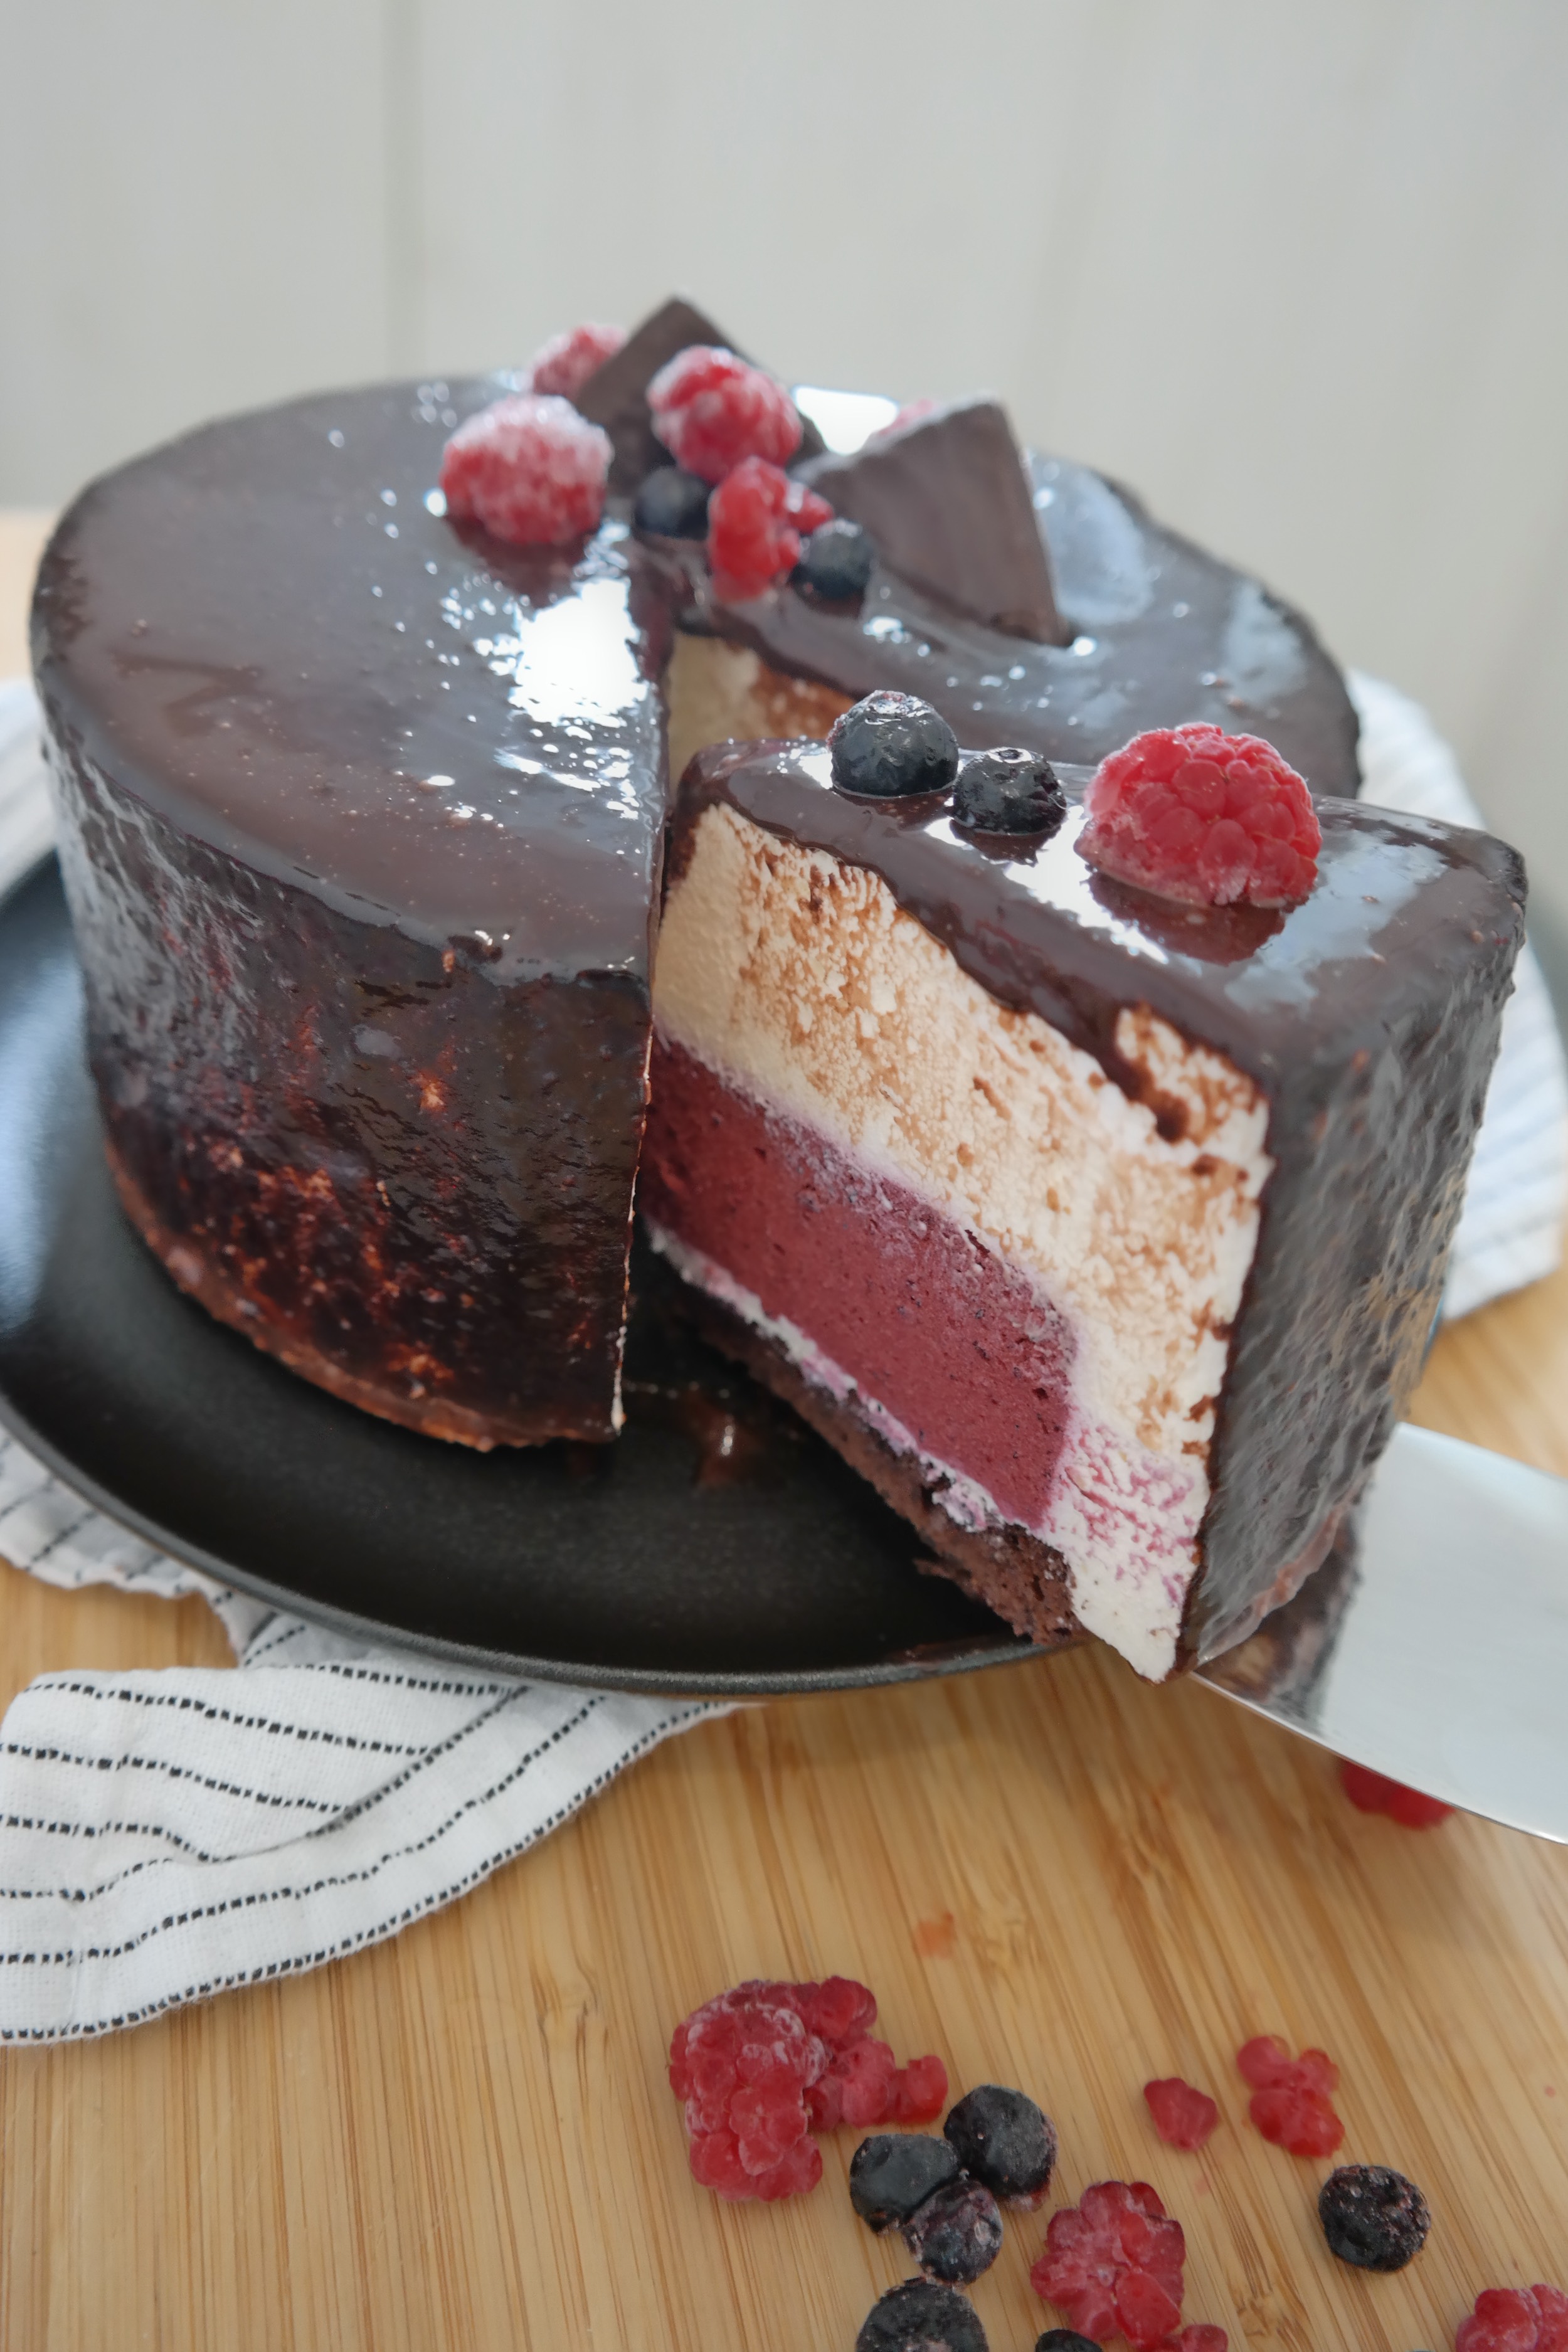
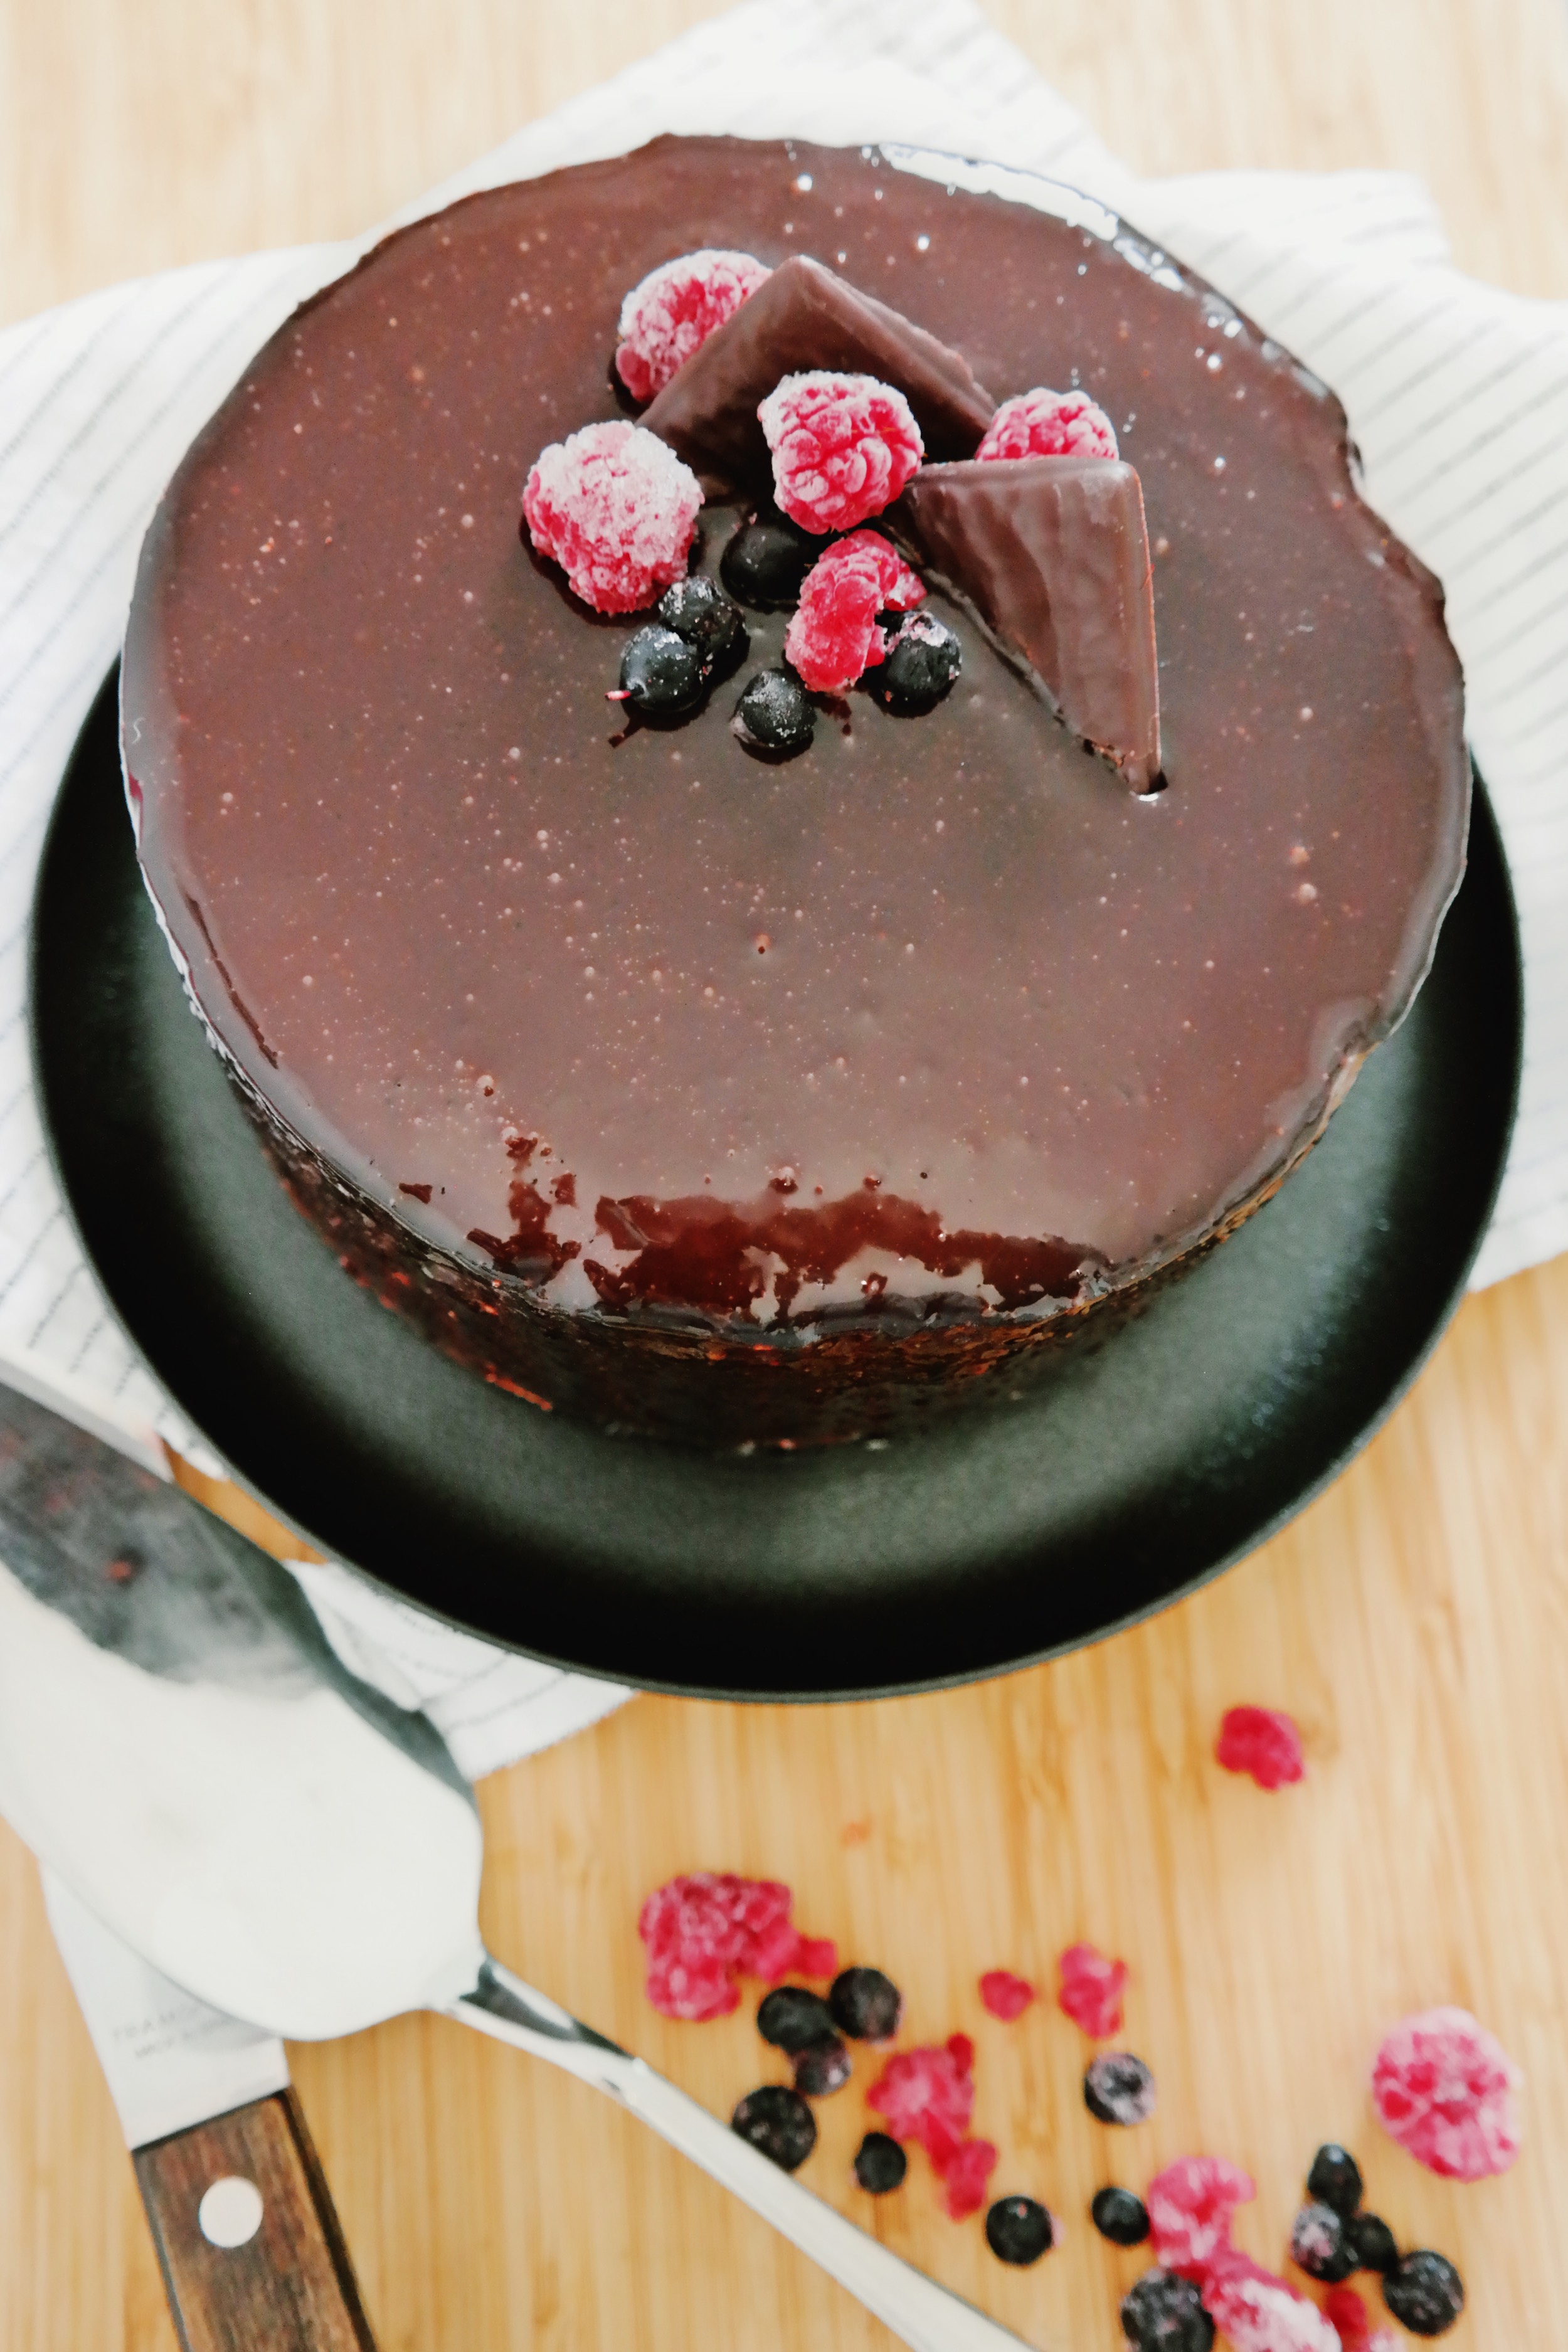
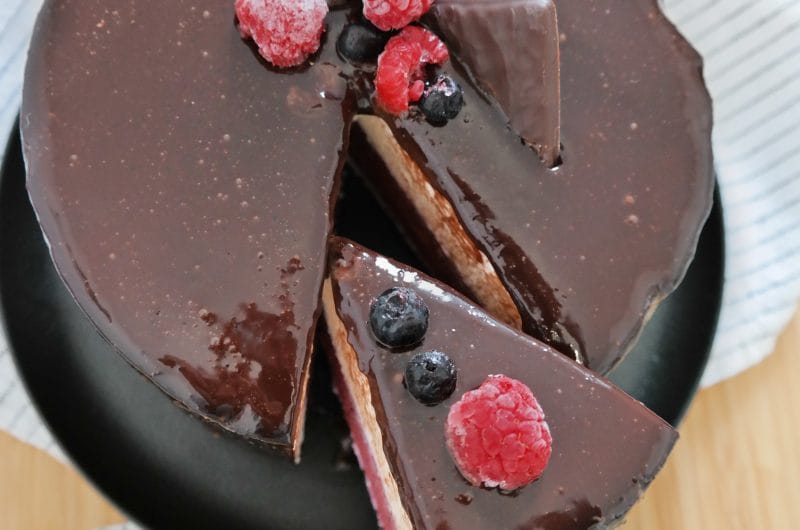
The cake has a very thin cocoa sponge base, a slightly tart mixed berry mousse, and a light, airy whipped cream mousse flavored with Irish cream liqueur. Everything is covered in a glossy cocoa mirror glaze that gives the cake an elegant finish.
I love how well the two mousse layers work together. The berries balance the sweetness of the whipped cream mousse, while the Irish cream adds a subtle flavor without overpowering the other ingredients.
I first made this cake for Christmas, and it turned out to be the perfect dessert after a traditional Romanian Christmas dinner, which usually involves plenty of hearty food. 😁 I’ve made it for other occasions since then, because it’s one of those cakes that looks just as good as it tastes.
It might look complicated at first, but it’s actually quite manageable. Each component is fairly straightforward to prepare. The only thing you really need is patience, as the mousse layers need time to set.
I made mine over two days, using just one adjustable stainless steel cake ring.
Why I Love This Mixed Berry Mousse Cake
My favorite thing about this cake is the contrast between the two mousse layers.
The mixed berry mousse is slightly tart, with a lovely, intense berry flavor, while the whipped cream mousse is light and delicate, with just a hint of Irish cream.
The cocoa sponge is intentionally very thin. It provides just enough structure without taking attention away from the mousse layers. The glossy cocoa mirror glaze brings everything together.
It’s a lovely cake for birthdays, Christmas, anniversaries, or any other special occasion. And despite having several components, you don’t need a lot of fancy equipment to make it.
How I Made This Cake Using Just One Adjustable Cake Ring
I used a single adjustable stainless steel cake ring for every component of this cake.
I set it to 18 cm (7 inches) for the cocoa sponge and 16 cm (6.3 inches) for the mixed berry mousse insert. For the final assembly, I adjusted it to 20 cm (8 inches), leaving enough room for the whipped cream mousse to surround the other layers.
Because I only had one cake ring, I spread the preparation over two days. I had to wait for each component to cool or set properly before removing the ring and using it again.
I let the mousse layers set in the refrigerator rather than the freezer. It takes longer, but it worked really well for me.
If you have several cake rings, you can prepare some of the components at the same time and shorten the overall process. If you only have one, like I did, I’d recommend starting a day or two before you plan to serve the cake.
And don’t worry, this doesn’t mean spending two full days in the kitchen. Most of the time is simply waiting for the mousse layers to chill and set.
Tips for Making a Layered Mousse Cake
Fresh or Frozen Berries
You can use either fresh or frozen berries for the mousse. A mixture of different berries works particularly well if you enjoy a balance of sweet and tart flavors.
I used more berries than the recipe I originally started with because I wanted a stronger fruit flavor.
If you’re using raspberries or blackberries, I recommend straining the berry purée through a fine-mesh sieve. The seeds can be a little unpleasant in an otherwise smooth and delicate mousse.
Gelatin and Mousse Consistency
Gelatin is what helps the mousse layers hold their shape, which is especially important in a layered cake like this one.
Make sure to bloom the powdered gelatin properly in cold water before adding it to the warm mixture. Avoid boiling the mixture after adding the gelatin.
It’s also important to let the berry purée and the Irish cream mixture cool before folding them into the whipped cream. If they’re too warm, the cream can lose its light, airy texture.
Don’t rush when removing the berry mousse insert from the cake ring, either. It needs to be firm enough to hold its shape during assembly.
Getting the Cocoa Mirror Glaze Right
Temperature and consistency are especially important when making a mirror glaze.
If the glaze is too warm, it can soften the surface of the mousse. If it’s too cold, it becomes too thick and won’t flow evenly over the cake.
I glazed my cake after it had set completely in the refrigerator, without freezing it first.
This requires a little extra care because mirror glaze sets more slowly on a refrigerated cake than on a frozen one.
Give the Mousse Enough Time to Set
This is probably my most important tip for this recipe.
The cake itself isn’t particularly difficult to make, but it does require patience. If you rush the chilling stages, the mousse layers might not be firm enough, and the cake may lose its shape when you remove the ring.
I find it much easier to prepare everything ahead of time rather than trying to finish the cake in a hurry.
Frequently Asked Questions
Can I use frozen berries for the mousse?
Yes! Frozen berries work really well in this recipe, especially since they’re going to be cooked and blended into a purée anyway.
There’s no need to thaw them completely before cooking.
Can I make this mousse cake without Irish cream?
Yes, although the flavor will be slightly different.
The Irish cream liqueur is used to flavor the whipped cream mousse rather than being a separate filling. If you’d rather leave it out, you can replace it with the same amount of milk or heavy cream and add a little extra vanilla extract.
How long does this mousse cake last in the refrigerator?
The cake will keep for approximately 2–3 days in the refrigerator when stored properly.
Because it contains whipped cream and eggs, it should be kept refrigerated and only taken out shortly before serving.
More Dessert Recipes to Try
If you enjoy light, creamy desserts and combinations of fruit and chocolate, you might also like my White Chocolate, Tonka Bean and Mango Swiss Roll.
And if you love the combination of rich chocolate and tart berries, try my Raspberry and White Chocolate Brownies.
This cake was inspired by a recipe from Laura Adamache’s blog, but I’ve adjusted the quantities to suit my taste.
Mixed Berry Mousse Cake Recipe with Cocoa Mirror Glaze
12
slices2
hours30
minutes380
kcalA layered mixed berry mousse cake with a tart berry mousse insert, light Irish cream-flavored whipped cream mousse, a thin cocoa sponge base, and a glossy cocoa mirror glaze. An elegant make-ahead dessert for birthdays, holidays, and special occasions.
Ingredients
- Thin Cocoa Sponge Cake (18 cm / 7-inch)
2 large eggs
2 tablespoons granulated sugar
1 tablespoon all-purpose flour
1 tablespoon unsweetened cocoa powder
- Mixed Berry Mousse Insert (16 cm / 6.3-inch)
450 g (approximately 1 lb) mixed berries, fresh or frozen
75 g (⅓ cup + 1 tablespoon) granulated sugar
175 ml (¾ cup) sweetened liquid whipping cream
8 g unflavored powdered gelatin
3–4 tablespoons cold water, for blooming the gelatin
- Irish Cream Whipped Cream Mousse (20 cm / 8-inch)
4 large egg yolks
20 g (approximately 1½ tablespoons) granulated sugar
60 ml (¼ cup) milk
50 ml (3 tablespoons + 1 teaspoon) Irish cream liqueur, such as Baileys
400 ml (1⅔ cups) sweetened liquid whipping cream
12 g unflavored powdered gelatin
5–6 tablespoons cold water, for blooming the gelatin
1 teaspoon vanilla extract
- Irish Cream Syrup
50 ml (3 tablespoons + 1 teaspoon) water
20 g (approximately 1½ tablespoons) granulated sugar
2 tablespoons Irish cream liqueur
- Cocoa Mirror Glaze
150 ml (⅝ cup) water
150 ml (⅝ cup) heavy whipping cream
150 g (¾ cup) granulated sugar
50 g (approximately ½ cup) unsweetened cocoa powder
5 g unflavored powdered gelatin
2–3 tablespoons cold water, for blooming the gelatin
Directions
- Make the Cocoa Sponge Cake (18 cm / 7-inch)
- Preheat the oven to 170°C (340°F). Set an adjustable stainless steel cake ring to 18 cm (7 inches) and place it on a baking sheet lined with parchment paper. Make sure the bottom is properly secured to prevent the batter from leaking.
- Separate the egg whites from the yolks. Beat the egg whites until foamy, then gradually add the sugar. Continue beating until stiff, glossy peaks form.
- Add the egg yolks one at a time, gently folding them into the beaten egg whites with a spatula.
- Sift the flour and cocoa powder together, then gradually fold them into the egg mixture using gentle movements from the bottom up to preserve as much air as possible.
- Pour the batter into the prepared cake ring and gently level the surface.
- Bake for approximately 10–12 minutes, or until a toothpick inserted into the center comes out clean.
- Allow the sponge to cool completely before removing the cake ring. The sponge should be thin, as it will form only the base of the mousse cake.
- Make the Mixed Berry Mousse Insert (16 cm / 6.3-inch)
- Sprinkle the powdered gelatin over 3–4 tablespoons of cold water and let it bloom for approximately 10 minutes, until the liquid has been absorbed.
- Place the mixed berries and sugar in a saucepan over low heat. Cook, stirring occasionally, until the berries soften and the sugar dissolves completely.
- Remove from the heat and blend until smooth.
- Pass the berry purée through a fine-mesh sieve to remove the seeds.
- If the purée has cooled, gently reheat it without bringing it to a boil. Add the bloomed gelatin and stir until completely dissolved.
- Allow the berry purée to cool to almost room temperature, making sure it doesn’t begin to set.
- In a separate bowl, whip the cold sweetened whipping cream until it becomes light and airy, forming soft peaks.
- Gradually fold the berry purée into the whipped cream using a spatula, mixing gently until smooth and evenly combined.
- Adjust the cake ring to 16 cm (6.3 inches) and place it on a flat surface lined with parchment paper or plastic wrap. Line the inside of the ring with plastic wrap if desired, to make unmolding easier.
- Pour the berry mousse into the ring, level the surface, and cover with plastic wrap.
- Refrigerate for at least 4–6 hours, preferably overnight, until the mousse is firm enough to hold its shape when removed from the ring.
- Carefully remove the cake ring and keep the mousse insert refrigerated until you’re ready to assemble the cake.
- Make the Irish Cream Whipped Cream Mousse (20 cm / 8-inch)
- Sprinkle the powdered gelatin over 5–6 tablespoons of cold water and allow it to bloom for approximately 10 minutes.
- Combine the milk, vanilla extract, and Irish cream liqueur in a small saucepan. Heat gently over low heat without bringing it to a boil.
- In a separate bowl, whisk the egg yolks and sugar until pale and creamy.
- Gradually pour the warm milk mixture over the egg yolks, whisking constantly to prevent them from scrambling.
- Return the mixture to the saucepan and cook over low heat, stirring continuously with a spatula, until it thickens slightly. Do not let it boil.
- Remove from the heat, add the bloomed gelatin, and stir until completely dissolved.
- Allow the custard to cool until lukewarm, but before the gelatin begins to set.
- In a separate bowl, whip the cold sweetened whipping cream until light and airy, with soft peaks.
- Add a few tablespoons of whipped cream to the Irish cream custard and gently stir to lighten the mixture.
- Gradually fold in the remaining whipped cream using a spatula, until the mousse is smooth and airy.
- Use the mousse immediately to assemble the cake, before the gelatin begins to set.
- Make the Irish Cream Syrup
- Combine the water and sugar in a small saucepan and heat over low heat, stirring until the sugar has completely dissolved.
- Remove from the heat and stir in the Irish cream liqueur.
- Allow the syrup to cool completely before using.
- Assemble the Mousse Cake
- Adjust the cake ring to 20 cm (8 inches) and place it on a flat cake board or serving plate. Line the inside with plastic wrap to help achieve smooth sides.
- Place the 18 cm (7-inch) cocoa sponge in the center of the ring.
- Brush the sponge evenly with the Irish cream syrup. Avoid soaking it too much, as the sponge is very thin.
- Pour a thin layer of Irish cream whipped cream mousse over the sponge, making sure it also fills the gap between the sponge and the cake ring.
- Carefully position the chilled 16 cm (6.3-inch) mixed berry mousse insert in the center of the cake, on top of the whipped cream mousse.
- Add the remaining whipped cream mousse, filling all the spaces around the berry insert.
- Smooth the surface with a spatula and cover the cake with plastic wrap.
- Refrigerate for at least 6–8 hours, preferably overnight, until the mousse is completely set.
- Carefully remove the cake ring and plastic wrap. Keep the cake refrigerated until you’re ready to glaze it.
- Make the Cocoa Mirror Glaze
- Sprinkle the powdered gelatin over 2–3 tablespoons of cold water and allow it to bloom for approximately 10 minutes.
- Combine the water, sugar, heavy whipping cream, and cocoa powder in a saucepan. Whisk until the cocoa powder is fully incorporated.
- Heat over low heat, stirring continuously, until the sugar dissolves and the mixture becomes smooth.
- Bring the mixture just below boiling point, then remove it from the heat.
- Allow it to cool slightly, then add the bloomed gelatin and stir until completely dissolved.
- Strain the glaze through a fine-mesh sieve to remove any cocoa lumps and achieve a smooth texture.
- Allow the glaze to cool, stirring occasionally, until it thickens slightly but remains fluid enough to pour.
- Remove the well-chilled cake from the refrigerator and place it on a wire rack set over a baking tray to catch the excess glaze.
- Pour the glaze evenly over the cake, starting from the center and moving toward the edges, allowing it to cover both the top and sides.
- Let the excess glaze drip off naturally. Avoid spreading it with a spatula to preserve the smooth, glossy finish.
- Carefully transfer the cake to a serving plate and return it to the refrigerator to allow the glaze to set.
- Decorate and Serve
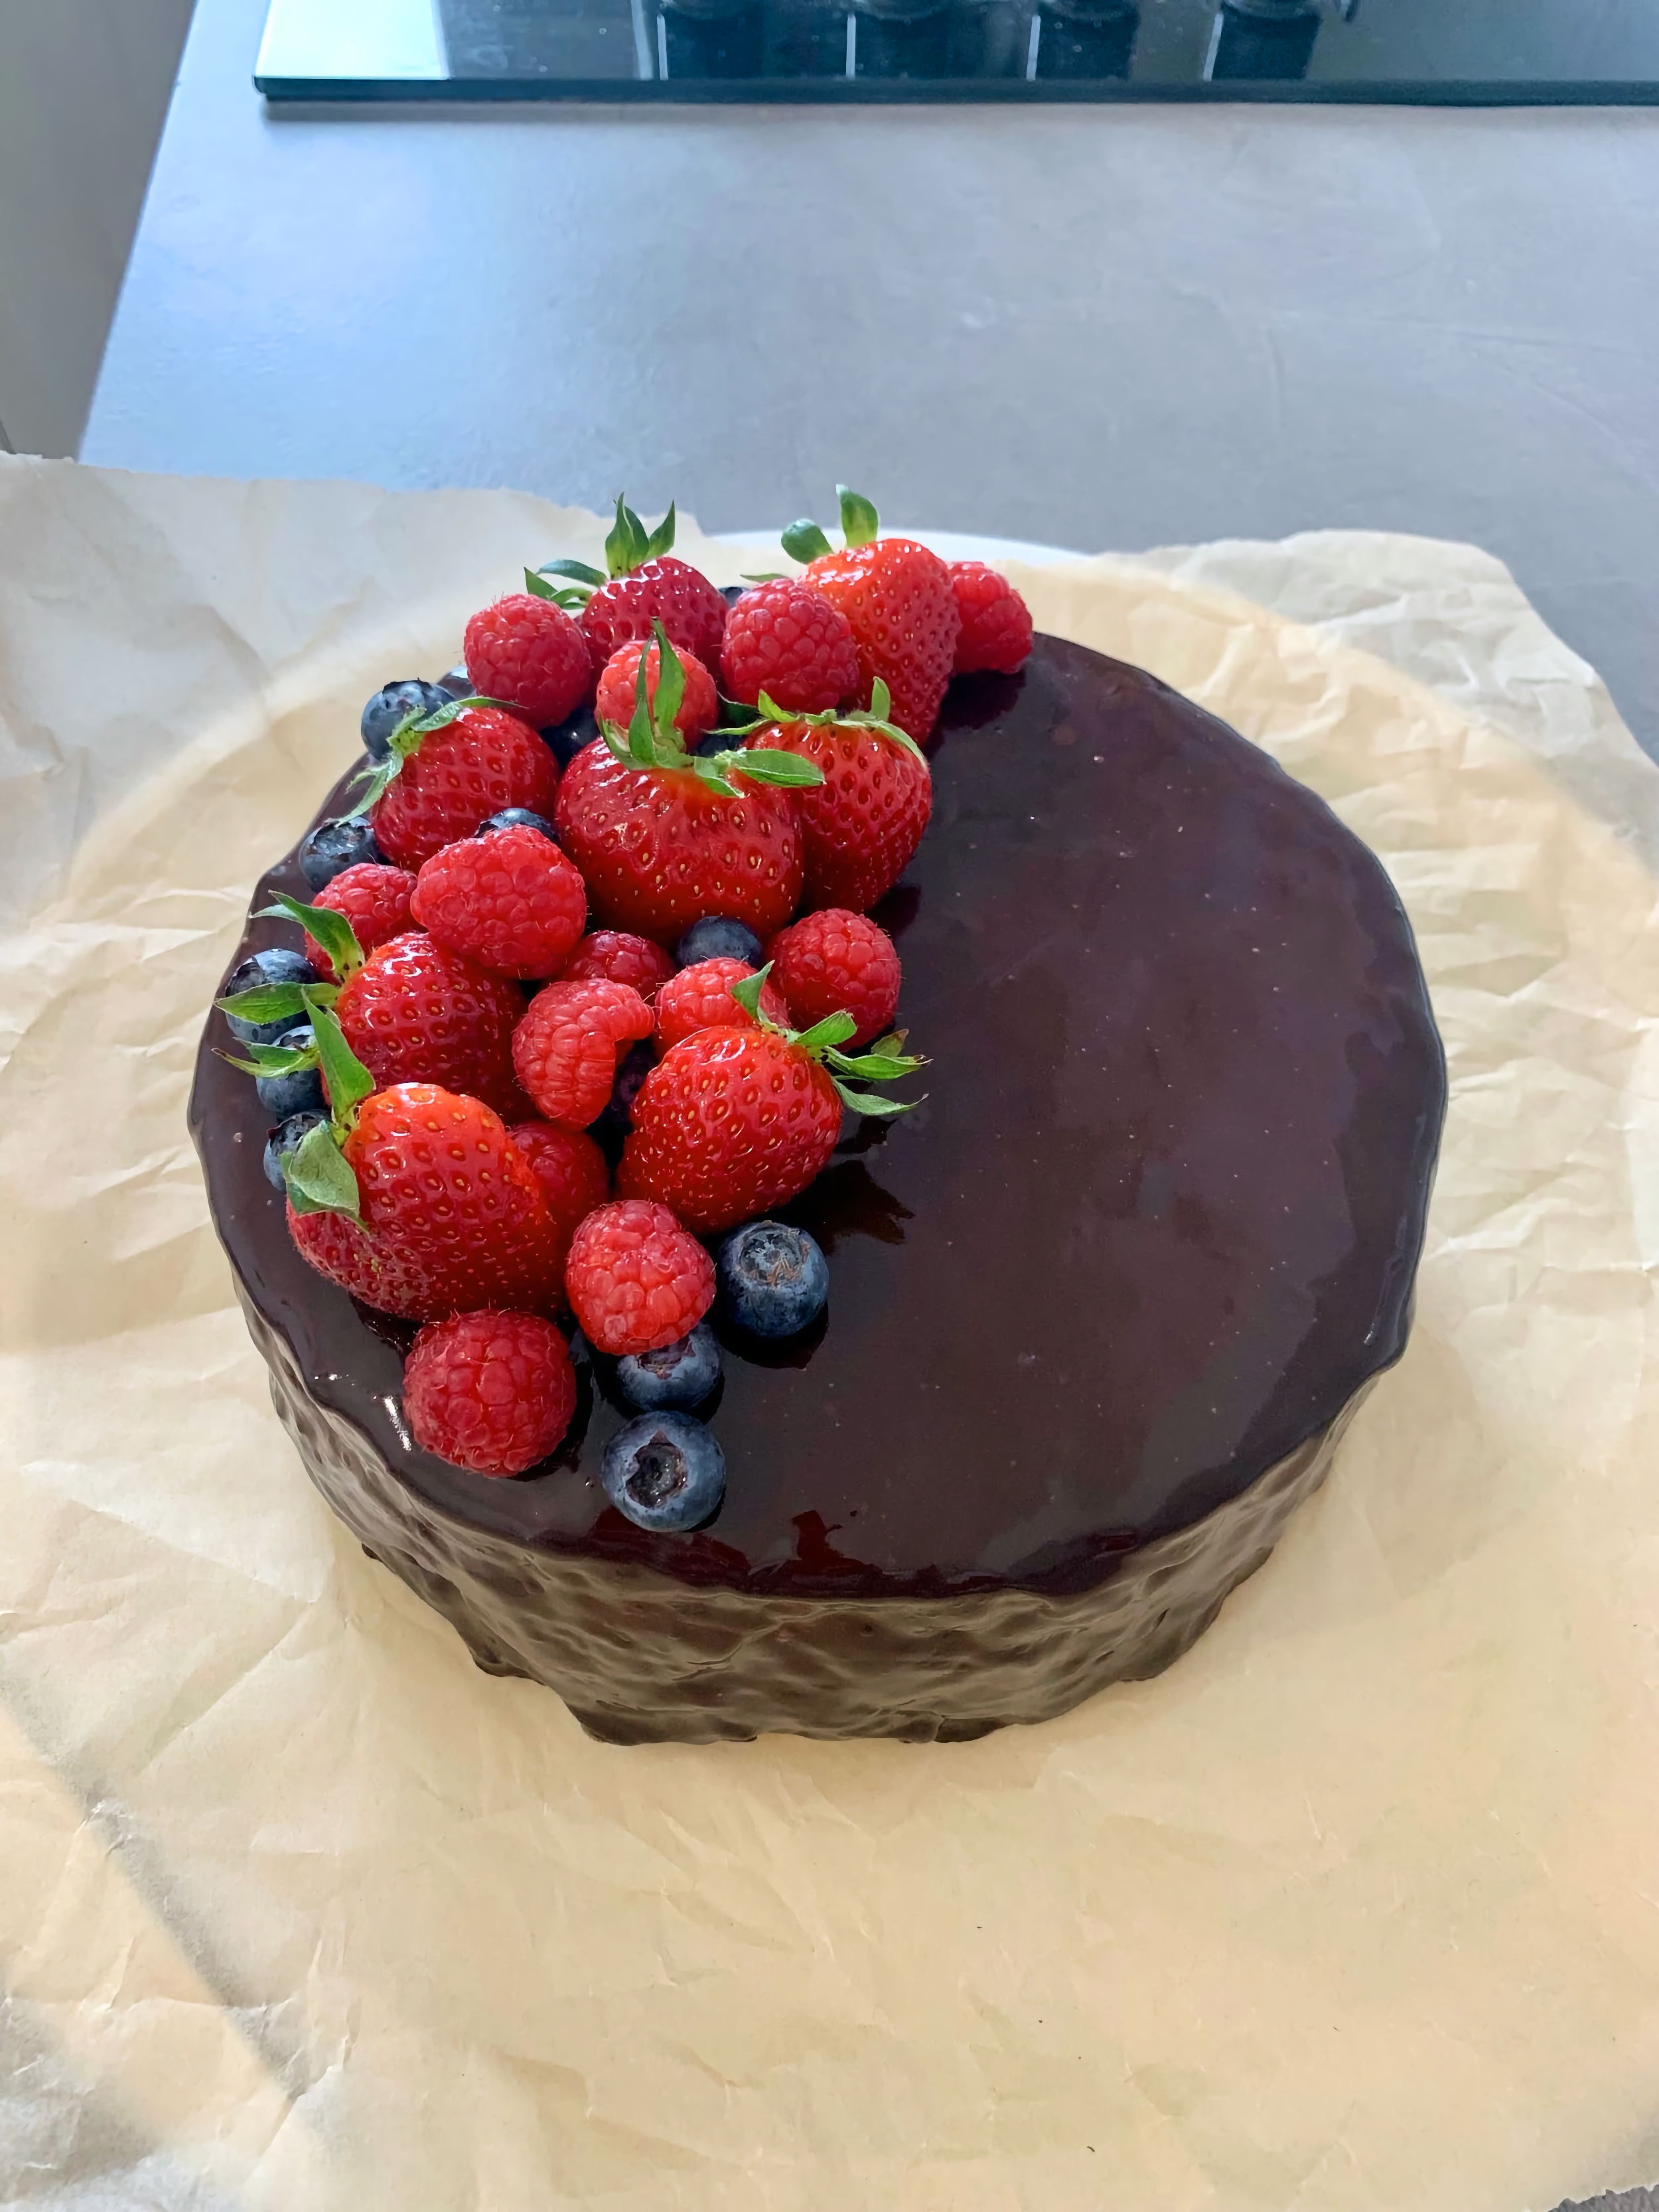
- Once the glaze has set, decorate the cake with fresh berries or chocolate decorations, if desired.
- Keep the cake refrigerated until ready to serve.
- For clean slices, use a thin, sharp knife dipped in hot water and wiped dry between cuts.
Note
- Nutrition information is an estimate and may vary depending on the ingredients and brands used, the amount of glaze and syrup actually used, and the size of each serving.
This post contains affiliate links. If you choose to make a purchase, book an activity, or use a service through these links, I may receive a small commission at no additional cost to you.